Introduction
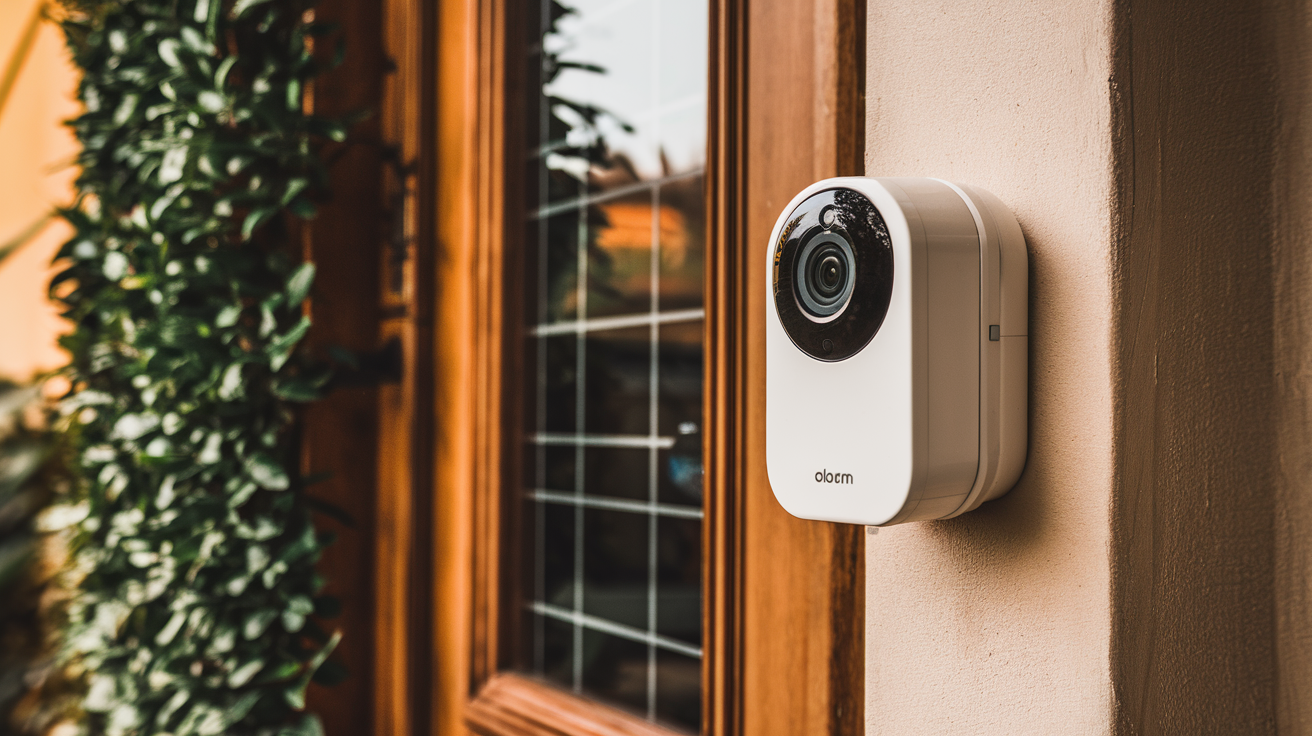
The Alarm.com doorbell camera, such as models like the ADC-VDB770 or ADC-VDB780B, is a popular smart home security device that integrates seamlessly with Alarm.com’s ecosystem. These cameras offer features like HD video, two-way audio, and motion detection, making them valuable for monitoring your front door. However, there may be instances where you need to remove the back of the doorbell camera, whether for battery replacement, maintenance, troubleshooting, or uninstallation. This guide provides a detailed, step-by-step process for safely removing the back of an Alarm.com doorbell camera, focusing on the ADC-VDB780B (wireless model) and ADC-VDB770 (wired model), as these are the most common models. The process requires careful handling to avoid damaging the device or your home’s wiring, and this article ensures you have all the necessary information to complete the task effectively.
Why You Might Need to Remove the Back
There are several reasons you might need to access the back of an Alarm.com doorbell camera:
- Battery Replacement or Charging (ADC-VDB780B): The wireless ADC-VDB780B has a rechargeable battery that may need to be removed for charging or replacement after extended use.
- Maintenance or Troubleshooting: If the camera is malfunctioning (e.g., offline or not recording), accessing the back may be necessary to reset the device or inspect connections.
- Uninstallation: If you’re moving, upgrading to a new device, or discontinuing use, you may need to remove the doorbell entirely, which involves detaching it from its backplate.
- Firmware Reset: A factory reset, often performed by accessing the internal components, may be required to resolve connectivity issues or re-pair the device with a new account.
Caution: Always power off the device or disconnect the power source before attempting to remove the back to avoid electrical shock or damage to the camera.
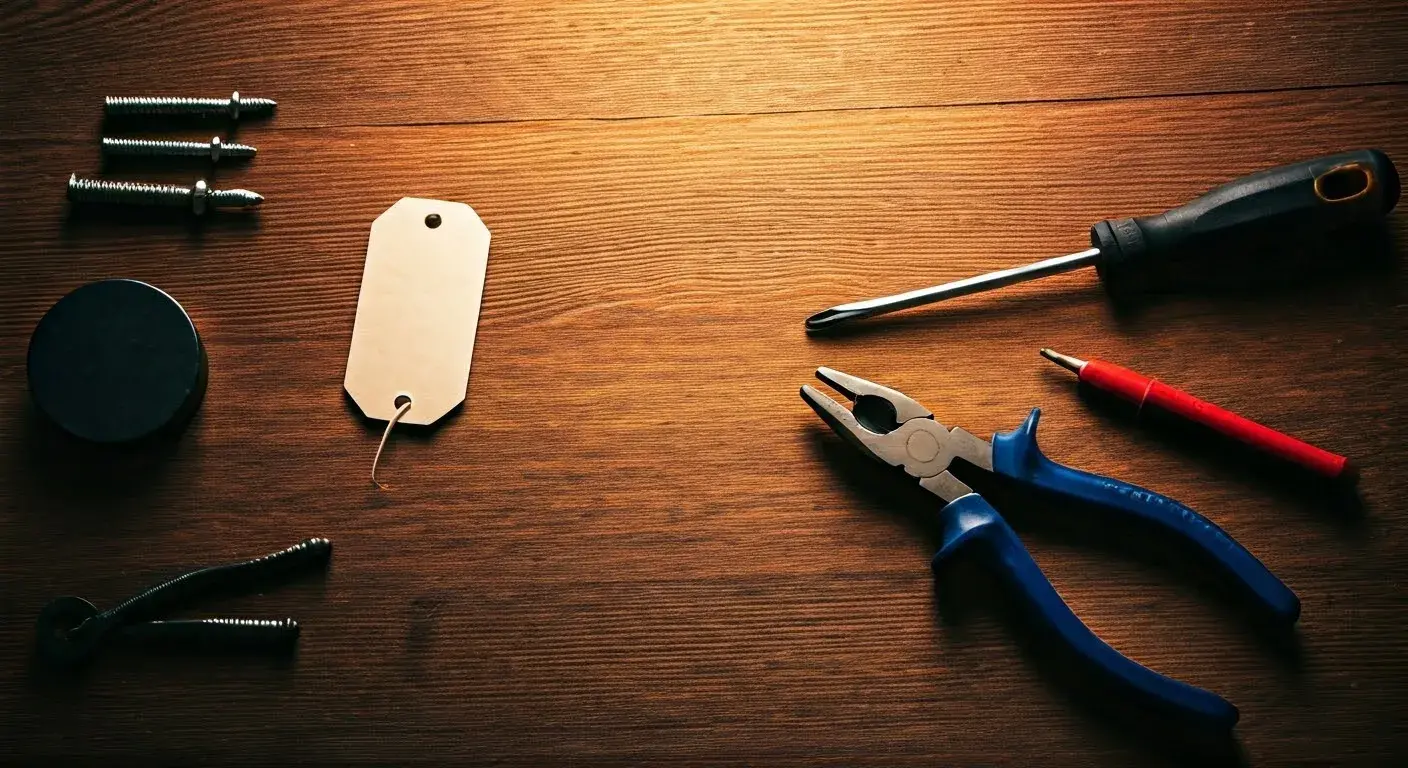
Tools and Preparation
Before starting, gather the necessary tools and take precautions to ensure a safe and smooth process. Here’s what you’ll need:
- Alarm.com Removal Tool: Some Alarm.com doorbell cameras, like the ADC-VDB780B, come with a specialized removal tool for detaching the device from its backplate. Check the original packaging or purchase one if needed.
- Screwdriver: A Phillips or flathead screwdriver may be required to remove screws securing the backplate or mounting bracket.
- Needle-Nose Pliers: Useful for handling small wires or components, especially for wired models like the ADC-VDB770.
- Power Drill (Optional): If the mounting bracket is secured with wall screws, a drill with appropriate bits may be necessary.
- Micro USB Cable and Charger (ADC-VDB780B): For charging the battery after removal.
- Safety Gloves (Optional): To protect your hands when handling wires or sharp edges.
Preparation Steps:
- Power Off the Device: For wired models (e.g., ADC-VDB770), turn off the power at the breaker box to avoid electrical shock. For wireless models (e.g., ADC-VDB780B), ensure the device is not actively recording or connected to the app.
- Check the Manual: Refer to the specific model’s manual for model-specific instructions, as slight variations may exist between the ADC-VDB770 and ADC-VDB780B.
- Take Photos: Before disconnecting any wires or components, take photos of the current setup to aid in reinstallation or troubleshooting.
- Verify Account Status: If you’re removing the device permanently, ensure it’s deleted from your Alarm.com account to prevent issues with re-pairing later. This can be done via the Alarm.com app under “Manage Devices.”
Step-by-Step Guide to Remove the Back
The process for removing the back of an Alarm.com doorbell camera varies slightly depending on whether you’re working with a wireless (ADC-VDB780B) or wired (ADC-VDB770) model. Below are detailed instructions for both.
Removing the Back on the ADC-VDB780B (Wireless Model)
The ADC-VDB780B is a battery-operated doorbell camera that attaches to a mounting bracket with a removable battery pack. Follow these steps to remove the back:
- Unlatch the Bottom of the Mount: Locate the latch at the bottom of the mounting bracket. This latch secures the doorbell to the mount. Slide or press the latch to release it, depending on the design. Some models may require the Alarm.com removal tool to unlock the latch.
- Remove the Doorbell from the Mount: Gently slide the doorbell upward to detach it from the mounting bracket. Be careful not to force it, as this could damage the prongs or slots connecting the doorbell to the mount.
- Separate the Battery Pack: The back of the ADC-VDB780B contains the battery pack. To access it, gently pull the battery pack away from the main body of the doorbell. It should detach easily, as it’s designed for user removal. If a blue protective film is present on the battery, remove and discard it.
- Inspect or Charge the Battery (Optional): If you’re removing the back for battery charging, plug the supplied micro USB cable into the battery pack and connect it to a 5V/1.5A USB wall charger. The charging LED on the battery pack will show solid orange while charging, which takes approximately 7 hours for a fully depleted battery.
- Remove the Mounting Bracket (Optional): If you’re uninstalling the doorbell entirely, use a screwdriver or drill to remove the screws securing the mounting bracket to the wall. Secure any exposed wires to prevent them from falling back into the wall.
Note: The ADC-VDB780B requires an Alarm.com Smart Chime (ADC-W115C) for operation. If you’re troubleshooting, ensure the chime is within 10 feet of the doorbell and properly connected to Wi-Fi.
Removing the Back on the ADC-VDB770 (Wired Model)
The ADC-VDB770 is a wired doorbell camera that connects to your home’s existing doorbell wiring and a power module. Removing the back involves handling electrical components, so proceed with caution.
- Turn Off Power: Locate the breaker box and turn off power to the doorbell circuit to ensure safety. Verify that the power is off by checking if the doorbell chime or camera LED is inactive.
- Remove the Doorbell from the Backplate: The ADC-VDB770 attaches to a backplate secured to a mounting bracket. Use a screwdriver to remove any security screws (often Torx or Phillips) holding the doorbell to the backplate. Gently pull the doorbell away from the backplate, taking care not to damage the connected wires.
- Disconnect the Wires: The backplate will have two wires (typically low-voltage) connected to terminals. Use needle-nose pliers or a small screwdriver to loosen the terminal screws and carefully remove the wires. Secure the wires with tape to prevent them from slipping back into the wall.
- Remove the Backplate: Unscrew the backplate from the mounting bracket using a screwdriver. If the mounting bracket is secured to the wall, remove those screws as well to fully uninstall the device.
- Inspect the Power Module (Optional): If troubleshooting, check the power module (usually located near the chime box) for loose connections. The power module’s white and grey wires should be securely connected to the chime terminals.
Caution: Do not attempt to disconnect wires without turning off the power, as this could result in electrical shock or damage to the doorbell.
Troubleshooting Tips
If you’re removing the back due to connectivity or performance issues, consider these troubleshooting steps before or after accessing the back:
- Check Wi-Fi Signal: Ensure the doorbell is within range of a strong 2.4 GHz Wi-Fi signal. If the LED flashes orange with a double flash, there’s a Wi-Fi connectivity issue.
- Power Cycle: For the ADC-VDB780B, hold the doorbell button for 70 seconds until the LED flashes blue to power cycle the device. For the ADC-VDB770, ensure the transformer meets the required 16–30 VAC, 10–30 VA specifications.
- Factory Reset: To reset the device, hold the doorbell button for approximately 80 seconds until the LED flashes yellow. Note that this does not remove the device from your Alarm.com account; you must delete it via the app or website under “Manage Devices.”
- Check Battery Status (ADC-VDB780B): If the LED alternates red and blue when pressing the doorbell button, the battery needs recharging before reinstallation.
Reinstallation or Replacement
If you plan to reinstall the doorbell or replace it with a new one, follow these tips:
- Reattach Wires (ADC-VDB770): Use the photos taken during removal to reconnect wires to the correct terminals. Crimp the wires securely to the backplate using a crimping tool.
- Reattach Battery (ADC-VDB780B): Ensure the battery is fully charged (LED shows solid green) before reattaching it to the doorbell body. Slide the doorbell back onto the mounting bracket until it clicks into place.
- Re-Pair with Alarm.com: If the device was reset or removed from the account, re-add it using the Alarm.com app or website. Enter the device’s MAC address (found on the device or packaging) and follow the pairing instructions, which may involve enabling WPS mode on the router and doorbell.
- Test the Device: After reinstallation, verify that the doorbell powers on (LED should be solid green) and test features like motion detection, two-way audio, and notifications via the Alarm.com app.
Precautions and Best Practices
To ensure a safe and successful removal process, keep these best practices in mind:
- Avoid Force: Never forcibly pry the doorbell off its mount, as this could damage the device or mounting hardware.
- Handle Wires Carefully: For wired models, gently handle low-voltage wires to avoid damaging the terminals or insulation.
- Store Components Safely: Keep the removal tool, screws, and other small parts in a safe place for future use.
- Contact Support if Needed: If you encounter issues or are unsure about the process, contact your Alarm.com service provider for assistance.
Conclusion
Removing the back of an Alarm.com doorbell camera, whether the wireless ADC-VDB780B or the wired ADC-VDB770, is a straightforward process when done carefully. For the wireless model, unlatching the mount and detaching the battery pack are the primary steps, while the wired model requires powering off the circuit and disconnecting wires from the backplate. By following the steps outlined in this guide, using the appropriate tools, and taking safety precautions, you can successfully access the back of the doorbell for maintenance, battery charging, or uninstallation. Always consult the device’s manual for model-specific details and ensure the device is properly re-paired with your Alarm.com account if reinstalled. With these instructions, you can confidently manage your Alarm.com doorbell camera and keep your home security system in top condition.