Discover the straightforward process of changing the battery on your Vivint wall panel. This guide provides a clear, step-by-step approach, ensuring you can maintain your system's optimal performance and security without professional assistance, saving you time and potential service fees.
Understanding Your Vivint Wall Panel
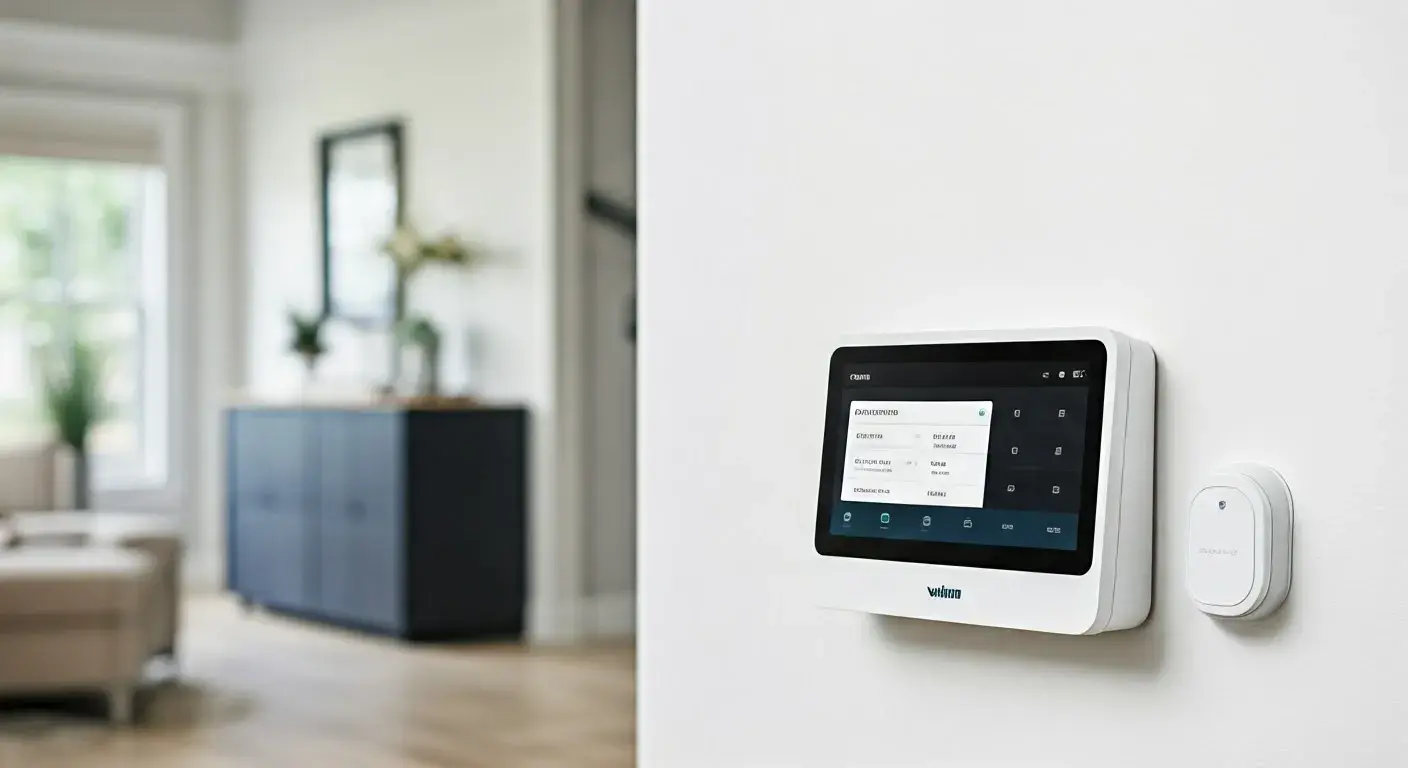
Vivint's smart home security systems are designed for ease of use and robust functionality. At the heart of many of these systems is the wall panel, also known as the touchscreen controller. This central hub serves as the primary interface for arming and disarming your security system, managing smart home devices, viewing camera feeds, and receiving important alerts. It's a sophisticated piece of technology that relies on consistent power to operate effectively. Understanding its basic components, including the battery backup, is key to maintaining uninterrupted home security. The wall panel typically connects to a power source via an AC adapter, but it also houses a rechargeable battery. This battery is a critical component, ensuring that your system remains operational even during power outages. Without a functional backup battery, a power interruption could leave your home vulnerable, disabling your security system and potentially your smart home automation features. In 2025, with the increasing reliance on connected devices for daily life, the integrity of the power supply to security systems is more important than ever. Vivint's panels are engineered with this in mind, featuring a backup battery that can power the system for a significant period when external power is unavailable. The lifespan and performance of this battery are directly tied to its maintenance and eventual replacement.
Why Battery Replacement is Crucial
The backup battery in your Vivint wall panel is not merely an accessory; it's a vital component for continuous security and functionality. Its primary role is to provide power to the panel during electrical outages. Modern homes in 2025 are increasingly dependent on smart technology, and a security system is no exception. When the power goes out, your Vivint panel needs to remain active to monitor for intrusions, control your smart locks, and keep your cameras online. If the backup battery is depleted or faulty, the panel will shut down, leaving your home unprotected. Beyond power outages, the battery also plays a role in system stability. A weak battery can sometimes lead to intermittent system errors or performance issues, even when AC power is available. For instance, a struggling battery might not be able to provide enough consistent power for the touchscreen to respond promptly or for the panel to communicate effectively with other connected devices. This can lead to frustrating user experiences and, more importantly, potential security vulnerabilities. Regular maintenance and timely replacement of this battery ensure that your Vivint system operates at peak performance, offering peace of mind. The average lifespan of these backup batteries is typically between 3 to 5 years, depending on usage patterns and environmental factors. Neglecting battery replacement can lead to unexpected system failures, especially during critical moments.
Identifying a Low Battery Situation
Recognizing the signs of a low battery in your Vivint wall panel is the first step towards proactive maintenance. Vivint systems are designed to alert homeowners when a battery issue arises. The most common indicator is a notification directly on the wall panel's touchscreen. This alert might appear as a battery icon with a low charge symbol, a specific message like "Low Battery," or a system alert that requires acknowledgment. These notifications are typically accompanied by an audible beep or chime, designed to draw your attention. If you miss the visual alert, the audible warning is a strong signal that something needs attention. Beyond direct alerts, you might observe other symptoms. The touchscreen may become less responsive, taking longer to register your touch commands. You might experience slower system boot-up times after a brief power interruption or when initially powering on the system. In some cases, the panel might unexpectedly reboot itself, especially during periods of fluctuating power. Another subtle sign can be the performance of connected devices. If your smart locks are slow to respond to commands from the panel, or if camera feeds occasionally drop, it could be an indirect symptom of the panel's power source being compromised. For 2025, Vivint's software updates often enhance these diagnostic capabilities, making it easier for users to identify potential issues. It's also worth noting that if your home experiences frequent power fluctuations or outages, the backup battery will be utilized more often, potentially shortening its lifespan and leading to earlier signs of depletion. Regularly checking the system status on your Vivint app can also provide insights, as it often mirrors the alerts displayed on the wall panel.
Gathering Your Tools and Materials
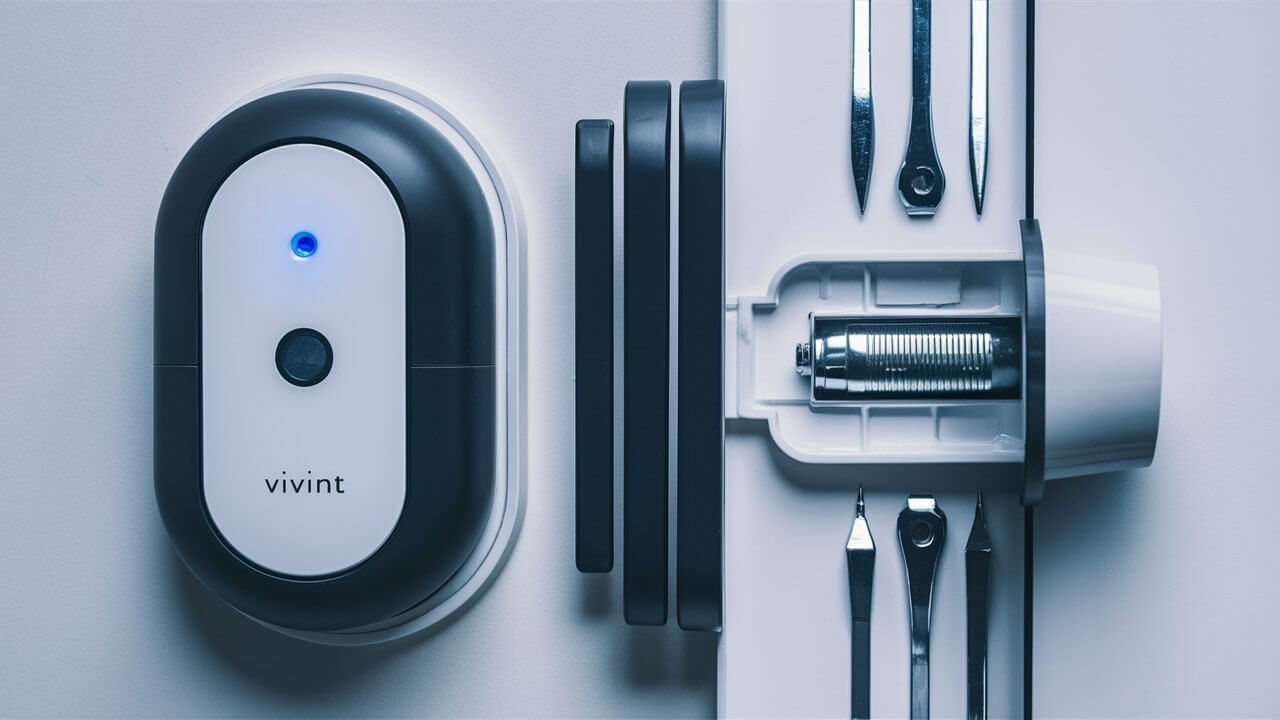
Before you begin the process of changing the battery on your Vivint wall panel, it's essential to gather the necessary tools and materials. This preparation ensures a smooth and efficient replacement. The primary item you'll need is the replacement battery itself. Vivint panels typically use a specific type of rechargeable lithium-ion battery. It's crucial to obtain the correct model, which can often be found by checking your panel's manual or by contacting Vivint customer support. Using an incompatible battery can damage the panel or lead to improper functioning. For 2025, it's advisable to purchase directly from Vivint or a reputable third-party supplier to ensure authenticity and quality.
Beyond the battery, you will likely need a small Phillips head screwdriver. The screws securing the panel's casing are usually small and require a precise fit. A plastic pry tool or a thin, flat-head screwdriver can also be helpful for gently prying open the casing if it's secured with clips, though care must be taken not to scratch the panel. It's also a good practice to have a clean, soft cloth available to wipe down the panel and its components if needed. Static electricity can be a concern when working with electronics, so consider grounding yourself by touching a metal object before you begin, especially in dry environments. Finally, ensure you have adequate lighting in the area where you'll be performing the replacement.
Having these items ready will prevent interruptions and ensure you can complete the battery swap efficiently. If you are unsure about the exact battery model, consulting the Vivint support documentation or reaching out to their customer service is highly recommended.
Step-by-Step Battery Replacement Guide
Replacing the battery in your Vivint wall panel is a manageable DIY task if you follow these detailed steps. Precision and care are key to ensuring the process is successful and your system is back online without issues.
Step 1: Disarming and Powering Down
The very first step before any physical interaction with your Vivint panel is to ensure it's disarmed and powered down correctly. Attempting to replace the battery while the system is armed or powered on can trigger false alarms or even damage the internal components.
- Disarm your system: On the Vivint wall panel, enter your primary user code and press the "Disarm" button. Confirm the system is disarmed by checking the panel's status display.
- Disconnect AC power: Locate the power adapter that connects your Vivint panel to the wall outlet. Unplug this adapter from the outlet.
- Disconnect panel power: Gently unplug the power cable from the back of the Vivint wall panel itself. This ensures that no electrical current is flowing through the device while you are working on it.
This ensures a safe working environment and prevents any accidental system triggers.
Step 2: Accessing the Panel Housing
Once the system is safely powered down, you can proceed to open the panel to access the battery. The method for opening the housing can vary slightly depending on the specific Vivint panel model, but the general principle involves removing screws and potentially releasing clips.
- Locate mounting screws: Most Vivint wall panels are mounted to the wall using screws. These are typically located on the bottom or sides of the panel's frame. You may need to gently pull the bottom edge of the panel away from the wall to expose these screws.
- Remove mounting screws: Using your Phillips head screwdriver, carefully unscrew and remove any screws securing the panel to its wall mount. Keep these screws in a safe place, such as a small container, so they don't get lost.
- Gently detach the panel: Once the screws are removed, the panel should be able to detach from its wall mount. It might be held in place by clips or a mounting bracket. Gently pull the bottom of the panel away from the wall, then lift it upwards to disengage it from the bracket. If it feels stuck, double-check for any hidden screws or clips. Avoid excessive force, as this can damage the panel or the wall.
- Accessing the internal casing: After the main unit is detached from the wall, you will likely see a rear casing or a front bezel that needs to be opened to access the internal components, including the battery. Look for small screws around the perimeter of the panel's casing. Remove these screws using your screwdriver.
- Prying open the casing (if applicable): Some panels may have clips that hold the front and back halves together. If you encounter these, use a plastic pry tool or a thin, flat-head screwdriver to carefully release them. Work your way around the edge of the panel, gently applying pressure until the casing separates.
Take your time during this step. Patience will prevent damage to the delicate plastic components of the panel.
Step 3: Locating and Removing the Old Battery
With the panel housing open, you can now identify and remove the old battery. The battery is typically a rectangular or square unit, often secured with a bracket or simply plugged into a connector.
- Identify the battery: The backup battery is usually a prominent component within the panel. It will be connected to the main circuit board via a wire harness with a connector.
- Note the battery orientation: Before disconnecting anything, take a moment to observe how the battery is positioned and how its wires are routed. This will be helpful when installing the new battery.
- Disconnect the battery connector: The battery is connected to the panel's circuitry by a small plug. Carefully grip the connector (not the wires) and gently pull it straight out. Some connectors may have a small latch that needs to be pressed.
- Remove battery securing mechanism: The battery might be held in place by a plastic bracket or a strap. If there's a bracket, unscrew it. If it's a strap, unbuckle or slide it to release the battery.
- Lift out the old battery: Once disconnected and unfastened, carefully lift the old battery out of its compartment. Dispose of the old battery responsibly, as it contains chemicals that should not be placed in regular trash. Many electronics recycling centers accept rechargeable batteries.
It's crucial to ensure the battery connector is fully detached before attempting to remove the battery itself.
Step 4: Installing the New Battery
Now that the old battery is out, it's time to install the new one. This process is essentially the reverse of removal, but with careful attention to detail.
- Prepare the new battery: Remove the new battery from its packaging. Ensure it matches the specifications of the old battery in terms of voltage and capacity.
- Position the new battery: Place the new battery into the compartment where the old one was located. Ensure it sits snugly and in the correct orientation, matching how the old battery was positioned.
- Secure the battery: If your panel uses a securing bracket or strap, re-install it to hold the new battery firmly in place. This prevents it from shifting during normal operation or in the event of vibrations.
- Connect the battery connector: Align the connector of the new battery's wire harness with the corresponding port on the panel's circuit board. Gently push the connector in until it is fully seated. You should feel a slight click or resistance when it's properly connected. Double-check that it's secure and not loose.
Ensure the wires are neatly routed and not pinched by the casing when you reassemble the panel.
Step 5: Reassembling the Panel
With the new battery installed and connected, you can now reassemble the Vivint wall panel. This involves putting the casing back together and reattaching it to the wall mount.
- Align the casing halves: Carefully bring the front and back halves of the panel casing together. Ensure that all clips (if any) align properly before pressing them together.
- Replace casing screws: If you removed screws to open the casing, re-insert them and tighten them gently. Do not overtighten, as this can strip the threads or crack the plastic.
- Reattach the panel to the wall mount: Align the panel with its wall mount bracket. Gently slide it into place, ensuring it's securely seated.
- Replace mounting screws: Once the panel is on the mount, re-insert and tighten the screws that secure the panel to the wall.
Ensure all seams are flush and the panel feels secure on the wall.
Step 6: Powering Up and Testing
The final step is to restore power and verify that the new battery is functioning correctly and the system is operational.
- Reconnect AC power: Plug the power adapter back into the wall outlet.
- Reconnect panel power: Plug the power cable back into the rear of the Vivint wall panel.
- Observe the boot-up sequence: The panel should begin its power-up sequence. This may take a few minutes. Watch the screen for any error messages.
- Verify system status: Once the panel is fully booted, check its status. It should indicate that it is armed or ready, with no low battery warnings.
- Test functionality: Arm and disarm the system a couple of times using your code. Test a few key functions, such as viewing a camera feed or checking the status of connected smart devices.
- Check Vivint app: Open your Vivint app on your smartphone or tablet and confirm that the panel is online and reporting its status correctly. The app should reflect the system's normal operation.
If you encounter any issues, such as persistent error messages or a non-responsive screen, refer to the troubleshooting section of this guide or contact Vivint support.
Troubleshooting Common Issues
Even with careful execution, you might encounter minor issues during or after the battery replacement. Here are some common problems and their solutions:
- Panel doesn't power on:
- Check connections: Ensure both the AC power adapter and the battery connector are firmly seated.
- Verify battery installation: Double-check that the new battery is correctly oriented and fully connected.
- Test AC adapter: Try plugging the AC adapter into a different outlet to rule out an issue with the power source.
- Low battery warning persists:
- Battery type: Confirm you have installed the correct Vivint-approved battery model. An incorrect battery might not charge properly.
- Faulty new battery: Although rare, the new battery itself could be defective. Contact your supplier for a replacement.
- Charging issue: The panel's charging circuit might be faulty. This would require professional diagnosis.
- Touchscreen is unresponsive:
- Restart the panel: Disconnect AC power and the battery, wait for 60 seconds, then reconnect them.
- Check for physical damage: Inspect the touchscreen for any cracks or signs of damage.
- Software glitch: A system reboot might resolve minor software issues.
- System alerts or error messages:
- Consult manual: Refer to your Vivint panel's user manual for specific error code explanations.
- Contact support: If the error persists, it may indicate a more complex hardware or software problem requiring Vivint's assistance.
- Panel not communicating with Vivint servers:
- Check Wi-Fi/Ethernet: Ensure your home network is functioning correctly.
- System reboot: Sometimes a simple reboot of the panel can re-establish communication.
For persistent or complex issues that you cannot resolve with these steps, it's always best to contact Vivint customer support. They can provide remote diagnostics or schedule a technician visit if necessary.
Battery Maintenance and Lifespan
The backup battery in your Vivint wall panel is a rechargeable unit designed to last for several years. However, its lifespan and performance can be influenced by several factors. Understanding these can help you maximize its longevity and ensure your system remains reliable.
Factors Affecting Battery Lifespan:
- Frequency of Power Outages: The more often your home experiences power interruptions, the more the backup battery will be used. Frequent deep discharges can shorten its overall lifespan.
- Environmental Temperature: Extreme temperatures, both hot and cold, can degrade battery performance and shorten its life. It's best to keep your Vivint panel in a climate-controlled environment.
- Usage of Panel Features: While the panel primarily draws power from AC, certain features that are active during power outages or system reboots can place a slightly higher demand on the battery.
- Battery Quality: Using a genuine Vivint-approved replacement battery is crucial. Lower-quality or incompatible batteries may not hold a charge as effectively or may degrade faster.
Typical Lifespan:
For most Vivint wall panels, the rechargeable backup battery is expected to last between 3 to 5 years. This is a general guideline, and actual performance can vary. Vivint systems are designed to alert you when the battery is nearing the end of its life or is failing, so you'll typically be notified before it completely dies.
Proactive Maintenance:
While there isn't much active "maintenance" you can perform on the battery itself, being aware of its status and replacing it promptly when notified is the best form of maintenance. Regularly checking your Vivint app for system alerts can help you stay informed. If you live in an area prone to frequent power outages, consider investing in a reliable home backup power solution for your entire home, which indirectly protects your security system's battery.
In 2025, advancements in battery technology are ongoing, but the fundamental principles of care remain the same. Treat your backup battery as a critical component of your home security, and it will serve you well.
Vivint Panel Models and Battery Types
Vivint has offered several generations of wall panels, and while the core functionality remains similar, there can be variations in their design and the specific battery they use. Knowing your panel model is key to purchasing the correct replacement battery.
Common Vivint Panel Models:
- Vivint Smart Hub: This is one of their more recent and advanced panels, featuring a large touchscreen and integrated smart home controls.
- Vivint Element: An earlier but still capable touchscreen panel, known for its user-friendly interface.
- Vivint Touchscreen Panel (various versions): Vivint has had several iterations of their touchscreen panels over the years, often identified by their size and design aesthetics.
Battery Types:
The vast majority of Vivint wall panels utilize a rechargeable lithium-ion battery. These batteries are specifically designed for the power demands and physical constraints of the panels.
Identifying Your Panel and Battery:
The best way to confirm the exact battery model required for your specific Vivint panel is to:
- Check the panel itself: Sometimes, the battery model number is printed directly on the battery. You may need to open the panel to see this, as detailed in the steps above.
- Consult your Vivint account or app: Your Vivint account portal or app may list the specific hardware installed in your home, including model numbers.
- Refer to your original installation documents: If you kept the paperwork from your Vivint installation, it should detail the panel model and potentially the battery type.
- Contact Vivint Support: This is often the most reliable method. Vivint customer service can look up your account and tell you the exact battery model needed for your specific panel.
Example Battery Specifications (Illustrative - always verify):
While exact models vary, a common type of battery for these panels might be:
| Specification | Details |
|---|---|
| Type | Rechargeable Lithium-Ion |
| Voltage | Typically 3.7V or 7.4V (varies by model) |
| Capacity | Often in the range of 2000mAh to 5000mAh (varies by model) |
| Connector | Specific 2-pin or 3-pin JST connector |
Important Note: Never attempt to use a battery that does not precisely match the specifications and connector type of your Vivint panel. Using an incorrect battery can cause system malfunctions, damage the panel, or pose a safety hazard. For 2025, Vivint continues to support its range of panels, ensuring that replacement parts remain available.
Environmental Considerations
When dealing with electronics and batteries, it's essential to consider the environmental impact. Proper disposal of old batteries and responsible sourcing of new ones are crucial for sustainability.
Disposal of Old Batteries:
Lithium-ion batteries, like those used in Vivint panels, contain materials that can be harmful if not disposed of properly. They should never be thrown into regular household trash. These batteries can pose fire risks in landfills and can leach harmful chemicals into the environment.
Recommended Disposal Methods:
- Electronics Recycling Centers: Many local municipalities and waste management services offer dedicated electronics recycling programs. These centers are equipped to handle batteries and other electronic waste safely.
- Retailer Take-Back Programs: Some electronics retailers have battery recycling drop-off points. Check with local stores that sell batteries or electronics.
- Household Hazardous Waste (HHW) Collection Events: Keep an eye out for community HHW collection days, which often accept batteries and other hazardous materials.
- Direct Mail-In Programs: Some battery manufacturers or specialized recycling companies offer mail-in programs for battery disposal.
Always check with your local waste management authority for the most up-to-date and convenient disposal options in your area.
Sourcing New Batteries:
When purchasing a new battery, opt for reputable suppliers. While it might be tempting to go for the cheapest option, a reliable battery from a trusted source ensures better performance, safety, and longevity. For 2025, many battery manufacturers are also focusing on more sustainable production methods and longer-lasting designs, which contributes to reducing electronic waste over time.
By taking these simple steps, you can ensure that your home security system maintenance aligns with environmental responsibility.
When to Call a Professional
While changing the battery on your Vivint wall panel is designed to be a user-friendly process, there are specific situations where it's advisable to seek professional assistance from Vivint or a certified technician. Attempting complex repairs without the necessary expertise can lead to further damage or compromise your system's security.
Situations Requiring Professional Help:
- Persistent Error Messages: If, after replacing the battery, you continue to receive error messages that you cannot resolve through troubleshooting, it may indicate a deeper issue with the panel's hardware or software.
- Unresponsive Touchscreen: If the touchscreen remains unresponsive or exhibits erratic behavior even after a full system reboot and battery replacement, the panel itself might be faulty.
- Physical Damage to the Panel: If your Vivint panel has suffered physical damage (e.g., cracks, water damage), do not attempt to service it yourself. Contact Vivint immediately to assess the damage and arrange for a replacement or repair.
- Lack of Confidence or Comfort: If you are not comfortable working with electronics, lack the necessary tools, or are unsure about any step in the process, it's always best to let a professional handle it. Your home security is too important to risk.
- Complex Wiring Issues: If you notice any unusual or damaged wiring within the panel or connected to it, do not attempt to repair it. Electrical issues can be dangerous and require specialized knowledge.
- System Not Re-arming: If the system fails to arm or disarm correctly after the battery replacement, it could be a sign of a more significant system malfunction.
Vivint's customer support is available to guide you through troubleshooting steps. If they determine that the issue requires hands-on intervention, they will arrange for a qualified technician to visit your home. In 2025, Vivint continues to offer robust support services to ensure your smart home security system functions flawlessly. Remember, proactive replacement of a failing battery is key, but recognizing when to step back and call an expert is also a critical part of smart home maintenance.
Conclusion
Successfully changing the battery on your Vivint wall panel is a straightforward yet vital task for maintaining uninterrupted home security. By following the detailed steps outlined in this guide, you can confidently perform this maintenance yourself, ensuring your system remains operational during power outages and functions at its best. Remember the importance of disarming the system, using the correct tools, and carefully handling the components. Always prioritize safety and consult your Vivint panel's specific model information for the exact battery type. For 2025 and beyond, keeping your Vivint system's backup battery in good condition is a cornerstone of reliable home protection. If you encounter any persistent issues or feel uncertain at any stage, do not hesitate to contact Vivint support for professional assistance. Proactive battery replacement is an investment in your peace of mind and the security of your home.