Installing a Vivint Doorbell Camera is a straightforward process designed to enhance your home security. This guide will walk you through each step, from unboxing to final setup, ensuring you can quickly enjoy the benefits of smart home surveillance and communication.
Introduction to Vivint Doorbell Cameras
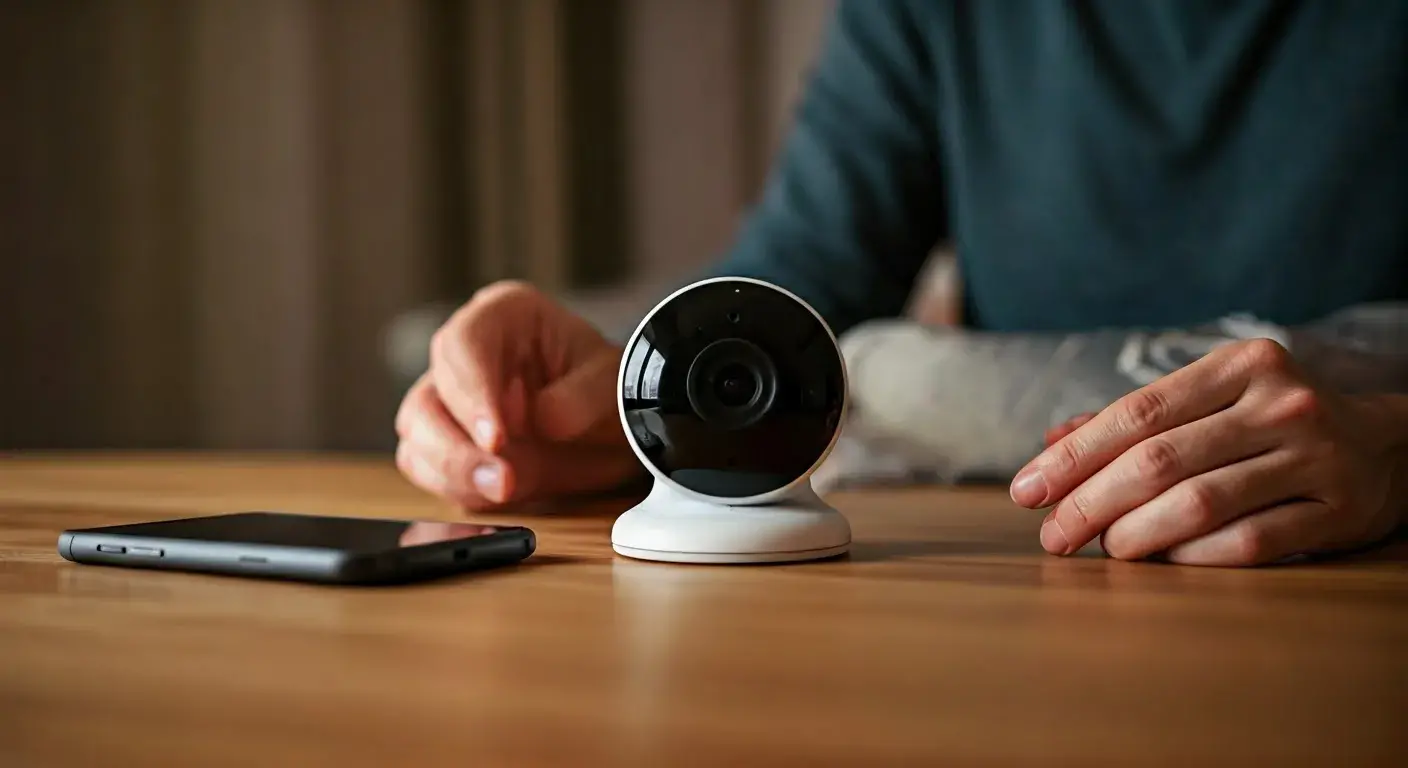
In today's interconnected world, smart home technology offers unparalleled convenience and security. A Vivint Doorbell Camera stands at the forefront of this revolution, providing homeowners with a robust solution for monitoring their front porch, communicating with visitors, and deterring potential threats. Unlike traditional doorbells, these advanced devices integrate seamlessly with your home's Wi-Fi network, allowing you to receive real-time alerts, view live video feeds, and even engage in two-way conversations from anywhere in the world via your smartphone. This comprehensive guide is designed to demystify the process of installing a Vivint Doorbell Camera, ensuring that even those new to smart home technology can achieve a professional-level setup.
The primary goal of installing a Vivint Doorbell Camera is to bolster your home's security and convenience. You gain the ability to see who is at your door before opening it, receive notifications for motion detection, and record video footage for later review. This not only adds a layer of safety but also provides peace of mind, knowing your home is monitored around the clock. With the increasing sophistication of home security systems, understanding the installation process is the first crucial step towards leveraging these powerful tools.
Before You Start: Essential Preparations
Before diving into the physical installation, thorough preparation is key to a smooth and successful setup. This phase ensures you have all necessary components, understand the requirements, and have a clear plan. Skipping these preliminary steps can lead to frustration and delays.
Assessing Your Existing Doorbell System
Your current doorbell system plays a significant role in determining the ease of installation. Most Vivint Doorbell Cameras are designed to replace existing wired doorbells. Therefore, the first step is to identify whether you have a wired or wireless doorbell system.
- Wired Doorbells: If you have a traditional doorbell with wires running to the button, you likely have the necessary infrastructure. You'll need to locate your existing doorbell transformer and chime box. The transformer typically provides the low-voltage power required for the camera, and the chime box is where the doorbell's electrical signal is processed.
- Wireless Doorbells: If your current doorbell is battery-powered and wireless, you will need to run new wiring or consult with a Vivint professional for alternative installation methods. This guide primarily focuses on wired installations.
Checking Wi-Fi Signal Strength
A stable and strong Wi-Fi connection is paramount for the optimal performance of your Vivint Doorbell Camera. The camera relies on Wi-Fi to transmit video, receive alerts, and communicate with the Vivint app. Weak Wi-Fi signals can result in choppy video, delayed notifications, and connectivity issues.
- Test at the Installation Location: Use your smartphone or a Wi-Fi analyzer app to check the signal strength at the exact spot where you plan to mount the doorbell camera.
- Ideal Signal Strength: Aim for a signal strength of at least three out of four bars.
- Boosting Your Signal: If the signal is weak, consider repositioning your Wi-Fi router, using a Wi-Fi extender or mesh network, or upgrading your router.
Understanding Power Requirements
Vivint Doorbell Cameras require a consistent power supply. The standard requirement for most models is a transformer providing between 16-30V AC and at least 10 VA. It's crucial to verify your existing transformer's output. If it's insufficient, you will need to replace it with a compatible one.
Note: Incorrect voltage can damage the doorbell camera. Always check the specifications in your Vivint manual and on your transformer.
Checking Local Regulations and HOA Rules
While less common for doorbell cameras than for larger security systems, it's wise to be aware of any local ordinances or Homeowners Association (HOA) rules regarding exterior cameras and their placement. Ensure your installation complies with any privacy concerns or aesthetic guidelines.
What You'll Need: Tools and Components
Having the right tools and components readily available will make the installation process significantly smoother. This section outlines everything you should gather before you begin.
Included in the Vivint Doorbell Camera Kit
When you purchase a Vivint Doorbell Camera, it typically comes with the following essential components:
- Vivint Doorbell Camera unit
- Mounting bracket
- Wiring harness or connectors
- Screws and anchors
- Chime connector (if applicable)
- Installation guide
- Sometimes, a corner or wedge mount
Essential Tools for Installation
You will likely need a few common household tools:
- Screwdriver Set: Phillips head and flathead screwdrivers are essential for removing old components and securing the new camera.
- Drill and Drill Bits: For creating pilot holes or larger holes if needed for wiring. Masonry bits may be required for brick or concrete.
- Wire Strippers: To expose the copper wire ends for secure connections.
- Voltage Tester: Crucial for safely checking if power is off at your existing doorbell wires.
- Pencil: For marking drilling locations.
- Level: To ensure your doorbell camera is mounted straight.
- Safety Glasses: To protect your eyes when drilling.
- Ladder: If your current doorbell is mounted higher than comfortable reach.
Optional but Recommended Tools
- Caulk Gun and Exterior Caulk: To seal around the mounting bracket and prevent water ingress, especially in harsh weather conditions.
- Stud Finder: To locate studs for a more secure mounting, though anchors are usually sufficient.
Step-by-Step Installation Guide
This section provides a detailed, sequential guide to installing your Vivint Doorbell Camera. Follow these steps carefully for a successful installation.
Step 1: Turn Off Power
Safety First! Before touching any wires, you must disconnect the power to your existing doorbell system. Locate your home's electrical panel and find the circuit breaker that controls your doorbell. Flip the breaker to the "OFF" position. To confirm the power is off, press your existing doorbell button; the chime should not sound. If you're unsure which breaker controls the doorbell, it's best to turn off the main breaker for your home or consult a qualified electrician.
Step 2: Remove Your Existing Doorbell Button
Once power is confirmed off, carefully remove your current doorbell button. It's usually held in place by two screws. Gently pry the button away from the wall. You will see two wires connected to the back of the button. Unscrew these wires from the terminals.
Step 3: Test Existing Wires for Power (Optional but Recommended)
Even though you've turned off the breaker, it's good practice to use a non-contact voltage tester on the wires you just disconnected. This confirms that no residual power is present, ensuring your safety.
Step 4: Inspect and Prepare the Wires
Examine the wires. If they are damaged, corroded, or too short, you may need to extend them or use wire nuts to connect them to longer wires. Ensure the ends of the wires are stripped to about ½ inch of exposed copper. If they are not, use wire strippers to carefully remove the insulation.
Step 5: Connect the Vivint Doorbell Camera Wires
Your Vivint Doorbell Camera will come with a wiring harness or terminals. Connect the two existing doorbell wires to the corresponding terminals on the new doorbell camera's mounting bracket or wiring harness. The order of the wires usually doesn't matter for most doorbell cameras, but always refer to your specific Vivint model's manual for any exceptions. Ensure the connections are secure.
Step 6: Mount the Vivint Doorbell Camera Bracket
Position the mounting bracket over the wires where your old doorbell was. Use a level to ensure it's straight. Mark the screw hole locations on your wall with a pencil. If mounting on wood, you can drill pilot holes. If mounting on brick, stucco, or other hard surfaces, you'll need to use the provided anchors. Drill holes for the anchors, insert them, and then secure the bracket to the wall using the provided screws.
Step 7: Attach the Vivint Doorbell Camera to the Bracket
Once the bracket is securely mounted, align the Vivint Doorbell Camera with the bracket and slide or snap it into place. It should feel secure and flush against the wall.
Step 8: Restore Power
Return to your electrical panel and turn the circuit breaker for your doorbell back to the "ON" position. The doorbell camera should power up. You might see an indicator light or hear a startup sound, depending on the model.
Step 9: Test the Doorbell
Press the button on your new Vivint Doorbell Camera. Your indoor chime should ring, and you should receive a notification on your smartphone via the Vivint app (assuming it's already set up).
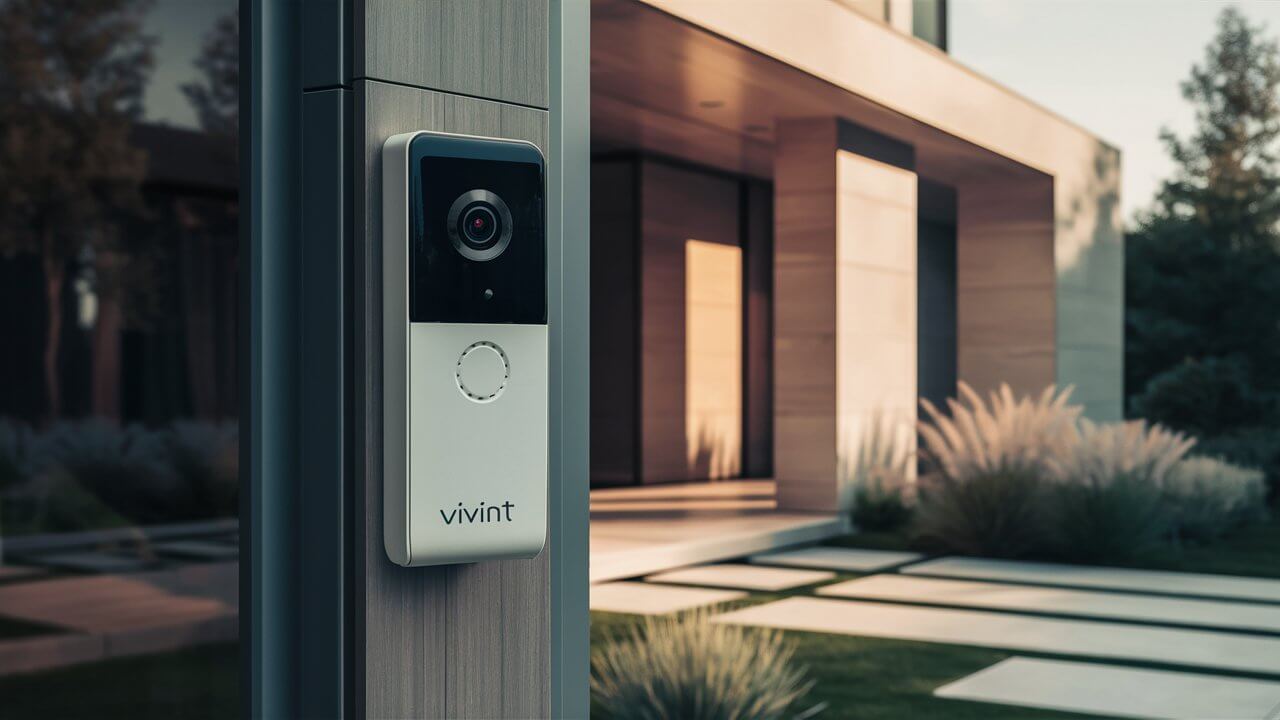
Mounting Your Vivint Doorbell Camera
The placement and mounting of your doorbell camera are critical for its functionality and effectiveness. Vivint often provides options to suit different home exteriors and viewing angles.
Standard Mounting
This is the most common method, directly replacing your existing doorbell button. The bracket attaches flush to your wall, and the camera sits directly on it. This is ideal for most flat surfaces like siding or wood.
Using a Wedge or Corner Mount
Some Vivint models come with or offer optional wedge or corner mounts. These are particularly useful in specific scenarios:
- Corner Mounting: If your doorbell is located on a corner of your house, a corner mount allows you to angle the camera to cover both directions.
- Angled Views: A wedge mount can be used to angle the camera slightly up or down. This is helpful if the doorbell is mounted too high or too low, or if you want to get a better view of packages left on the ground.
When using these mounts, ensure they are also securely fastened to the wall, and then attach the doorbell bracket to the mount. Follow the specific instructions provided with the wedge or corner mount.
Mounting on Different Surfaces
Wood or Vinyl Siding: Pilot holes are usually sufficient. For vinyl siding, consider using a mounting block designed for vinyl to create a stable, flat surface.
Brick or Stucco: You will almost certainly need to use masonry anchors and a drill with a masonry bit. Ensure the anchors are rated for the weight of the doorbell camera.
Metal Doors or Surfaces: Mounting directly to metal might require specialized adhesive mounts or drilling through the surface, which could be problematic for the door itself. In such cases, consider mounting to an adjacent wall or using a mounting block.
Wiring Considerations for Your Doorbell Camera
Proper wiring is the backbone of a reliable wired doorbell camera. Understanding the nuances can prevent issues down the line.
Transformer Compatibility
As mentioned, Vivint Doorbell Cameras require a specific voltage and amperage. The typical range is 16-30V AC, with a minimum of 10 VA. Older homes might have transformers that are too weak (e.g., 8V or 10V) or have failed. If your transformer is insufficient, you'll need to replace it.
Locating Your Transformer: The transformer is often found near your electrical panel, in the basement, or in the attic. It's usually a small, rectangular metal box with screw terminals.
Replacing a Transformer: This involves disconnecting the wires from the old transformer, removing it, mounting the new one, and reconnecting the wires. Always ensure power is OFF at the breaker before attempting this. If you're uncomfortable, hire an electrician.
Chime Compatibility
Vivint Doorbell Cameras are designed to work with most standard mechanical and digital chimes. However, some very old or very new electronic chimes might present compatibility issues. The chime connector provided with the Vivint system helps to regulate the signal and ensure your existing chime works correctly.
Mechanical Chimes: These are the classic "ding-dong" chimes. They are generally very compatible.
Digital Chimes: These have a more electronic sound. Most are compatible, but it's always best to check the Vivint compatibility list or consult support if you have a very specific or unusual chime.
No Chime / Wireless Chime: If you don't have an existing chime or prefer not to use it, you can often bypass it, and the doorbell will still send notifications to your app. The chime connector might still be necessary to prevent electrical feedback.
Wire Gauge and Condition
The gauge (thickness) of your doorbell wires can affect the power delivery. Thicker wires (lower gauge number) are better for carrying current over longer distances. If your wires are very thin or the runs are long, you might experience power issues. The condition of the wires is also important; frayed or corroded wires can lead to intermittent connections.
Professional Installation Option
If you are unsure about any aspect of the wiring, transformer replacement, or if your existing wiring is complex or damaged, it is highly recommended to opt for professional installation. Vivint offers professional installation services, which can save you time, prevent potential damage to your system, and ensure everything is set up correctly from the start. This is particularly advisable for those with limited DIY experience or older homes with potentially outdated electrical systems.
Setting Up the Vivint App and Camera
Once the physical installation is complete, the next crucial step is integrating your new doorbell camera with the Vivint smart home ecosystem through the mobile app.
Downloading and Installing the Vivint App
If you don't already have it, download the Vivint app from the Apple App Store (for iOS devices) or Google Play Store (for Android devices). Create a Vivint account or log in if you already have one. Ensure your smartphone is connected to your home's Wi-Fi network.
Adding the Doorbell Camera to Your Account
Within the Vivint app, navigate to the section for adding new devices. You will likely be prompted to scan a QR code located on the back of your doorbell camera or its packaging. Alternatively, you may need to manually enter a serial number or device ID. Follow the on-screen prompts to connect the camera to your Vivint account and your home's Wi-Fi network.
Wi-Fi Credentials: You will need to enter your home Wi-Fi network name (SSID) and password. Ensure you use the correct credentials for your 2.4 GHz network, as most smart home devices are not compatible with 5 GHz networks.
Configuring Camera Settings
After the camera is connected, the app will guide you through initial configuration:
- Camera Name: Assign a descriptive name (e.g., "Front Door Camera").
- Notification Preferences: Set up how and when you want to receive alerts (e.g., motion detection, doorbell press).
- Video Quality: Choose the desired video resolution based on your internet speed and storage preferences.
- Motion Detection Zones: Define specific areas within the camera's view where you want motion to be detected, reducing false alerts from passing cars or swaying trees.
- Recording Settings: Configure how long recordings are stored and under what conditions (e.g., always record, record on motion).
Linking to Your Vivint Security System (If Applicable)
If you have a broader Vivint security system, the doorbell camera will integrate seamlessly. It will appear alongside your other devices on the app's dashboard. You can set up rules and automations, such as having your porch light turn on when motion is detected by the doorbell, or having your indoor cameras start recording when the doorbell is pressed.
Firmware Updates
Vivint regularly releases firmware updates to improve performance, add new features, and patch security vulnerabilities. Ensure your app is set to automatically download and install these updates, or manually check for them periodically. Keeping your firmware up-to-date is crucial for optimal security and functionality.
Testing and Troubleshooting
After setup, thorough testing is essential to ensure everything is working as expected. Here are common issues and their solutions.
Common Installation Issues and Solutions
- No Power to the Doorbell Camera:
- Check Breaker: Ensure the circuit breaker is ON.
- Check Transformer: Verify the transformer is providing the correct voltage (16-30V AC). If not, replace it.
- Check Wire Connections: Ensure the wires are securely connected to the doorbell terminals and the transformer.
- Wire Gauge: If wires are very thin or the run is long, power might be insufficient.
- Doorbell Rings, but No Video Feed / App Alerts:
- Wi-Fi Connection: Verify the camera is connected to your Wi-Fi. Check signal strength at the doorbell location.
- App Settings: Ensure notifications are enabled in the Vivint app and your phone's settings.
- Camera Registration: Confirm the camera is properly registered to your Vivint account.
- Reboot Camera: Sometimes, a simple reboot can resolve connectivity issues. You might need to temporarily disconnect power to the doorbell.
- Poor Video Quality:
- Wi-Fi Signal: This is the most common cause. Move your router closer, use an extender, or consider a mesh network.
- Internet Speed: Ensure your internet upload speed is sufficient for streaming video. Vivint typically recommends at least 5 Mbps upload speed per camera.
- Camera Lens: Clean the camera lens with a soft, microfiber cloth.
- False Motion Alerts:
- Adjust Motion Zones: Refine the motion detection zones in the app to exclude areas with frequent movement (e.g., street, trees).
- Sensitivity Settings: Lower the motion detection sensitivity if necessary.
- Placement: Ensure the camera isn't pointed directly at bright lights or heat sources that can trigger false alerts.
- Chime Not Working:
- Chime Connector: Ensure the chime connector is installed correctly according to the Vivint manual.
- Chime Type: Verify your chime type is compatible.
- Wiring to Chime: Check the wiring connections at the chime box itself.
When to Contact Vivint Support
If you've tried the troubleshooting steps above and are still experiencing issues, it's time to reach out to Vivint's customer support. They have specialized tools and knowledge to diagnose more complex problems, including network configuration, account issues, or hardware malfunctions. Be prepared to provide them with details about your setup, the problem you're experiencing, and any troubleshooting steps you've already taken.
Maximizing Your Vivint Doorbell Camera Features
Beyond basic functionality, Vivint Doorbell Cameras offer a suite of advanced features designed to enhance security and convenience. Understanding and utilizing these can significantly improve your experience.
Two-Way Audio Communication
This feature allows you to speak with visitors at your door in real-time, from anywhere, using the Vivint app. It's invaluable for screening visitors, instructing delivery drivers, or even deterring potential intruders by letting them know they are being watched and can be communicated with.
Night Vision Capabilities
Equipped with infrared LEDs, Vivint Doorbell Cameras provide clear black-and-white video footage even in complete darkness. This ensures continuous surveillance throughout the night, capturing any activity around your front door.
Motion Detection and Smart Alerts
Advanced motion detection algorithms can differentiate between people, packages, and vehicles. This allows for more intelligent alerts, so you're only notified about events that matter. You can customize alert types and frequency to suit your needs.
Package Detection
A standout feature for many users is package detection. The camera can identify when a package is delivered or removed from your doorstep, sending you a specific alert. This is incredibly useful for ensuring deliveries arrive safely and for deterring package theft.
Customizable Recording Options
You can configure your doorbell camera to record continuously, on motion detection, or only when the doorbell is pressed. These settings can be adjusted based on your internet bandwidth, storage capacity, and desired level of monitoring. Vivint's cloud storage plans offer varying retention periods for recorded footage.
Integration with Other Smart Home Devices
As part of the Vivint ecosystem, your doorbell camera can interact with other smart devices. For instance, you can set up rules where the camera triggers your smart lights to turn on when motion is detected after dark, or have your smart lock disarm when the doorbell recognizes a trusted visitor (though this is less common for doorbells and more for other sensors).
Geofencing Capabilities
Some smart home systems, including Vivint's, can utilize geofencing. This means your system can recognize when you leave or arrive home based on your phone's location. You could set up automations like the doorbell camera arming itself when you leave or disabling motion alerts when you are detected at home.
Ongoing Maintenance and Care
To ensure your Vivint Doorbell Camera continues to function optimally for years to come, regular maintenance is recommended.
Cleaning the Camera Lens
Over time, dust, dirt, pollen, or water spots can accumulate on the camera lens, degrading video quality. Periodically (e.g., quarterly or as needed), gently clean the lens with a soft, lint-free microfiber cloth. For stubborn grime, you can lightly dampen the cloth with water or a lens-cleaning solution specifically designed for electronics. Never use abrasive cleaners or harsh chemicals.
Checking Wire Connections
While wired connections are generally stable, it's a good idea to periodically check the security of the wire connections at the doorbell and, if accessible, at the transformer and chime. Ensure they haven't loosened over time due to vibrations or environmental factors.
Updating Firmware and Software
As mentioned, Vivint regularly releases updates. Ensure your Vivint app and the doorbell camera's firmware are kept up-to-date. These updates often include performance enhancements, security patches, and new features. Most updates can be managed through the Vivint app.
Monitoring Wi-Fi Performance
Periodically check the Wi-Fi signal strength at the doorbell camera's location. If you've recently added new devices to your network or made changes to your home layout, your Wi-Fi performance might be affected. A weak signal can lead to intermittent connectivity and poor video quality.
Inspecting for Physical Damage
Visually inspect the doorbell camera for any signs of physical damage, such as cracks in the casing or lens, or loose mounting. If you notice any damage, especially if it compromises the weatherproofing, contact Vivint support for assistance or replacement options.
Power Supply Check
If you experience persistent power-related issues, it might be worth having your transformer tested again, especially if it's an older unit. A failing transformer can still provide some power but not enough for reliable operation of the doorbell camera.
Conclusion: Securing Your Home with Vivint
Installing a Vivint Doorbell Camera is an investment in your home's security, convenience, and peace of mind. By following this comprehensive guide, you can confidently navigate the installation process, from understanding the initial requirements and gathering the necessary tools to executing the step-by-step setup and configuring advanced features. The ability to see, speak with, and monitor visitors at your doorstep, regardless of your location, offers an unprecedented level of control and safety in today's world.
Remember that thorough preparation, careful attention to wiring and power requirements, and diligent testing are key to a successful installation. Should you encounter any challenges, Vivint's robust support system and the troubleshooting tips provided here are designed to guide you. By maximizing features like two-way audio, night vision, and intelligent motion alerts, you transform your front door into a smart, secure entry point. Regular maintenance will ensure your Vivint Doorbell Camera remains a reliable guardian for years to come. Embrace the power of smart home technology and enjoy the enhanced security and convenience that Vivint brings to your doorstep.