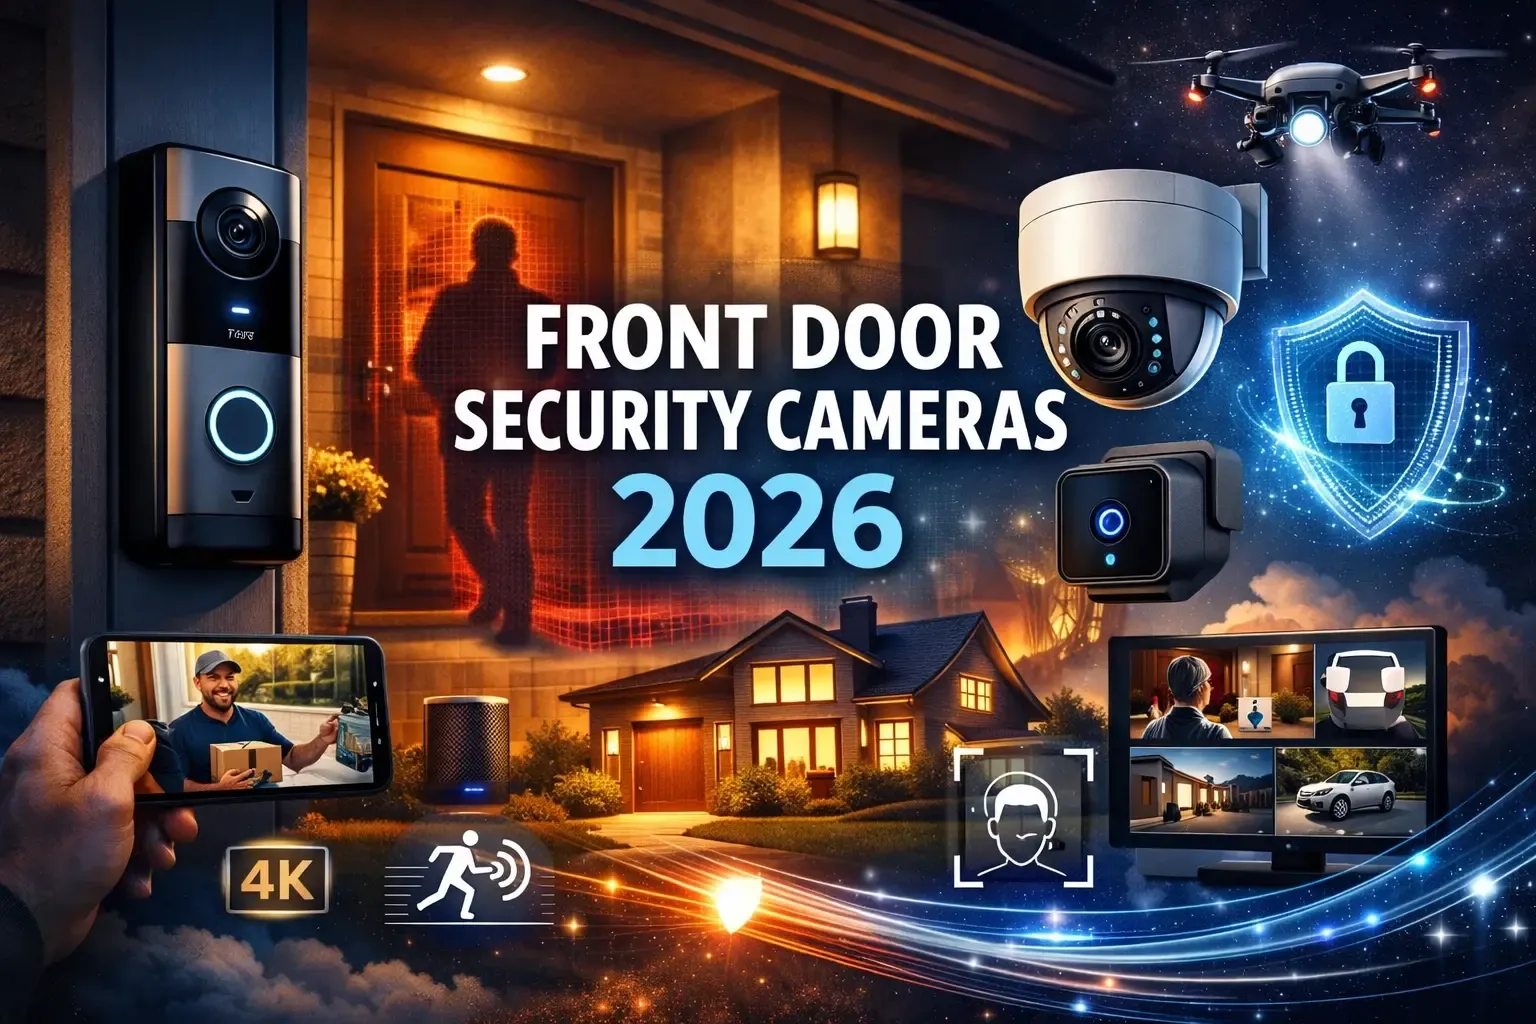
How To Install Wired Security Cameras
Installing wired security cameras provides a robust, reliable, and high-quality surveillance solution for your home or business. This comprehensive guide will walk you through every step, from planning and choosing equipment to the final setup, ensuring a secure and effective system.
Planning Your Wired Security Camera System
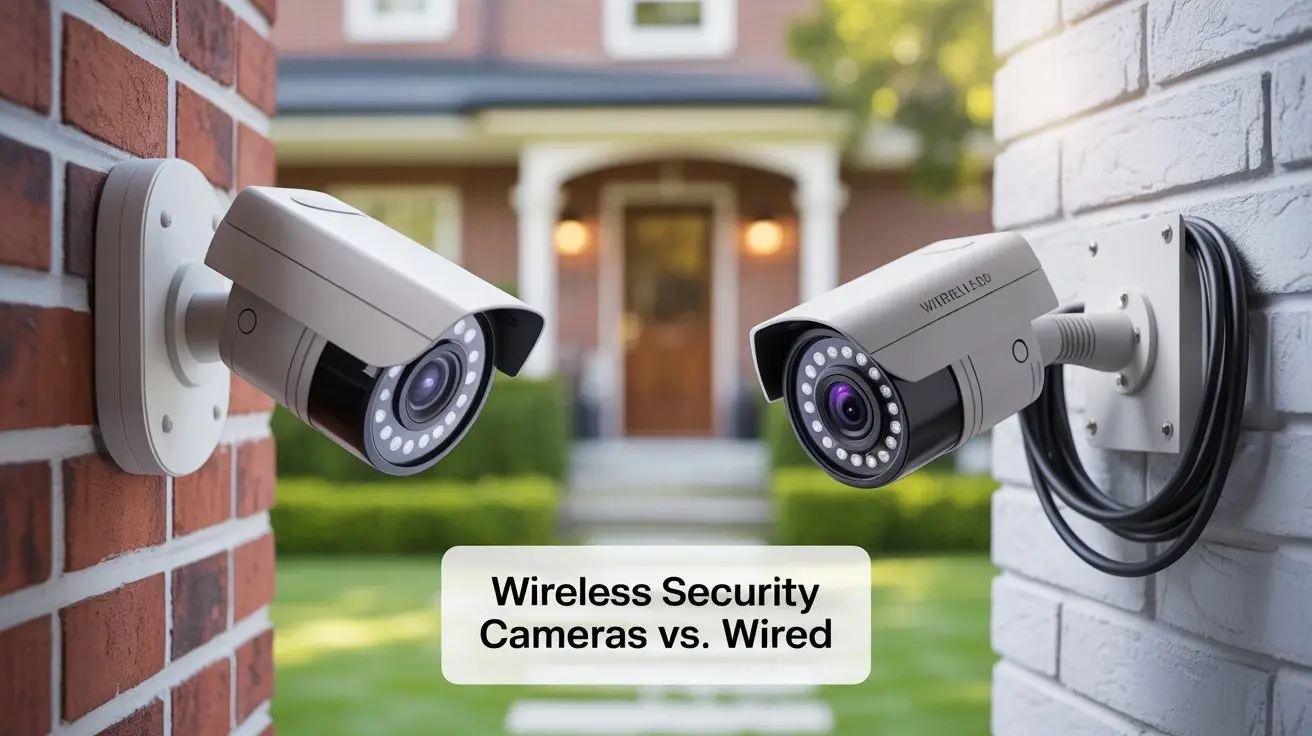
A well-planned wired security camera installation is crucial for optimal performance and coverage. Rushing this phase can lead to blind spots, insufficient power, or data transmission issues. As of 2025, the demand for reliable home security solutions continues to rise, with wired systems often favored for their stability and lack of interference compared to wireless alternatives. Statistics from the Security Industry Association (SIA) indicate that while wireless systems are popular for ease of installation, wired solutions still hold a significant market share due to their perceived security and performance advantages, particularly in larger properties or areas with significant Wi-Fi congestion.
Assessing Your Security Needs
Before purchasing any equipment, thoroughly assess what you need to monitor. Consider:
- Key Entry Points: Front doors, back doors, garage doors, and ground-floor windows are primary targets for intruders.
- Vulnerable Areas: Driveways, side yards, and any dimly lit or secluded areas.
- High-Value Assets: Garages where vehicles are stored, sheds containing tools, or areas where expensive equipment is kept.
- Activity Monitoring: Do you need to see who is at the door, monitor children or pets, or keep an eye on a delivery area?
- Environmental Conditions: Will cameras be exposed to rain, snow, extreme temperatures, or direct sunlight? This dictates the type of camera housing and lens needed.
Determining Camera Placement and Coverage
Strategic placement is key to maximizing your system's effectiveness. Think about the camera's field of view and how it can be best utilized.
- Height: Mount cameras high enough to prevent tampering but low enough to capture identifiable details (e.g., faces, license plates). Typically, 8-10 feet is a good starting point.
- Angles: Avoid pointing cameras directly at the sun, as this can wash out the image. Angle cameras to cover the widest possible area without excessive overlap or blind spots.
- Obstructions: Ensure trees, bushes, or other structures do not obstruct the camera's view.
- Power and Data: Each wired camera requires a power source and a data connection. Plan routes for these cables that are discreet, protected, and accessible for maintenance.
Understanding Cable Runs and Power Requirements
Wired systems rely on physical cables for both data transmission and power. The type of cable and how it's routed significantly impacts the installation's complexity and the system's reliability.
- Cable Types:
- Coaxial Cables (for Analog/HD-TVI/CVI/AHD): These are traditional cables that carry both video and power (often through a separate power cable or a bundled Siamese cable).
- Ethernet Cables (for IP Cameras): These carry data and, with Power over Ethernet (PoE) technology, can also carry power. This simplifies installation significantly.
- Distance Limitations: Standard Ethernet cables (Cat5e/Cat6) have a maximum reliable run of 100 meters (approximately 328 feet) for data. Coaxial cable runs can be longer, but signal degradation can occur over very long distances, potentially requiring signal boosters.
- Power Sources:
- Individual Power Adapters: Each camera might require its own power adapter plugged into a nearby outlet.
- Centralized Power Box: A multi-port power supply can consolidate power for several cameras.
- PoE Switch/Injector (for IP Cameras): This is the most efficient method for IP cameras, delivering power and data over a single Ethernet cable.
In 2025, the prevalence of PoE technology for IP cameras has made planning power distribution much simpler. A single PoE switch can power multiple cameras, reducing the need for numerous power outlets near camera locations. However, for systems not using PoE, careful consideration of outlet availability and the aesthetics of power adapter placement is essential.
Mapping Your Installation Plan
Create a detailed map of your property, marking:
- Desired camera locations.
- Potential cable routes (interior walls, attic, crawl spaces, exterior conduit).
- The location of your Network Video Recorder (NVR) or Digital Video Recorder (DVR).
- The location of your power source(s) or PoE switch.
This visual plan will help you estimate cable lengths, identify potential installation challenges, and ensure all necessary components are accounted for.
Choosing the Right Wired Security Cameras and Components
Selecting the appropriate hardware is fundamental to building an effective wired security camera system. The market in 2025 offers a wide array of technologies and features, making it important to understand the differences and choose based on your specific needs and budget.
Types of Wired Cameras
Wired cameras generally fall into two main categories based on their connectivity and technology:
- Analog/HD-over-Coax Cameras: These are older but still relevant technologies (like HD-TVI, HD-CVI, AHD). They use coaxial cables and connect to a DVR. While they can offer HD resolutions, they are generally surpassed by IP cameras in terms of features and image quality.
- IP Cameras (Network Cameras): These are digital cameras that connect to your network via Ethernet cables. They offer higher resolutions, advanced features like analytics, and can be powered via PoE. They connect to an NVR. For most new installations in 2025, IP cameras are the recommended choice due to their superior performance and scalability.
Camera Form Factors
The physical design of the camera is important for its placement and durability:
- Bullet Cameras: These are the most common type, resembling a bullet. They are often used for outdoor surveillance due to their visible deterrent effect and directional focus. Many are weatherproof.
- Dome Cameras: These have a dome-shaped casing, making it harder to tell which way they are pointing, which can be a deterrent. They are often used indoors or under eaves for a more discreet look. Vandal-proof versions are available for high-risk areas.
- Turret Cameras (Eyeball Cameras): Similar to dome cameras but with a more flexible ball-and-socket design, allowing for easier adjustment. They offer a good balance of discreetness and adjustability.
- PTZ Cameras (Pan-Tilt-Zoom): These cameras can be remotely controlled to pan, tilt, and zoom, offering a wide coverage area with a single camera. They are more expensive and typically used in commercial settings or for monitoring large open spaces.
Key Camera Features to Consider
Beyond form factor, several technical features dictate a camera's performance:
- Resolution: Measured in megapixels (MP). Higher resolution means a clearer, more detailed image. Common resolutions range from 2MP (1080p) to 4MP, 5MP, 8MP (4K), and beyond. For facial recognition and license plate capture, 4MP or higher is recommended.
- Field of View (FoV): This is the extent of the scene that the camera can capture. It's determined by the lens focal length. Wide-angle lenses (e.g., 2.8mm) cover a larger area but with less detail at a distance, while telephoto lenses (e.g., 12mm) offer a narrower view with more detail at a distance.
- Night Vision (Infrared - IR): Essential for low-light or no-light conditions. Look for the IR range (e.g., 30 meters, 50 meters). Some cameras use smart IR to adjust illumination and prevent overexposure.
- Weatherproofing (IP Rating): For outdoor cameras, an IP66 or IP67 rating is essential to protect against dust and water ingress.
- Wide Dynamic Range (WDR): Crucial for scenes with high contrast lighting (e.g., bright sunlight and deep shadows). WDR balances these extremes for a clearer image.
- Audio: Some cameras have built-in microphones to record audio along with video. Check local regulations regarding audio recording.
- Storage: Cameras can record to an NVR/DVR, a local microSD card (for some IP cameras), or cloud storage.
Network Video Recorder (NVR) vs. Digital Video Recorder (DVR)
The choice between an NVR and DVR depends on the type of cameras you select:
- DVR (Digital Video Recorder): Used with analog or HD-over-coax cameras. It receives analog video signals, digitizes them, and records them. DVRs typically have BNC connectors for camera input.
- NVR (Network Video Recorder): Used with IP cameras. It receives digital video streams over the network. NVRs have Ethernet ports for camera connections, and many have built-in PoE ports to power cameras directly.
Key NVR/DVR Features:
- Number of Channels: How many cameras the recorder can support (e.g., 4, 8, 16, 32 channels).
- Recording Resolution and Frame Rate: The maximum resolution and frames per second (FPS) it can record for each channel.
- Storage Capacity: The amount of hard drive space available for recordings. This is a critical factor for how long you can store footage. As of 2025, 2TB to 8TB drives are common for home systems, with larger capacities available for commercial use.
- Remote Access: Ability to view live and recorded footage remotely via a smartphone app or web browser.
- Video Analytics: Advanced features like motion detection, line crossing detection, or intrusion detection.
Cabling and Accessories
- Ethernet Cables (for IP Cameras): Cat5e or Cat6 cables are standard. Ensure they are rated for outdoor use if running externally.
- Coaxial Cables (for Analog/HD-over-Coax): RG59 or RG6 cables are common.
- Power Supplies: Individual adapters, multi-port power boxes, or PoE switches/injectors.
- Connectors: BNC connectors for coaxial, RJ45 connectors for Ethernet.
- Conduit and Junction Boxes: For protecting cables and providing secure mounting points, especially outdoors.
- Mounting Hardware: Brackets, screws, and anchors suitable for your mounting surfaces (wood, brick, stucco).
Comparison: IP Cameras vs. Analog Cameras (2025 Perspective)
| Feature | IP Cameras (NVR) | Analog/HD-over-Coax Cameras (DVR) |
|---|---|---|
| Image Quality | Generally superior, higher resolutions (4K+), better low-light performance. | Good HD resolutions (up to 8MP), but often less detail than comparable IP cameras. |
| Installation Simplicity | PoE simplifies wiring (one cable for data & power). Network configuration can be more complex. | Requires separate power and video cables (or Siamese cable). Simpler setup for basic systems. |
| Scalability | Easier to add cameras to a network. Higher channel counts possible. | Limited by DVR channels. Adding cameras requires more cabling. |
| Features | Advanced analytics (AI detection), two-way audio, Wi-Fi connectivity (though we focus on wired here). | Basic motion detection. Fewer advanced features. |
| Cost | Can be higher initially, but PoE reduces installation costs. | Often lower upfront cost for cameras and DVR. |
| Future-Proofing | More future-proof due to ongoing technological advancements. | Less development focus, potentially becoming legacy technology. |
Step-by-Step Installation Guide
Installing wired security cameras requires careful execution. Follow these steps to ensure a successful setup. This guide assumes you are using IP cameras with PoE, as this is the most common and recommended setup for new installations in 2025.
Step 1: Prepare Your Tools and Workspace
Gather all necessary tools and materials before you begin. This will save you time and frustration.
- Tools:
- Drill with various drill bits (including masonry bits if needed).
- Screwdriver set.
- Wire strippers and crimpers (for Ethernet cables if making custom lengths).
- Cable tester (for Ethernet).
- Ladder.
- Stud finder.
- Pencil.
- Safety glasses.
- Gloves.
- Utility knife.
- Fish tape or pull string (for routing cables through walls).
- Caulking gun and sealant (for outdoor weatherproofing).
- Materials:
- Your chosen cameras.
- NVR.
- PoE switch or NVR with built-in PoE.
- Ethernet cables (Cat5e or Cat6, appropriate length and outdoor-rated if necessary).
- Mounting hardware (screws, anchors).
- Conduit and junction boxes (if required for outdoor protection).
Step 2: Mount Your NVR and PoE Switch
The NVR and PoE switch should be located in a secure, dry, and well-ventilated area, typically near your router and modem. A closet, office, or utility room is ideal. Ensure they have access to power and network connectivity.
- If your NVR has built-in PoE ports, you may only need to connect it to your router for internet access.
- If using a separate PoE switch, connect it to your router via an Ethernet cable.
- Mount the NVR and switch securely to a shelf or wall if necessary.
Step 3: Run Your Ethernet Cables
This is often the most time-consuming part of the installation. Plan your cable routes carefully to be discreet and protected.
- Inside Walls: Use a stud finder to locate wall studs and ceiling joists. Drill holes through studs or joists to pass cables. Use fish tape or a pull string to guide cables through tight spaces.
- Attic/Crawl Spaces: These are often the easiest places to run cables. Be mindful of insulation and potential hazards.
- Exterior Runs: If running cables along the exterior of your home, use UV-resistant, outdoor-rated Ethernet cable. Protect cables by running them through conduit, especially in areas exposed to weather or potential damage. Seal any entry points into the house with caulk.
- Cable Length: Remember the 100-meter (328 ft) limit for Ethernet cables. If a run exceeds this, you'll need a network extender or to split the run with another switch.
- Labeling: Label both ends of each cable clearly (e.g., "Front Door Camera," "Backyard Camera") to avoid confusion later.
Step 4: Mount Your Cameras
Once the cables are run, it's time to install the cameras at their planned locations.
- Positioning: Hold the camera mount in the desired position and mark the screw holes.
- Drilling: Drill pilot holes for the screws. If mounting on brick or stucco, use appropriate anchors.
- Cable Entry: Ensure the cable can pass through the mounting bracket or a designated hole near the mounting point. For outdoor cameras, consider using a junction box to protect the cable connection.
- Connecting Cable: Gently feed the Ethernet cable through the mounting bracket or junction box and connect it to the camera.
- Securing the Camera: Mount the camera securely to the surface.
- Initial Angle: Set the camera to an approximate angle. You'll fine-tune this later.
Step 5: Connect Cameras to the NVR/PoE Switch
This is where the "wired" aspect truly comes together.
- Route the free end of each Ethernet cable from the camera to your NVR or PoE switch.
- Plug each labeled Ethernet cable into a PoE port on your NVR or PoE switch. If your NVR does not have PoE, you will need a separate PoE injector or a PoE switch connected to your network, and then connect the NVR to your router.
Step 6: Connect NVR to Your Network
For remote viewing and notifications, your NVR needs to be connected to your home network and the internet.
- Connect an Ethernet cable from the NVR's LAN or WAN port to an available port on your router or network switch.
Step 7: Power Up the System
It's time to bring your system to life.
- Ensure all cable connections are secure.
- Turn on the NVR (if it has a separate power adapter).
- Turn on the PoE switch (if using a separate one).
- Your cameras should power on automatically via PoE. You'll see indicator lights on the NVR/switch and potentially on the cameras.
Testing and Configuration
With the hardware installed, the next crucial phase is testing and configuring your system to ensure it functions as intended and provides the desired security coverage.
Initial System Boot and Detection
Once powered on, give the NVR a few minutes to boot up. Most NVRs will automatically detect cameras connected to their PoE ports. If you are using a separate PoE switch, the NVR will detect them as network devices.
- Accessing the NVR Interface: Connect a monitor and mouse to your NVR. Follow the on-screen prompts for initial setup, which usually involves setting a strong administrator password, configuring the date and time, and formatting the hard drive (if it's new).
- Camera Discovery: Navigate to the camera management or device list section of the NVR interface. You should see your cameras listed. If a camera isn't detected, double-check its cable connection, the PoE port, and the cable integrity using a cable tester.
Camera Alignment and Focus
Properly aligning your cameras is critical for effective surveillance.
- Live View: Access the live view on your NVR monitor. You'll see the feed from each camera.
- Adjusting Angles: For each camera, adjust its position to cover the desired area. Pay attention to:
- Coverage: Ensure no significant blind spots exist in critical areas.
- Obstructions: Check for branches, leaves, or other objects that might block the view.
- Lighting: Avoid pointing cameras directly into bright light sources.
- Fine-Tuning: Most cameras can be manually adjusted. Some IP cameras allow for remote pan, tilt, and zoom adjustments via the NVR interface, simplifying this process.
- Focus: Ensure the image is sharp and in focus. Some cameras have adjustable lenses for manual focus.
Configuring Recording Settings
Determine how and when your cameras will record footage.
- Recording Modes:
- Continuous Recording: Records 24/7. This provides the most comprehensive footage but consumes the most storage space.
- Motion Detection Recording: Records only when motion is detected in the camera's field of view. This saves storage space but might miss events if the motion detection is not sensitive enough or is triggered by non-threats (e.g., animals, shadows).
- Scheduled Recording: Records only during specific times or days.
- Motion Detection Zones and Sensitivity: For motion-activated recording, configure the motion detection zones within the camera's view and adjust the sensitivity. This helps reduce false alarms. Most modern NVRs and IP cameras in 2025 offer sophisticated motion detection, including human or vehicle detection, which significantly improves accuracy.
- Recording Resolution and Frame Rate (FPS): Balance image quality with storage needs. Higher resolutions and FPS consume more space. For general surveillance, 1080p at 15-30 FPS is often sufficient. For capturing fine details like license plates, higher resolutions and FPS might be necessary.
- Pre- and Post-Recording: Set a few seconds of video to record before and after a motion event is detected to capture the full context of an incident.
Setting Up Remote Access
Accessing your cameras remotely is a key benefit of modern security systems.
- NVR Software/App: Most NVR manufacturers provide dedicated mobile apps (iOS/Android) and desktop software for remote viewing.
- Account Creation: You'll typically need to create an account with the manufacturer and link your NVR to it. This often involves scanning a QR code on the NVR or entering a serial number.
- Network Configuration (Port Forwarding - Less Common with P2P): In older systems or specific configurations, you might need to configure port forwarding on your router. However, many modern NVRs use P2P (peer-to-peer) technology or cloud services that simplify remote access without complex router configurations. Always prioritize P2P or cloud-based solutions for ease of use and security.
- Testing: Once configured, test remote access from your smartphone or another computer outside your home network.
Configuring Notifications
Receive alerts when motion is detected or other critical events occur.
- Email Alerts: Configure the NVR to send email notifications with snapshots or short video clips to your email address.
- Push Notifications: If using a mobile app, enable push notifications to receive alerts directly on your smartphone.
- Event Triggers: Customize which events trigger notifications (e.g., motion detection, camera tampering, network loss).
Verifying Storage and Playback
Ensure your system is recording and that you can access recordings.
- Check Storage Usage: Monitor the hard drive space on your NVR. The amount of footage you can store depends on the drive size, the number of cameras, their resolution, and the recording mode.
- Playback Test: Navigate to the playback or search section of the NVR interface. Select a camera and a date/time range to verify that footage is being recorded and can be played back smoothly.
Ongoing Maintenance and Best Practices
To ensure your wired security camera system remains effective and reliable over time, regular maintenance and adherence to best practices are essential. This proactive approach can prevent issues and extend the lifespan of your equipment.
Regular Cleaning
Dirt, dust, cobwebs, and water spots can degrade image quality, especially on outdoor cameras.
- Camera Lenses: Gently wipe camera lenses with a soft, lint-free microfiber cloth. For stubborn dirt, use a lens cleaning solution specifically designed for optics. Never use abrasive cleaners or paper towels, which can scratch the lens.
- Camera Housings: Clean the camera housings to remove debris. For outdoor cameras, ensure drainage holes are clear.
- Frequency: Clean cameras at least quarterly, or more often if they are in a particularly dusty or exposed environment.
Checking Cable Connections
Loose or damaged cables are a common cause of system failure.
- Visual Inspection: Periodically inspect all visible cables for signs of wear, damage, or corrosion, especially those exposed to the elements.
- Connection Points: Ensure all connectors (BNC, RJ45) are securely plugged into the cameras, NVR, and any switches or power supplies.
- Weatherproofing: Verify that outdoor cable entry points and connections are properly sealed and weatherproofed. Reapply sealant if necessary.
Firmware Updates
Manufacturers regularly release firmware updates for NVRs and IP cameras. These updates can improve performance, add new features, and, most importantly, patch security vulnerabilities.
- Check for Updates: Access your NVR's system settings menu and look for a firmware update option.
- Download and Install: Follow the manufacturer's instructions carefully for downloading and installing updates. Ensure the NVR has a stable power supply during the update process.
- Security: Keeping firmware up-to-date is a critical cybersecurity measure, especially for devices connected to the internet. As of 2025, manufacturers are increasingly focusing on robust security updates for their surveillance products.
Hard Drive Health
The hard drive in your NVR is crucial for storing recordings. Regular checks ensure it's functioning correctly.
- SMART Status: Most NVRs have a feature to check the Self-Monitoring, Analysis, and Reporting Technology (SMART) status of the hard drive. This indicates the drive's health.
- Disk Full Alerts: Ensure you have configured alerts for when the hard drive is nearing capacity.
- Replacement: Hard drives have a limited lifespan. If you notice errors, slow performance, or the NVR reports drive failure, replace the hard drive promptly. Consider using surveillance-grade hard drives designed for continuous operation.
Reviewing Recording and Motion Detection Settings
Your needs may change, or environmental factors might require adjustments to your recording settings.
- Motion Detection Sensitivity: If you're experiencing too many false alarms or missing events, adjust the motion detection sensitivity and zones.
- Storage Management: Review your recording schedule and resolution settings to ensure they align with your storage capacity and retention needs.
- Event Logs: Periodically review event logs for any unusual activity or system errors.
Password Security
Strong, unique passwords are the first line of defense against unauthorized access.
- Change Default Passwords: Always change default passwords for your NVR and any associated accounts immediately upon installation.
- Complex Passwords: Use a combination of uppercase and lowercase letters, numbers, and symbols.
- Regular Changes: Consider changing passwords periodically, especially for critical systems.
- Two-Factor Authentication (2FA): If your NVR or its associated app supports 2FA, enable it for an extra layer of security.
Environmental Considerations
Protect your cameras from extreme weather conditions.
- Temperature Extremes: Ensure your cameras are rated for the temperature range in your climate. If not, consider repositioning them or using protective enclosures.
- Water and Dust: Regularly check the IP rating and integrity of outdoor camera housings and seals.
- Sunlight: Avoid direct, prolonged sunlight on lenses, which can cause image degradation or damage over time. Use hoods or position cameras to minimize direct sun exposure.
System Backups (Optional but Recommended)
For critical systems, consider backing up NVR configurations.
- Configuration Files: Some NVRs allow you to export their configuration settings. Store this file in a safe place. If you need to reset the NVR, you can import the configuration to restore your settings quickly.
By following these maintenance steps, you can ensure your wired security camera system continues to provide reliable and effective surveillance for years to come, offering peace of mind and enhanced security for your property.
Conclusion
Installing wired security cameras, while requiring more effort than wireless options, offers unparalleled reliability, superior image quality, and robust security for your property. By meticulously planning your system, choosing the right components, and following a step-by-step installation process, you can create a comprehensive surveillance network. Remember to prioritize IP cameras with PoE for modern installations, leverage your NVR's features for optimal recording and remote access, and commit to regular maintenance. A well-installed and maintained wired security system is a powerful deterrent and a crucial tool for protecting what matters most. Embrace the stability and performance of wired technology for your peace of mind.