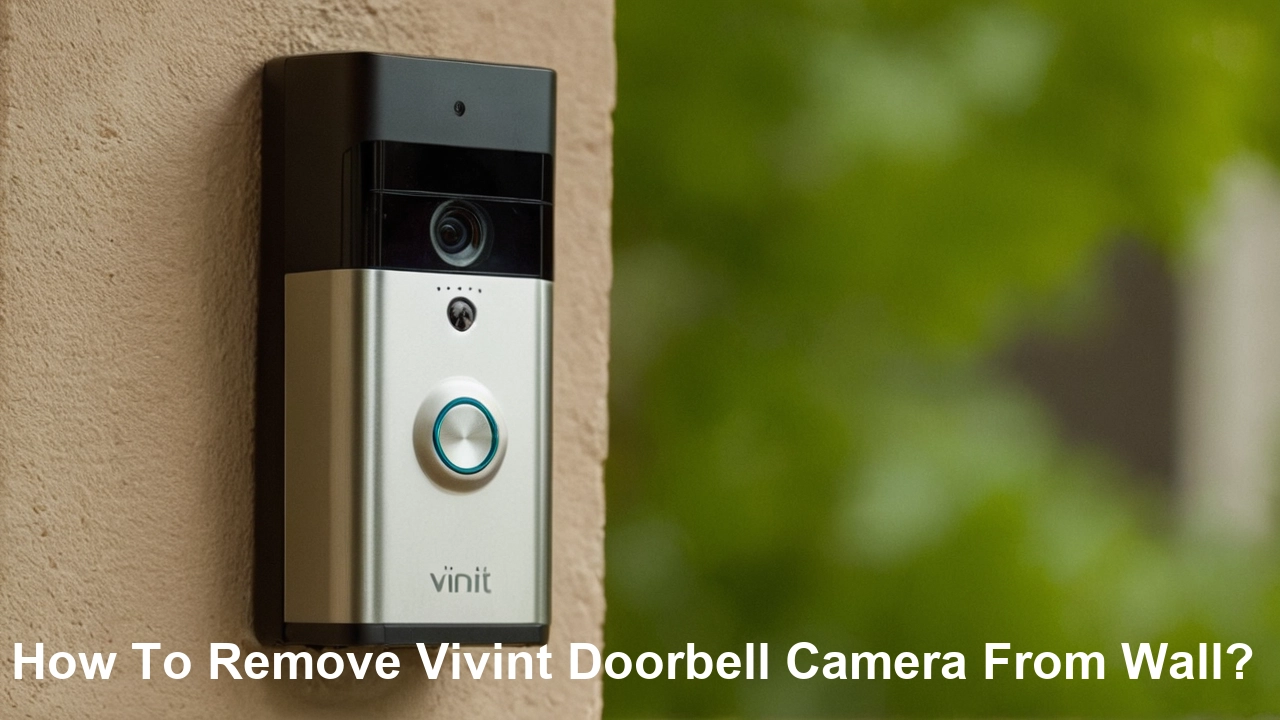
Removing your Vivint doorbell camera from its wall mount might seem daunting, but with the right guidance, it's a straightforward process. This comprehensive guide will walk you through every step, ensuring a smooth and successful removal, whether you're moving, upgrading, or simply troubleshooting. We cover tools, techniques, and common pitfalls to avoid.
Understanding the Vivint Doorbell Camera Removal Process
The process of removing a Vivint doorbell camera from your wall is designed to be manageable for the average homeowner, but it requires careful attention to detail. Vivint, a leading provider of smart home security systems, ensures their devices are securely mounted for reliability and protection against tampering. This security, however, means that removal isn't always as simple as a quick pull. Understanding the underlying mechanics of the mount and the electrical connections is key to a successful and safe deinstallation. The primary goal is to detach the camera unit from its bracket and then remove the bracket itself from the wall, all while ensuring the electrical supply is safely disconnected. This guide aims to demystify each stage, providing clear, actionable steps to empower you to perform this task confidently. We'll cover everything from the tools you'll need to the specific techniques for different Vivint models, ensuring you have all the information to proceed.
Preparation and Essential Tools
Before you begin the physical removal of your Vivint doorbell camera, proper preparation is paramount. This involves gathering the necessary tools and understanding the potential challenges. Rushing into the process without the right equipment can lead to damage to the camera, the mount, or your home's exterior. Safety should always be the top priority, especially when dealing with electrical wiring.
Here's a list of tools and items you'll likely need:
- Screwdriver Set: A set of Phillips head screwdrivers is essential. You'll likely need a medium-sized one for most screws, but having a few sizes ensures you have the correct fit. Some models might use smaller Torx bits, so a multi-bit screwdriver is a good investment.
- Pry Tool or Putty Knife: A plastic pry tool is ideal to gently dislodge the camera from its mount without scratching the device or the wall. A thin, flat putty knife can also work, but use it with extreme caution to avoid damage.
- Wire Strippers/Cutters: If you need to disconnect wires, these are crucial for safely cutting and stripping them.
- Electrical Tape: For safely capping off exposed wires after disconnection.
- Safety Glasses: To protect your eyes from dust or debris.
- Gloves: For a better grip and to keep your hands clean.
- Drill (Optional): If the mounting bracket is heavily secured with screws that are difficult to remove manually.
- Flashlight or Headlamp: To illuminate the work area, especially if your doorbell is in a dimly lit porch area.
- Small Container: To keep track of any screws or small parts you remove.
Beyond tools, consider the environment. Ensure you have good lighting and a stable platform (like a sturdy step stool) if the doorbell is mounted at a height. If the doorbell has been exposed to weather, it might be more brittle, so handle it with care.
Step-by-Step Vivint Doorbell Camera Removal Guide
This section provides a detailed, sequential guide to removing your Vivint doorbell camera. Follow these steps carefully to ensure a safe and effective deinstallation.
Step 1: Disabling Power to the Doorbell
This is the most critical step for safety. Your Vivint doorbell is connected to your home's electrical system, usually through your existing doorbell wiring.
- Locate Your Circuit Breaker: Find your home's main electrical panel. This is typically in a basement, garage, or utility closet.
- Identify the Correct Breaker: Look for a breaker labeled "Doorbell," "Chime," "Lighting," or a similar designation that you suspect controls your doorbell. If you're unsure, it's safer to turn off the main breaker that powers your entire home, though this will cut power to all outlets and lights.
- Flip the Breaker: Once identified, flip the breaker to the "OFF" position.
- Test the Doorbell: Go to your doorbell and press the button. If the doorbell no longer rings your indoor chime (if you have one) and the camera's indicator light is off, you have successfully disabled the power. If it still functions, return to the breaker box and try another breaker or consult an electrician.
Important Note: Never attempt to remove the doorbell or its wiring without first ensuring the power is completely shut off.
Step 2: Identifying the Mounting Bracket
Vivint doorbell cameras are typically mounted using a specialized bracket that attaches to the wall. This bracket is what holds the camera securely in place.
- Examine the Camera Base: Look at the base of your Vivint doorbell camera where it meets the wall. You should see a bracket that extends slightly around the camera or sits directly behind it.
- Look for Securing Mechanisms: Most Vivint doorbell brackets are secured to the wall with screws, often hidden or accessible from the bottom or sides of the bracket. Some may have a locking mechanism that needs to be disengaged first.
In many cases, the camera unit itself will click or slide onto the bracket, and the bracket is then screwed into the wall. Understanding this relationship is key to the next steps.
Step 3: Releasing the Camera from the Bracket
Once you've identified the bracket, the next step is to detach the camera unit from it. The method for this varies slightly by model.
- Check for a Release Tab or Screw: Many Vivint doorbell cameras have a small release tab or screw at the bottom of the unit. This might require a small screwdriver or a paperclip to press and release.
- Gentle Wiggling or Sliding: If there's no obvious release mechanism, the camera might slide upwards, downwards, or sideways off the bracket. Apply gentle pressure and try to wiggle it slightly. Avoid forcing it, as this can break the plastic clips.
- Using a Pry Tool: If the camera is snug, you can carefully use a plastic pry tool or a thin putty knife to gently create a small gap between the camera and the bracket, working your way around. Be extremely cautious not to damage the camera's casing.
Once the camera unit is free from the bracket, set it aside in a safe place.
Step 4: Removing the Mounting Bracket from the Wall
With the camera unit detached, you can now focus on removing the bracket itself from the wall.
- Locate Mounting Screws: Examine the bracket for any visible screws. These are typically located on the sides, top, or bottom of the bracket, or sometimes hidden behind a small cover.
- Unscrew the Bracket: Use the appropriate screwdriver to remove the screws. Keep these screws in your small container.
- Pry Gently if Stuck: If the bracket is stuck to the wall due to old adhesive or paint, use your plastic pry tool or putty knife to gently loosen the edges. Work slowly and carefully to avoid damaging the siding or wall material.
- Detach the Bracket: Once all screws are removed and the bracket is loosened, pull it away from the wall.
Step 5: Disconnecting the Wires
Behind the bracket, you will find the wires that supplied power to your doorbell.
- Identify the Wires: You will typically see two wires connected to terminals on the back of the bracket or directly to the camera's wiring harness.
- Loosen Terminal Screws: If the wires are attached to terminal screws on the bracket, use your screwdriver to loosen these screws until the wires can be freed.
- Remove Wires: Gently pull the wires out from the terminals. If they are connected with wire nuts or directly twisted together, you may need to unscrew the wire nuts or untwist the wires.
- If Wires are Soldered or Crimped: In rare cases, wires might be soldered or crimped. If this is the case, you will need wire cutters to snip the wires. Ensure you are cutting the correct wires and that the power is definitely off.
Step 6: Securing the Wiring
After disconnecting the wires, it's crucial to secure them properly to prevent electrical hazards.
- Cap Off Wires: If you have wire nuts, twist one onto the end of each disconnected wire.
- Use Electrical Tape: If you don't have wire nuts, wrap the exposed metal of each wire thoroughly with electrical tape, ensuring no bare wire is exposed.
- Tuck Away Wires: Gently push the secured wires back into the wall cavity or behind the mounting plate to keep them out of the way and prevent them from being accidentally touched.
Congratulations! You have successfully removed your Vivint doorbell camera from the wall.
Troubleshooting Common Removal Issues
Even with the best preparation, you might encounter a few snags during the removal process. Here are some common issues and how to address them.
- Camera Won't Release from Bracket:
- Problem: The camera is stuck and won't slide or detach.
- Solution: Double-check for any hidden release screws or tabs. Ensure you're trying the correct release mechanism (e.g., sliding up vs. down). Gently apply even pressure. If you suspect paint or sealant is holding it, carefully use a thin, flexible plastic tool to break the seal around the edges.
- Mounting Screws Won't Budge:
- Problem: The screws holding the bracket to the wall are stripped or rusted and won't turn.
- Solution: Try using a rubber band between the screwdriver tip and the screw head to improve grip. If the screw head is significantly stripped, you might need a screw extractor kit. For rusted screws, a penetrating lubricant (used sparingly and carefully) might help, but be mindful of electrical components if power isn't fully off. If all else fails, you may need to carefully drill out the screw head.
- Wires Are Difficult to Access or Disconnect:
- Problem: The wiring is tucked away, or the terminals are corroded.
- Solution: Use a flashlight to get a clear view. If terminals are corroded, a small wire brush can help clean them. If wires are very tight, gently tugging while loosening screws can help. If wires are permanently attached or difficult to reach, consider cutting them as a last resort, ensuring power is off and capping them immediately.
- Wall Damage During Removal:
- Problem: The bracket removal or prying has damaged the siding or wall.
- Solution: Assess the damage. Minor paint scuffs can often be touched up. For small holes from screws, use appropriate wall filler or spackle. Larger gouges may require more extensive repair. Document the damage if you are renting and need to restore the property.
- Doorbell Chime Still Rings After Breaker Off:
- Problem: The doorbell still functions even after turning off the breaker.
- Solution: This is a critical safety concern. Immediately turn off the main breaker for your entire house. Re-verify the breaker labeling. If you cannot identify the correct breaker, do not proceed with removal and call a qualified electrician. There might be an issue with your breaker box or an unusual wiring setup.
Remember to proceed with patience and caution. If you're ever unsure or uncomfortable, it's always best to seek professional assistance.
What to Do After Removing Your Vivint Doorbell Camera
Once your Vivint doorbell camera is successfully removed from the wall, you'll have a few options regarding the device and the resulting wall opening.
- For Reinstallation Elsewhere: If you're moving to a new home or relocating the camera within your current property, store the camera and its bracket in a safe, dry place. Ensure all connections are clean and undamaged. When reinstalling, you'll essentially reverse the process, ensuring proper wiring and secure mounting. For tips on optimal placement, consider factors like viewing angle, lighting, and Wi-Fi signal strength.
- For Sale or Donation: If you're selling the device, ensure it's factory reset to protect your privacy. Vivint typically provides instructions on how to do this through their app or website. Clean the device thoroughly and package it securely.
- For Disposal: If the device is no longer functional or you don't plan to reuse it, dispose of it responsibly. Check your local e-waste recycling guidelines for proper electronic disposal. Avoid simply throwing it in the regular trash.
- Repairing the Wall: You will be left with screw holes and possibly some minor cosmetic damage to the wall or siding.
- For Screw Holes: Use a suitable spackle or wall filler to fill the holes. Once dry, sand smooth and touch up with matching paint.
- For Larger Damage: If the removal caused significant damage, you might need to patch the area with drywall compound or siding repair material, depending on your wall type.
Properly addressing the wall opening will ensure a clean finish and prevent any potential issues with weather or pests entering through the former mounting location.
Vivint Doorbell Models and Removal Differences
Vivint has offered several doorbell camera models over the years, and while the core removal process remains similar, there can be minor variations in how the camera detaches from its bracket or how the bracket itself is secured. Understanding your specific model can make the process smoother.
The most common Vivint doorbell models include:
- Vivint Doorbell Camera (Original/Pro): This older model often features a camera that slides up or down from its bracket, secured by small screws at the bottom. The bracket itself is usually screwed directly into the wall.
- Vivint Doorbell Camera Pro X: This newer model often has a more integrated design. Removal might involve a specific tool or a hidden release mechanism. The bracket might also have slight design differences for a more flush fit.
General Differences to Watch For:
- Release Mechanism: Some cameras have a small screw at the bottom that needs to be loosened (not removed) to allow the camera to slide up. Others might have a clip that needs to be pressed.
- Bracket Design: While most use standard screws, the shape and size of the bracket can vary, affecting how it sits against the wall and where the screws are located.
- Wiring Connections: Most will have screw terminals, but some newer models might use push-in connectors or have wires that are more integrated into the camera unit itself.
Recommendation: Before starting, if you can identify your specific Vivint doorbell model (check the back of the unit or your Vivint account online), a quick search for "[Your Vivint Doorbell Model Name] removal" might yield model-specific videos or instructions that can be incredibly helpful. However, the general steps outlined in this guide will apply to the vast majority of Vivint doorbell installations.
Safety Considerations During Removal
Safety is paramount when dealing with any home electrical device. While removing a doorbell camera is generally a low-risk DIY task, neglecting safety precautions can lead to serious injury.
Key Safety Points:
- Always Turn Off Power: This cannot be stressed enough. Ensure the correct circuit breaker is off and verify by testing the doorbell. If you have any doubt about the power being off, do not proceed.
- Work at a Stable Height: If the doorbell is mounted high, use a sturdy ladder or step stool. Ensure it's placed on a level surface and that you maintain three points of contact whenever possible.
- Avoid Water: Do not attempt removal in wet conditions or if the doorbell area is exposed to rain. Water and electricity are a dangerous combination.
- Handle Wires with Care: Even with power off, treat all wires as if they are live until you have confirmed they are disconnected and safely capped.
- Use Insulated Tools: While not strictly necessary if power is confirmed off, using tools with insulated handles can provide an extra layer of safety.
- Be Aware of Your Surroundings: Watch out for sharp edges on the bracket or camera, and be mindful of where you're placing removed parts to avoid tripping hazards.
- Don't Force It: If a part is stuck, resist the urge to use excessive force. This can lead to breakage, damage, or injury. Re-evaluate the situation and look for alternative solutions.
- Consider Professional Help: If you are uncomfortable with any part of the process, especially the electrical connections, it is always best to hire a qualified electrician or a security system technician.
By adhering to these safety guidelines, you can ensure a smooth and incident-free removal of your Vivint doorbell camera.
Professional Removal vs. DIY: Making the Right Choice
Deciding whether to tackle the removal of your Vivint doorbell camera yourself or hire a professional is a personal choice based on your comfort level, technical skills, and available time.
Here's a comparison to help you decide:
| Factor | DIY Removal | Professional Removal |
|---|---|---|
| Cost | Free (excluding tool purchases if needed) | Varies, typically $75 - $200 for a single service call. |
| Time Commitment | 1-2 hours (depending on complexity and experience) | 30 minutes - 1 hour (for the technician) |
| Skill Level Required | Basic tool proficiency, comfort with electrical safety. | None required from homeowner. |
| Risk of Damage | Moderate (to camera, wall, or wiring if not careful) | Low (professionals have experience and proper tools) |
| Safety Assurance | High if safety protocols are followed rigorously. | Very High (professionals are trained in safety procedures). |
| Convenience | Can be done on your schedule. | Requires scheduling an appointment. |
| Specialized Tools | May require a specific screwdriver or pry tool. | Technicians come equipped with all necessary tools. |
| Warranty/Guarantee | None. | Often comes with a service guarantee. |
When DIY is a Good Option:
- You are comfortable working with basic tools and following instructions precisely.
- You have a clear understanding of your home's electrical panel and how to safely shut off power.
- You have the time to dedicate to the task and are patient.
- You want to save money.
When to Consider a Professional:
- You are not comfortable with electrical work or identifying circuit breakers.
- The doorbell installation appears complex or has been tampered with previously.
- You lack the necessary tools or are unsure how to use them.
- You are concerned about damaging your property or the device.
- You are in a hurry and need the job done quickly and correctly.
- The doorbell is mounted in a difficult-to-reach or hazardous location.
For most users who can confidently follow step-by-step instructions and prioritize safety, DIY removal is entirely feasible. However, if any doubt exists, investing in professional service is a wise decision to ensure the job is done correctly and safely.
In conclusion, removing your Vivint doorbell camera from the wall is an achievable task for most homeowners with the right preparation and a careful approach. By prioritizing safety, gathering the necessary tools, and following the detailed steps outlined in this guide, you can successfully deinstall your device without issue. Remember to always disconnect power first, work methodically, and don't hesitate to seek professional help if you encounter difficulties or feel uncertain. Whether you're moving, upgrading, or troubleshooting, this guide provides the comprehensive knowledge needed to complete the job confidently and effectively.