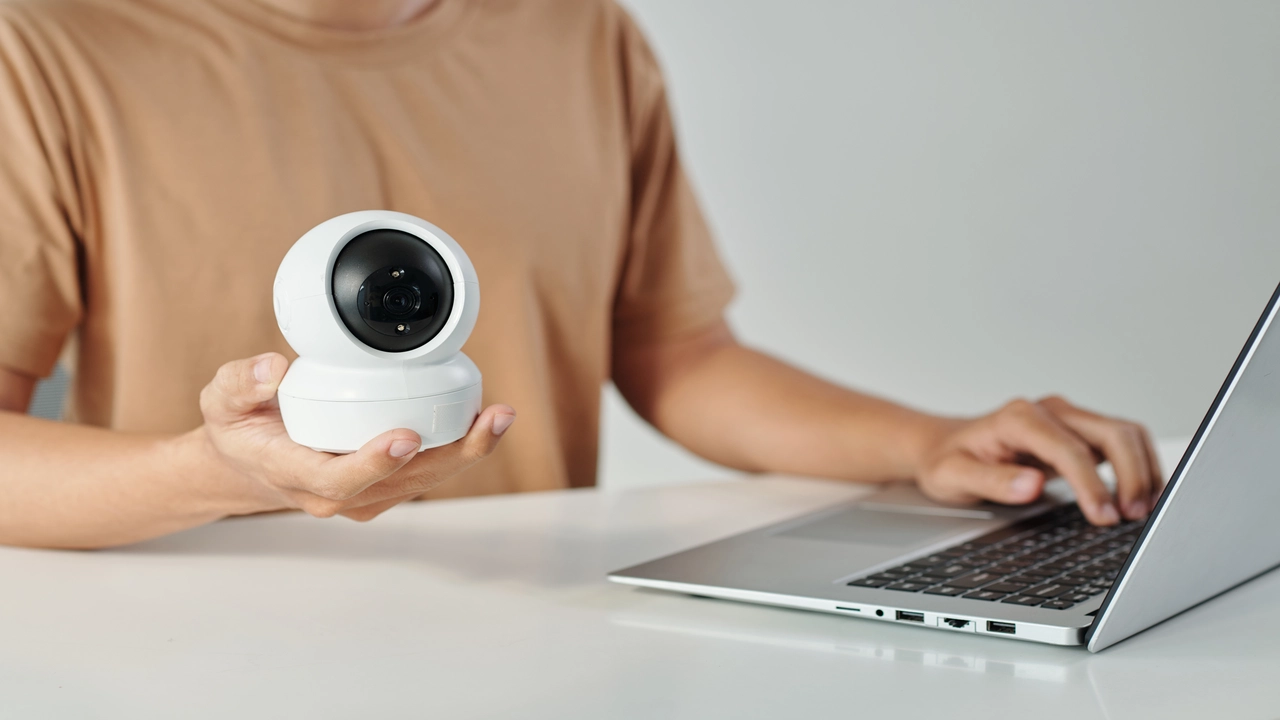
Encountering issues with your Blink Doorbell Camera? This comprehensive guide will walk you through precisely how to reset your Blink Doorbell Camera, covering all models and common scenarios. Learn the simple steps to restore functionality and ensure your home security is back online.
Understanding Blink Doorbell Camera Resets
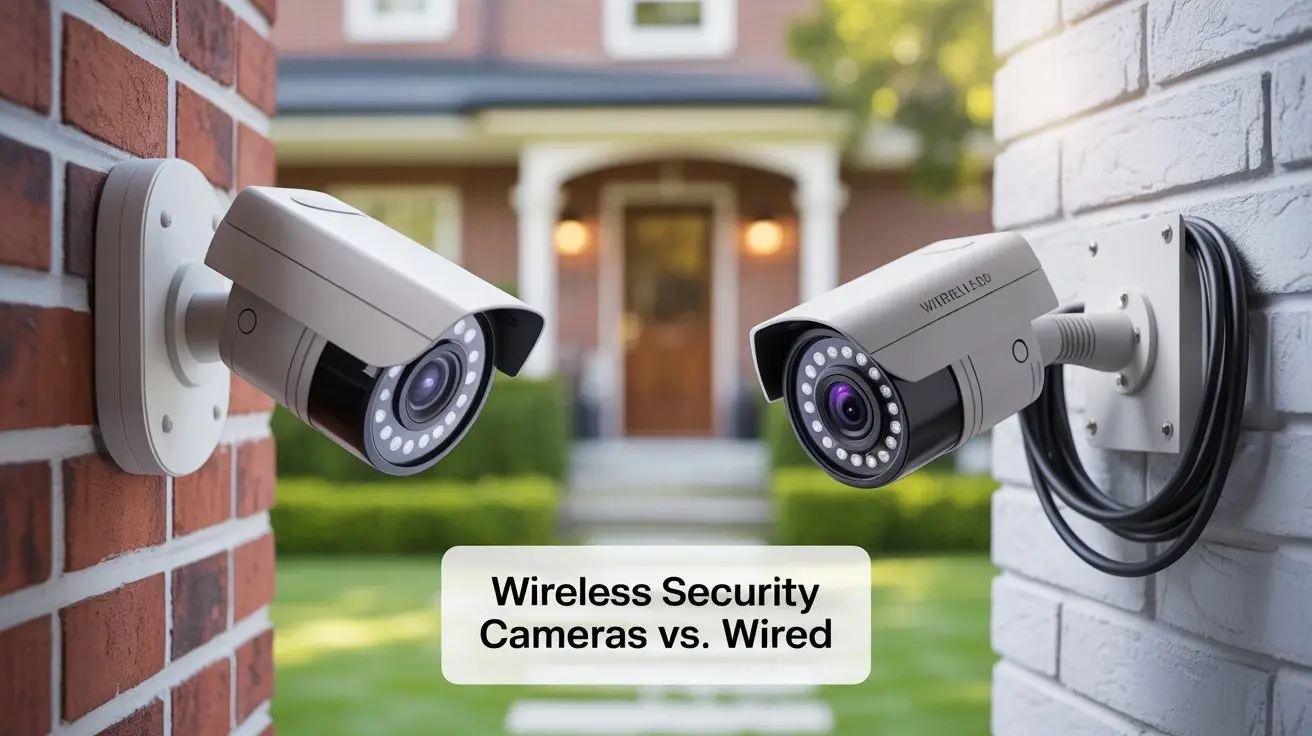
Resetting your Blink Doorbell Camera can be a crucial troubleshooting step when the device isn't functioning as expected. Whether it's a connectivity issue, a software glitch, or a general unresponsiveness, a reset often resolves the problem by restoring the device to its default settings. In the rapidly evolving landscape of smart home security, users in 2025-26 are increasingly reliant on seamless operation, making the ability to quickly and effectively troubleshoot common issues paramount. A reset acts like a quick reboot for your doorbell, clearing temporary errors and allowing it to re-establish its connection and operational parameters. This guide aims to demystify the process, providing clear, actionable steps tailored to different Blink doorbell models.
Types of Resets: Soft vs. Hard
Before diving into the specific reset procedures, it's important to understand the difference between a soft reset and a hard reset. These terms are often used interchangeably, but in the context of electronic devices, they signify different levels of intervention.
Soft Reset
A soft reset, often referred to as a reboot or restart, is the gentlest form of resetting. It typically involves power cycling the device – turning it off and then back on again. This process clears the device's temporary memory (RAM) and can resolve minor software glitches or performance slowdowns without erasing any user settings or data. For many Blink devices, a soft reset can be achieved by simply removing and reinserting the battery, or by disconnecting and reconnecting the power source.
Hard Reset
A hard reset, also known as a factory reset, is a more drastic measure. It returns the device to its original factory settings, erasing all personalized configurations, Wi-Fi credentials, account linkages, and custom settings. This means you will need to set up the doorbell again from scratch, including reconnecting it to your Wi-Fi network and reconfiguring your motion detection zones and other preferences. A hard reset is typically used when a soft reset fails to resolve an issue, or when you intend to sell or give away the device.
For Blink Doorbell Cameras, the distinction between a soft and hard reset is primarily determined by whether the device's internal memory is cleared and its settings are returned to default. Most Blink doorbell reset procedures effectively perform a hard reset, as they are designed to resolve more persistent issues.
How to Reset Blink Video Doorbell Pro
The Blink Video Doorbell Pro, with its advanced features and wired power design, has a specific reset procedure. This model is designed for users who want a robust wired solution, and its reset process reflects this.
Locating the Reset Button
The Blink Video Doorbell Pro does not have a traditional physical "reset button" that you can press with a pin. Instead, the reset process is initiated through the Blink app after a specific physical action. This design choice helps prevent accidental resets.
Step-by-Step Reset Process for Blink Video Doorbell Pro
- Ensure the Doorbell is Powered: The Blink Video Doorbell Pro is a wired device, so ensure it is properly connected to your home's doorbell wiring and receiving power.
- Access the Device Settings in the Blink App: Open the Blink Home Monitor app on your smartphone or tablet. Navigate to the 'Devices' tab and select your Blink Video Doorbell Pro.
- Initiate the Reset Sequence: Within the device settings, look for an option related to 'Device Reset' or 'Factory Reset'. The app will guide you through the process. You may be prompted to remove the doorbell from its mounting bracket temporarily.
- Perform the Physical Reset Action (if prompted): In some instances, the app might instruct you to briefly disconnect and reconnect the power wires to the doorbell. This action, combined with the app command, triggers the reset. Caution: If you are uncomfortable working with electrical wiring, it's advisable to consult an electrician or a knowledgeable individual. Always ensure power to your doorbell circuit is turned off at the breaker before touching any wires.
- Follow App Prompts: Once the physical reset action is complete (if required), the doorbell will enter a reset mode. The Blink app will then guide you through the re-setup process, which includes reconnecting it to your Wi-Fi network and re-adding it to your Blink account.
- Re-add to Account: After the reset, the doorbell will appear as a new device in your app. You will need to follow the on-screen instructions to add it back to your Blink account, similar to when you first set it up.
It's crucial to note that the Blink Video Doorbell Pro's reset process is primarily software-driven, with a potential physical power cycle component. This ensures a more secure and intentional reset.
How to Reset Blink Video Doorbell (Wired Power)
The standard Blink Video Doorbell that is powered via your existing doorbell wiring has a slightly different, but equally straightforward, reset method. This method is designed for ease of use while maintaining security.
Locating the Reset Button
Similar to the Pro model, the wired Blink Video Doorbell does not have a visible, external reset button that requires a pin. The reset is initiated via the Blink app.
Step-by-Step Reset Process for Wired Blink Video Doorbell
- Ensure Power: Confirm that your wired Blink Video Doorbell is receiving power from your home's doorbell transformer.
- Open the Blink App: Launch the Blink Home Monitor app on your mobile device.
- Navigate to Device Settings: Go to the 'Devices' tab and select the specific wired Blink Video Doorbell you wish to reset.
- Find the Reset Option: Scroll down within the device settings menu. You should find an option labeled 'Delete Device' or 'Factory Reset'. Select this option.
- Confirm the Reset: The app will present a confirmation prompt, warning you that this action will erase all settings and remove the device from your account. Confirm that you wish to proceed.
- Physical Power Cycle (Crucial Step): After confirming the reset in the app, you will be instructed to physically power cycle the doorbell. This involves briefly disconnecting and then reconnecting the wires that supply power to the doorbell. Safety First: It is highly recommended to turn off the power to your doorbell circuit at your home's circuit breaker before disconnecting any wires.
- Follow App Setup: Once the power is reconnected, the doorbell will restart in setup mode. The Blink app will then guide you through the process of re-adding the doorbell to your Wi-Fi network and your Blink account. This includes scanning the QR code on the device again.
This process effectively performs a factory reset, returning the doorbell to its out-of-the-box state.
How to Reset Blink Video Doorbell (Battery Powered)
The battery-powered Blink Video Doorbell offers the most flexibility and has a distinct reset procedure that leverages its battery compartment.
Locating the Reset Button
The battery-powered Blink Video Doorbell has a small, recessed reset button located inside the battery compartment. You will need to remove the batteries to access it.
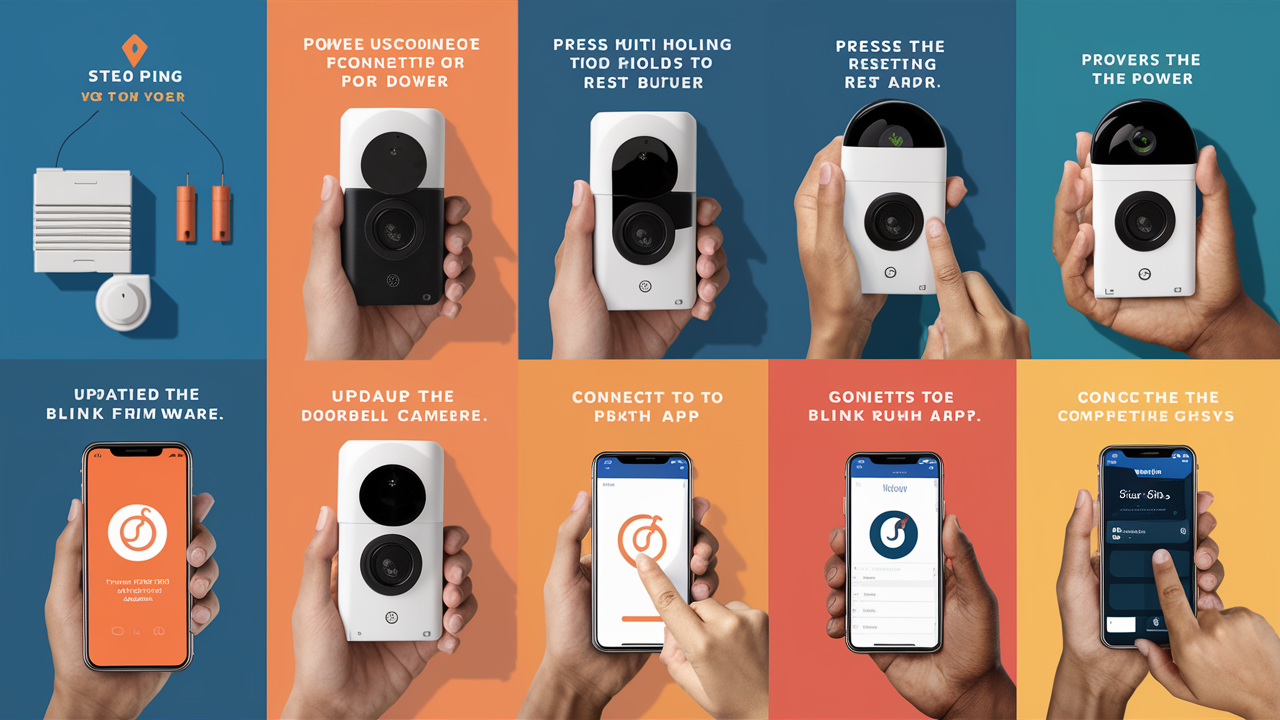
Step-by-Step Reset Process for Battery-Powered Blink Video Doorbell
- Remove Batteries: Open the battery compartment on your Blink Video Doorbell and remove both of the included AA Lithium batteries.
- Locate the Reset Button: Inside the battery compartment, you will find a small, circular button. This is the reset button.
- Press and Hold the Reset Button: Using a paperclip, a pen tip, or a similar pointed object, press and hold down the reset button.
- Reinsert Batteries While Holding: While continuing to hold the reset button, reinsert the batteries into the compartment.
- Wait for Confirmation: Continue holding the reset button for approximately 10-15 seconds. You should see the LED indicator light on the doorbell flash or change color, indicating that the reset process has begun. Release the button once you see this visual confirmation.
- Remove from App: Before setting up the doorbell again, it's essential to remove it from your Blink account via the app. Open the Blink Home Monitor app, go to the 'Devices' tab, select your battery-powered doorbell, and choose the 'Delete Device' option.
- Follow App Setup: After the reset and removal from the app, you can add the doorbell back as a new device. Open the Blink app, tap the '+' icon, and follow the on-screen instructions to scan the QR code on the doorbell and reconnect it to your Wi-Fi network.
This method ensures that the device's internal settings are completely wiped and returned to factory defaults, allowing for a fresh start.
Troubleshooting After Resetting Your Blink Doorbell
Even after a successful reset, you might encounter minor hiccups as the device re-establishes its connection and settings. Here are common issues and how to address them:
Connectivity Problems
Issue: The doorbell fails to connect to your Wi-Fi network during the setup process after a reset.
Solutions:
- Check Wi-Fi Credentials: Ensure you are entering the correct Wi-Fi network name (SSID) and password. Passwords are case-sensitive.
- Signal Strength: Move your Wi-Fi router closer to the doorbell, or consider using a Wi-Fi extender or mesh system. Poor signal strength is a common culprit for connectivity failures. For 2025-26, many homes utilize Wi-Fi 6 or 6E, but older routers might still pose issues. Ensure your router is compatible with the doorbell's Wi-Fi standards (typically 2.4GHz).
- Router Settings: Temporarily disable any firewall or MAC filtering on your router to see if it resolves the issue. Ensure your router firmware is up to date.
- Restart Router: Power cycle your Wi-Fi router by unplugging it for 30 seconds and plugging it back in.
Device Not Appearing in App
Issue: The doorbell, after resetting, doesn't show up in the Blink app for setup.
Solutions:
- Confirm Reset: Ensure you followed the correct reset procedure for your specific model and that the LED indicators suggest it's in setup mode.
- App Version: Make sure you are using the latest version of the Blink Home Monitor app.
- Device Limit: Check if you have reached the maximum number of devices allowed on your Blink account (though this is rare for typical home users).
- Re-scan QR Code: Try scanning the QR code on the doorbell again. Ensure the camera can clearly read the code.
Persistent Issues
Issue: The doorbell continues to malfunction even after a factory reset.
Solutions:
- Check Power Supply: For wired models, ensure your doorbell transformer is providing sufficient voltage (typically 16-24V AC). Low voltage can cause erratic behavior. For battery models, ensure the batteries are fresh and correctly inserted.
- Firmware Updates: Once connected, check for any available firmware updates for the doorbell via the Blink app.
- Contact Support: If the problem persists, it's advisable to contact Blink customer support. There might be a hardware defect that requires further investigation or a warranty claim.
Resetting Sync Module
It's worth noting that if your Blink Doorbell is connected via a Sync Module, and you're experiencing widespread issues, you might also need to reset the Sync Module itself. The reset button on the Sync Module is typically a small, recessed button on the side or back. Press and hold it with a paperclip for about 10-15 seconds until the LED indicator changes.
When to Consider Resetting Your Blink Doorbell
Knowing when to perform a reset is as important as knowing how to do it. A reset should generally be considered a last resort when other troubleshooting steps have failed. Here are common scenarios where a reset might be necessary:
Connectivity Issues
If your Blink Doorbell consistently fails to connect to your Wi-Fi network, drops connection frequently, or shows as "offline" in the app despite your Wi-Fi being otherwise stable, a reset can clear corrupted network settings.
Unresponsiveness
When the doorbell fails to respond to app commands, motion detection is not triggering recordings, or the live view is unavailable, a reset can help refresh its operational software.
Software Glitches
Occasional software glitches can cause unexpected behavior, such as incorrect notifications, audio problems, or freezing. A reset can resolve these temporary software conflicts.
After Network Changes
If you have changed your Wi-Fi network name (SSID), password, or router, your Blink Doorbell will need to be reconnected. A factory reset is often the most straightforward way to re-establish this connection, especially if the device struggles to update its network credentials.
Before Selling or Transferring Ownership
Crucially, if you are selling, gifting, or otherwise transferring ownership of your Blink Doorbell, you must perform a factory reset. This ensures that your personal data and account information are removed from the device, protecting your privacy.
Troubleshooting Persistent Performance Issues
If the doorbell is performing slowly, recordings are incomplete, or battery life seems unusually short (for battery models), a reset can sometimes resolve underlying software issues that might be causing these problems.
Avoid unnecessary resets: While a reset can solve many problems, it's time-consuming to set up the device again. Always try simpler troubleshooting steps first, such as restarting the device (soft reset by removing batteries/power), checking your Wi-Fi signal, and ensuring the Blink app is updated.
Preventative Maintenance for Blink Devices
To minimize the need for resets and ensure your Blink Doorbell Camera operates smoothly in 2025-26 and beyond, regular preventative maintenance is key. These practices can help maintain optimal performance and longevity.
Keep Firmware Updated
Blink regularly releases firmware updates that include bug fixes, performance enhancements, and security patches. Ensure your devices are set to update automatically or check for updates manually through the Blink app. This is the most critical step in preventing many common issues.
Maintain Strong Wi-Fi Signal
A weak or unstable Wi-Fi signal is a primary cause of connectivity problems. Ensure your router is centrally located and that there are no significant obstructions (like thick walls or large metal objects) between the router and your Blink Doorbell. Consider upgrading your router or using a Wi-Fi extender if your home has Wi-Fi dead zones.
Manage Power Sources
For Battery Models: Use high-quality, fresh AA Lithium batteries. Avoid rechargeable batteries unless specifically recommended by Blink, as they may not provide consistent voltage. Monitor battery levels through the app and replace them proactively. Consider using a Blink Solar Panel charger to supplement battery power for continuous operation.
For Wired Models: Ensure your doorbell transformer is providing adequate voltage (typically 16-24V AC). If you notice intermittent power issues or the doorbell frequently goes offline, the transformer might be failing and could require replacement.
Clean the Camera Lens
Dust, dirt, and smudges on the camera lens can degrade video quality. Periodically clean the lens gently with a soft, microfiber cloth. For outdoor units, ensure the housing is free of cobwebs or debris that could obstruct the view or sensors.
Optimize Motion Detection Settings
While not directly related to resets, properly configured motion detection settings can prevent unnecessary alerts and battery drain (for battery models). Regularly review your motion detection zones and sensitivity settings to ensure they are appropriate for your environment. This reduces the workload on the device and can contribute to smoother operation.
Regularly Check Device Status
Make it a habit to glance at the device status in your Blink app. Look for any devices that are frequently offline or showing unusual behavior. Addressing small issues early can prevent them from escalating into problems that require a full reset.
Secure Mounting
Ensure your Blink Doorbell is securely mounted. A loose doorbell can vibrate, potentially affecting sensor readings or even causing intermittent power interruptions for wired models.
By implementing these preventative measures, you can significantly reduce the likelihood of encountering issues that necessitate a factory reset, ensuring your Blink Doorbell Camera provides reliable security for years to come.
Conclusion: Resetting Your Blink Doorbell with Confidence
Navigating the process of how to reset your Blink Doorbell Camera might seem daunting, but as this guide has demonstrated, it's a manageable task designed to restore functionality. Whether you're dealing with connectivity woes, software glitches, or preparing to transfer ownership, understanding the specific reset procedure for your Blink Video Doorbell model—Pro, wired, or battery-powered—is crucial. Remember to always prioritize safety when dealing with wired connections and to remove the device from your Blink account before initiating a factory reset for sale. By following these step-by-step instructions, you can confidently troubleshoot and resolve common issues, ensuring your home security system operates at its best. Regular preventative maintenance, including firmware updates and stable Wi-Fi, will further minimize the need for resets, offering peace of mind in our increasingly connected homes.