Installing security cameras yourself can significantly enhance your property's safety and provide invaluable peace of mind. This comprehensive guide will walk you through every step, from planning and choosing the right equipment to the actual installation process, ensuring a robust and effective surveillance system.
Planning Your Security Camera System
A well-planned security camera system is the foundation of effective surveillance. Rushing into installation without proper foresight can lead to blind spots, insufficient coverage, and a system that doesn't meet your specific needs. In 2025, with the increasing sophistication of DIY security solutions, careful planning is more crucial than ever to leverage the latest technology and ensure optimal performance.
Assessing Your Security Needs
Before you even think about buying cameras, consider what you want to protect and what threats you're most concerned about. Are you primarily looking to deter burglars, monitor package deliveries, keep an eye on children or pets, or document incidents? Your objectives will dictate the type, number, and placement of cameras.
- Deterrence: Visible cameras can act as a powerful deterrent to potential intruders.
- Monitoring: Observing specific areas like entry points, driveways, or yards.
- Evidence Collection: Capturing clear footage in case of an incident.
- Remote Access: Checking in on your property from anywhere in the world.
Mapping Out Camera Placement
Create a simple diagram of your property. Identify key areas that require surveillance. Think about:
- Entry Points: Front doors, back doors, garage doors, and accessible windows.
- Vulnerable Areas: Dark corners, secluded pathways, or areas with a history of incidents.
- High-Traffic Zones: Driveways, sidewalks, and common areas.
- Blind Spots: Areas that might be missed by existing security measures.
Consider the field of view for each camera. A single camera might cover a wide area, but for detailed monitoring of specific points (like a doorbell or a specific window), you might need multiple cameras or cameras with a narrower, more focused view. In 2025, many systems offer advanced analytics that can differentiate between people, vehicles, and animals, allowing for more targeted alerts and recordings. This technology can inform your placement strategy by highlighting which areas are most prone to false alarms or require specific detection capabilities.
Determining the Number of Cameras
Based on your property map and identified needs, determine how many cameras you’ll require. It’s often better to start with a few strategically placed cameras and expand later if necessary. Overlapping fields of view can provide redundancy and ensure no area is left uncovered.
Power and Connectivity Considerations
Think about how each camera will be powered and how it will connect to your recording device (NVR/DVR) or network.
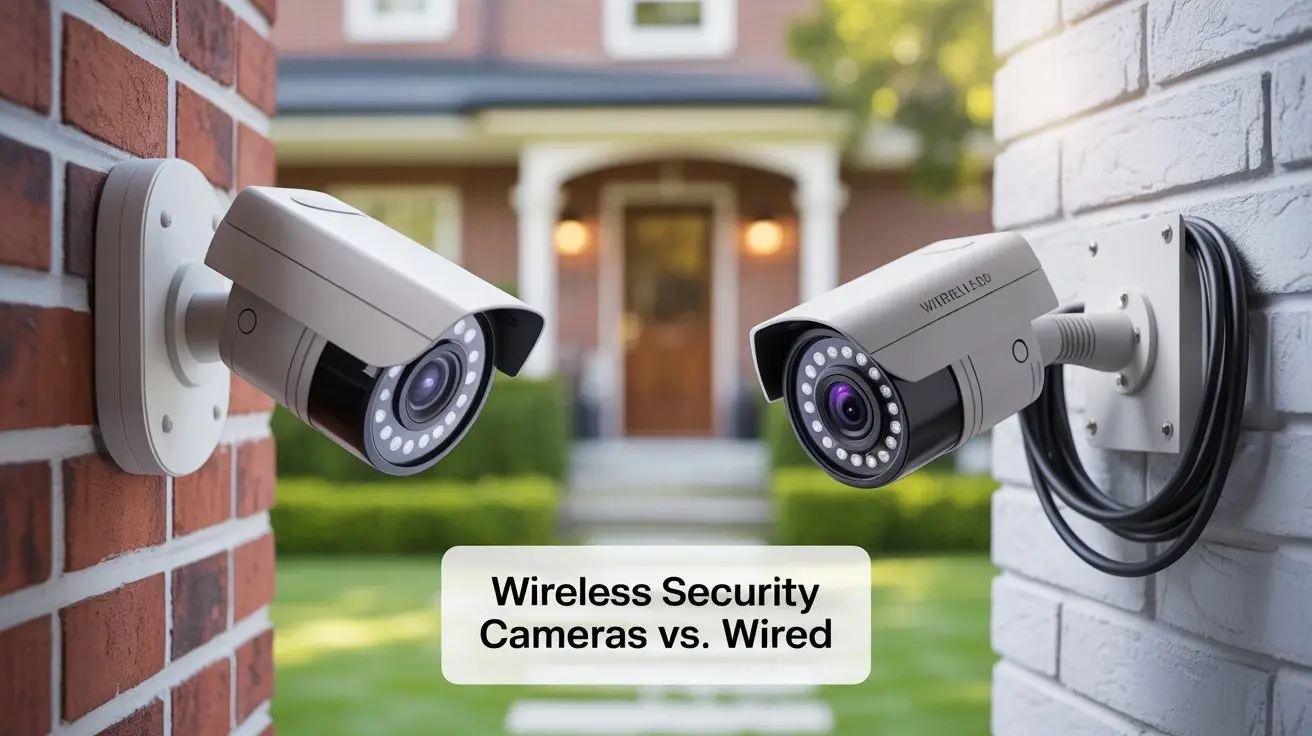
- Wired Cameras: Typically offer more stable connections and power over Ethernet (PoE) capabilities, simplifying wiring. However, installation can be more complex, requiring running cables through walls and ceilings.
- Wireless Cameras: Offer easier installation but rely on Wi-Fi signals and require a separate power source (either a battery or a nearby outlet). Signal strength and interference are key considerations.
Choosing the Right Security Cameras
The market offers a vast array of security cameras, each with different features and functionalities. Selecting the right type is paramount for an effective surveillance system. In 2025, advancements in AI and sensor technology have made even budget-friendly cameras incredibly capable.
Types of Security Cameras
Dome Cameras
Dome cameras are discreet and often vandal-resistant, making them suitable for both indoor and outdoor use. Their rounded shape makes it difficult to tell which direction they are pointing, adding to their deterrent effect.
Bullet Cameras
Bullet cameras are typically more visible and often used outdoors. They are easily mounted and can be adjusted to cover specific areas. Many modern bullet cameras are weather-resistant and come with built-in infrared (IR) LEDs for night vision.
Turret Cameras (Eyeball Cameras)
Similar to dome cameras in their discreetness, turret cameras have a distinct lens housing that can be easily adjusted. They are a good balance between the visibility of bullet cameras and the discretion of dome cameras.
PTZ (Pan-Tilt-Zoom) Cameras
PTZ cameras offer the most flexibility, allowing you to remotely control their movement (pan, tilt) and zoom in on details. They are ideal for monitoring large areas or tracking moving subjects but are generally more expensive and complex to set up.
Fisheye Cameras
These cameras offer a 360-degree view, eliminating blind spots. They are often used in areas where a single camera needs to cover a large, open space, like a warehouse or a large room.
Key Features to Consider
Resolution and Image Quality
Higher resolution (measured in megapixels or pixels, e.g., 1080p, 4K) means clearer images, which is crucial for identifying faces, license plates, or other important details. In 2025, 4K resolution is becoming standard for high-end systems, offering exceptional clarity.
Night Vision (Infrared - IR)
Essential for low-light or no-light conditions. Look for the IR range (e.g., 30 meters, 100 feet) to ensure it covers the area you need to monitor at night.
Field of View (FOV)
The wider the FOV (measured in degrees), the more area a single camera can cover. Wide-angle lenses are great for general surveillance, while narrower lenses are better for specific points of interest.
Weather Resistance (IP Rating)
For outdoor cameras, an IP rating (e.g., IP66, IP67) indicates their resistance to dust and water. Ensure the rating is suitable for your climate.
Audio Recording
Some cameras have built-in microphones for audio recording. Be aware of local laws regarding audio surveillance.
Motion Detection and Smart Alerts
Advanced motion detection can differentiate between people, vehicles, and animals, reducing false alarms. Smart alerts can notify you of specific events. In 2025, AI-powered person detection and facial recognition are becoming more common and accurate.
Storage Options
Consider whether you prefer local storage (on an SD card or NVR/DVR) or cloud storage. Cloud storage offers off-site backup but usually involves a subscription fee.
Connectivity (Wired vs. Wireless)
As discussed in planning, choose based on your installation capabilities and desired reliability. Wired (especially PoE) generally offers superior stability.
DIY Kits vs. Individual Components
Many manufacturers offer comprehensive DIY security camera kits that include cameras, an NVR/DVR, and necessary cables. These are often a good starting point for beginners. Alternatively, you can build a custom system by selecting individual cameras and a recorder that best suit your needs.
Understanding Network Video Recorders (NVRs) and Digital Video Recorders (DVRs)
The NVR or DVR is the central hub of your security camera system, responsible for receiving, recording, and storing footage from your cameras. Understanding the differences and capabilities of each is crucial for making the right choice.
DVR (Digital Video Recorder) Systems
DVR systems typically use analog cameras that connect to the DVR via coaxial cables. The DVR then digitizes the analog signal for recording. They are often more budget-friendly and simpler to set up for basic systems.
- Pros: Lower cost, simpler setup for analog systems, often good for basic surveillance.
- Cons: Lower image quality compared to IP cameras, limited scalability, requires running separate cables for power and video.
NVR (Network Video Recorder) Systems
NVR systems use IP (Internet Protocol) cameras that connect to the NVR via an Ethernet network. This allows for higher resolutions, more advanced features, and greater flexibility. Many NVRs support Power over Ethernet (PoE), meaning they can power the cameras through the same Ethernet cable used for data transmission, significantly simplifying wiring.
- Pros: Higher resolution and image quality, greater flexibility and scalability, PoE simplifies wiring, remote access is typically more robust.
- Cons: Generally more expensive than DVR systems, requires a network infrastructure (router/switch).
Key NVR/DVR Features to Consider
Storage Capacity
The amount of storage determines how long you can record footage. This depends on the number of cameras, resolution, frame rate, and recording mode (continuous vs. motion-activated). Hard drive size (measured in Terabytes - TB) is the primary factor. For 2025, systems are readily available with 2TB, 4TB, 8TB, and even larger capacities.
Remote Access and Mobile Apps
Most modern NVRs and DVRs offer remote access via a web browser or a dedicated mobile app. This allows you to view live feeds and recorded footage from your smartphone or computer, wherever you are. Ensure the system supports P2P (Peer-to-Peer) connectivity for easier remote access setup.
Number of Channels
This refers to the number of cameras the NVR/DVR can support. Common configurations include 4, 8, 16, or 32 channels. Choose an NVR/DVR with more channels than you currently need to allow for future expansion.
Video Compression (H.265, H.264)
H.265 is a more efficient compression standard than H.264, meaning it can provide higher quality video with less storage space and bandwidth. In 2025, H.265 is becoming the industry standard.
PoE Ports (for NVRs)
If you opt for an NVR with built-in PoE ports, it can directly power your IP cameras, eliminating the need for separate power adapters for each camera. This is a significant convenience for DIY installations.
Integration with Other Smart Home Devices
Some advanced systems in 2025 are beginning to offer integration with smart home platforms like Google Home or Amazon Alexa, allowing for voice control or automated actions based on camera events.
Choosing Between NVR and DVR
For most new DIY installations in 2025, an NVR system with IP cameras is the recommended choice due to its superior image quality, flexibility, and advanced features. DVR systems are still viable for budget-conscious upgrades of existing analog systems or for very simple, localized surveillance needs.
Essential Tools and Materials for Installation
Having the right tools and materials on hand before you start can make the installation process much smoother and more efficient. This section outlines what you'll need for a typical DIY security camera setup.
Tools You'll Need
- Drill and Drill Bits: For creating holes to run cables and mounting cameras.
- Screwdriver Set: Phillips and flathead screwdrivers for mounting brackets and securing components.
- Wire Strippers/Crimpers: If you need to cut and terminate Ethernet cables (for NVR systems).
- Cable Tester: Essential for ensuring Ethernet cables are correctly wired before connecting them.
- Ladder: For reaching higher mounting points. Ensure it's stable and used safely.
- Pliers: For gripping and manipulating wires or small components.
- Fish Tape or Cable Rods: To help pull cables through walls, ceilings, and conduits.
- Stud Finder: To locate wall studs for secure mounting points.
- Safety Glasses: To protect your eyes from dust and debris.
- Level: To ensure cameras are mounted straight.
- Pencil/Marker: For marking drilling points.
- Utility Knife: For opening packaging and cutting materials.
Materials You'll Need
- Security Cameras: Your chosen cameras (bullet, dome, turret, etc.).
- NVR or DVR: The central recording unit.
- Hard Drive: If your NVR/DVR doesn't come with one pre-installed (ensure it's surveillance-grade).
- Ethernet Cables (Cat5e or Cat6): For NVR systems. Ensure they are long enough for your planned routes and are of good quality. Outdoor-rated cables are recommended for exterior runs.
- Coaxial Cables (RG59): For DVR systems.
- Power Adapters/PoE Injectors/PoE Switch: Depending on your camera and NVR/DVR setup.
- Mounting Hardware: Screws, anchors, and mounting plates (often included with cameras).
- Cable Clips/Zip Ties: For neatly securing cables along walls or ceilings.
- Conduit/Cable Sleeving: For protecting exterior cables from weather and damage.
- Weatherproof Junction Boxes: For protecting outdoor connections.
- Silicone Sealant: To seal any holes drilled for cables to prevent water ingress.
- Network Router/Switch: If using an NVR system, ensure your network can handle the camera traffic.
Pre-Installation Checklist
Before you begin the physical installation, it's wise to perform a few checks:
- Test Equipment: Connect all cameras to the NVR/DVR and power them on in a controlled environment (e.g., on a table) to ensure they are functioning correctly and that you can see their video feeds.
- Test Cables: If using Ethernet cables, test each one with a cable tester to confirm proper wiring.
- Check Wi-Fi Signal (for Wireless Cameras): If using wireless cameras, ensure you have a strong and stable Wi-Fi signal at each intended camera location.
- Review Camera Manuals: Familiarize yourself with the specific installation instructions and features of your chosen cameras and NVR/DVR.
Having all your tools and materials organized and ready will significantly reduce installation time and frustration. In 2025, many DIY kits come with almost everything you need, but it's always good to be prepared.
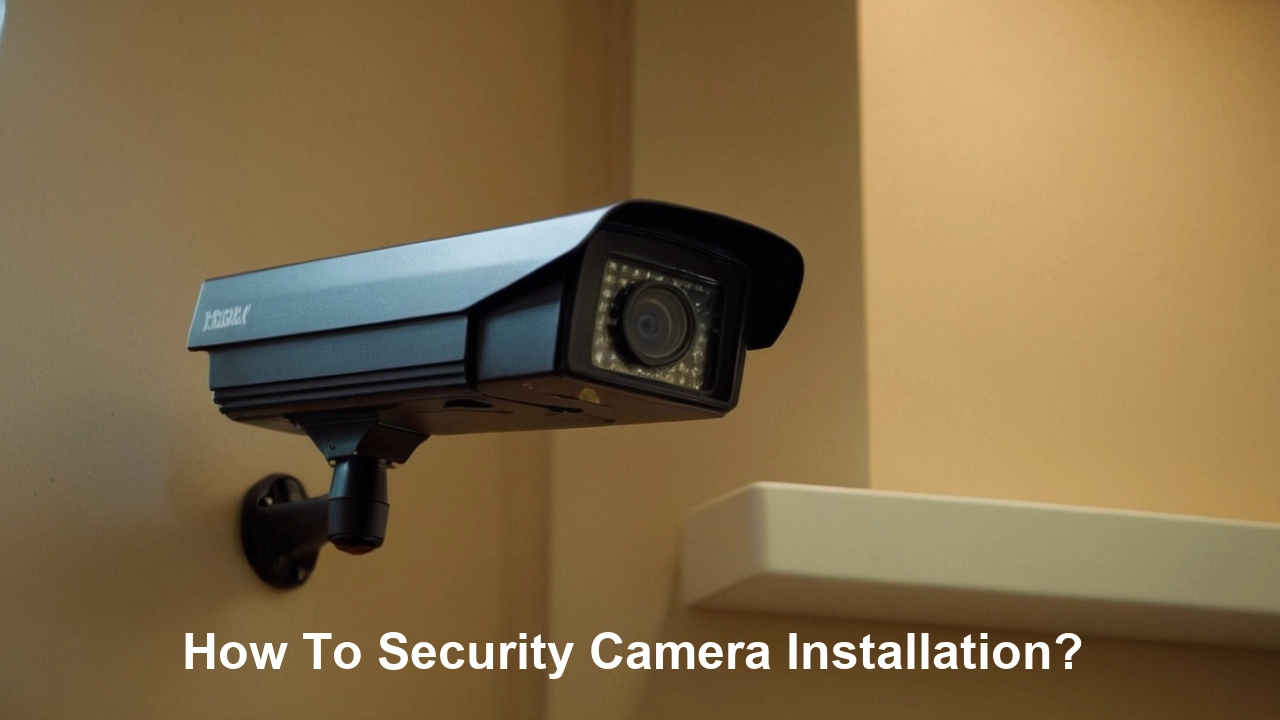
Step-by-Step Security Camera Installation Guide
This section provides a detailed, step-by-step guide for installing a typical DIY security camera system. While specific steps may vary based on your chosen equipment, the general principles remain consistent. We'll focus on an NVR system with PoE IP cameras, as this is the most common and recommended setup for 2025.
Step 1: Mount the NVR/DVR
Choose a secure, dry, and well-ventilated location for your NVR or DVR. This could be a closet, an office, or a secure cabinet. Ensure it's close to your internet router if remote access is a priority and within reach of power outlets. If your NVR has PoE ports, you'll want it relatively central to your camera locations to minimize cable lengths, or near your network switch if using a separate PoE switch.
Step 2: Run Camera Cables
This is often the most time-consuming part of the installation. Plan your cable routes carefully to minimize visible wiring and protect cables from the elements or potential damage.
- Interior Runs: Use a drill to create small holes from the inside of your house into the attic, crawl space, or basement. Use fish tape or cable rods to pull the Ethernet cables from the NVR location to each desired camera spot.
- Exterior Runs: If running cables externally, use outdoor-rated Ethernet cables and consider running them through conduit for added protection against UV rays, moisture, and physical damage. Seal any holes drilled into the exterior of your home with silicone sealant to prevent water ingress.
- Mounting Points: Drill holes at each camera location, just large enough for the Ethernet cable to pass through.
Tip: It's often easier to run all cables back to a central point (like an attic or basement) and then to the NVR location.
Step 3: Install Cameras
Once the cables are run, it's time to mount the cameras.
- Positioning: Hold the camera bracket in the desired location and mark the screw holes with a pencil. Ensure the camera will have a clear view of the area you intend to monitor. Consider the height – high enough to be out of easy reach but low enough to capture useful detail.
- Drilling: Drill pilot holes for the screws. If mounting on drywall, use appropriate wall anchors for a secure fit. If mounting on wood or studs, screws can go directly in.
- Mounting Bracket: Secure the mounting bracket to the wall or ceiling.
- Connect Cable: Feed the Ethernet cable through the bracket and connect it to the camera. Many IP cameras have a small waterproof connector for the Ethernet cable.
- Attach Camera: Mount the camera onto the bracket.
- Aim Camera: Loosely adjust the camera's position to get a preliminary aim. You will fine-tune this later.
Important: For outdoor installations, ensure all connections are made within a weatherproof junction box or that the camera itself is designed to protect its connections from the elements.
Step 4: Connect Cameras to the NVR/PoE Switch
If your NVR has built-in PoE ports:
- Connect one end of each Ethernet cable to the back of each camera.
- Connect the other end of each cable to a PoE port on the NVR.
If you are using a separate PoE switch:
- Connect the cameras to the PoE switch using Ethernet cables.
- Connect the PoE switch to your network router using an Ethernet cable.
- Connect the NVR to your network router using an Ethernet cable.
This setup allows the PoE switch (or NVR) to provide power to the cameras over the Ethernet cables.
Step 5: Connect the NVR/DVR to Your Network and Power
- Connect the NVR/DVR to your internet router using an Ethernet cable.
- Connect the NVR/DVR to a power outlet.
- If your NVR/DVR requires a hard drive and you haven't installed it yet, do so now. Follow the manufacturer's instructions.
Step 6: Initial Setup and Configuration
Once everything is powered on, you'll need to configure the NVR/DVR.
- Monitor Connection: Connect a monitor (HDMI or VGA) and a USB mouse to the NVR/DVR for initial setup.
- Follow On-Screen Prompts: The NVR/DVR will likely guide you through setting up a password, network settings, date and time, and formatting the hard drive.
- Camera Detection: The NVR should automatically detect the connected cameras. If not, you may need to manually add them or activate them using the manufacturer's utility software.
- Firmware Updates: Check for and install any available firmware updates for the NVR/DVR and cameras. This is crucial for security and performance.
Step 7: Fine-Tuning Camera Angles and Settings
This is where you perfect your surveillance coverage.
- Live View: Access the live view on your monitor or through the mobile app.
- Adjust Angles: Carefully adjust each camera's angle to cover the desired areas. Ensure there are no obstructions and that you're capturing the most critical views.
- Motion Detection Zones: Configure motion detection settings. Define specific zones within the camera's view where motion should trigger recording or alerts. This helps reduce false alarms from passing cars or swaying trees.
- Recording Schedules: Set up recording schedules. You can opt for continuous recording, motion-triggered recording, or scheduled recording. Motion-triggered is most common for saving storage space.
- Image Settings: Adjust brightness, contrast, and other image settings for optimal clarity, especially for night vision.
Step 8: Setting Up Remote Access
This step allows you to monitor your property from anywhere.
- Manufacturer App/Software: Download the manufacturer's mobile app or desktop software.
- Account Creation: Create an account with the manufacturer.
- Device Registration: Follow the app's instructions to add your NVR/DVR to your account, usually by scanning a QR code on the device or entering its serial number.
- Network Configuration: Ensure your router is configured to allow remote access. Most modern systems use P2P technology, which simplifies this process, often requiring no port forwarding on your router.
Test remote access from outside your home network (e.g., using your mobile phone's data connection) to confirm it's working correctly.
Step 9: Cable Management
Finally, tidy up your installation.
- Use cable clips, zip ties, or raceways to neatly secure all visible cables along walls, ceilings, or conduits. This not only looks better but also prevents cables from becoming a tripping hazard or getting damaged.
A clean installation is more professional and less likely to have issues down the line. By following these steps, you can successfully install a robust DIY security camera system. In 2025, the availability of user-friendly apps and advanced features makes this more accessible than ever.
Advanced Features and Considerations
Beyond the basic installation, several advanced features and considerations can significantly enhance the effectiveness and usability of your security camera system. Understanding these can help you make informed decisions and get the most out of your investment.
AI-Powered Analytics
In 2025, Artificial Intelligence (AI) is revolutionizing security cameras. These advanced analytics go far beyond simple motion detection.
- Person Detection: Differentiates between people and other moving objects (like pets or branches), significantly reducing false alarms.
- Vehicle Detection: Identifies vehicles, useful for monitoring driveways or parking areas.
- Facial Recognition: Some high-end systems can recognize known faces, alerting you when specific individuals (family, friends) arrive or when an unknown face is detected.
- Line Crossing Detection: Triggers an alert when a person or vehicle crosses a pre-defined virtual line.
- Intrusion Detection: Alerts you when someone enters a designated restricted area.
These features allow for more intelligent monitoring and faster response to genuine security events.
Two-Way Audio
Cameras with built-in microphones and speakers allow for two-way communication. This is useful for:
- Speaking to delivery personnel.
- Deterring potential intruders with your voice.
- Communicating with family members remotely.
Local vs. Cloud Storage
While NVRs/DVRs offer local storage, cloud storage provides an off-site backup and accessibility advantage.
- Local Storage (NVR/DVR/SD Card):
- Pros: No ongoing fees, footage is stored on your premises, often faster access to recordings.
- Cons: If the NVR/DVR is stolen or damaged, the footage is lost. Limited by the capacity of the hard drive.
- Cloud Storage:
- Pros: Footage is stored off-site, protecting it from theft or damage to your property. Accessible from any device with internet.
- Cons: Usually requires a monthly or annual subscription fee. Dependent on internet connection speed and reliability. Potential privacy concerns for some users.
Many systems offer a hybrid approach, using local storage as primary and cloud for critical events or backups.
Power Over Ethernet (PoE) Advantages
As mentioned, PoE simplifies installation by allowing a single Ethernet cable to carry both data and power. This is a significant advantage for DIY installers, reducing the need for separate power outlets near each camera and making cable runs cleaner.
- Simplified Wiring: One cable for everything.
- Reduced Installation Costs: Less need for electricians or complex wiring.
- Reliability: Centralized power management.
Integration with Smart Home Systems
In 2025, seamless integration with smart home ecosystems is becoming more common.
- Voice Control: "Hey Google, show me the front door camera."
- Automated Actions: Triggering lights to turn on when motion is detected, or unlocking smart locks for trusted visitors.
- Centralized Control: Managing security cameras alongside other smart devices through a single app.
Cybersecurity Best Practices
With increased connectivity comes increased risk. It's vital to secure your system:
- Strong Passwords: Use unique, complex passwords for your NVR/DVR, Wi-Fi network, and any associated cloud accounts.
- Firmware Updates: Regularly update firmware for your cameras, NVR/DVR, and router to patch security vulnerabilities.
- Disable Unused Services: Turn off any features or ports on your NVR/DVR that you don't use.
- Secure Wi-Fi: Use WPA2 or WPA3 encryption for your Wi-Fi network.
- Consider a VPN: For highly sensitive setups, a Virtual Private Network (VPN) can add an extra layer of security for remote access.
Legal and Privacy Considerations
Be aware of local laws and regulations regarding surveillance.
- Audio Recording: In many jurisdictions, recording audio without consent is illegal. Ensure your system complies.
- Privacy of Neighbors: Position cameras so they do not excessively intrude on your neighbors' private property.
- Signage: In some areas, you may be required to post signs indicating that surveillance is in operation.
Consult local laws or a legal professional if you have concerns.
Maintenance and Troubleshooting
Regular maintenance and knowing how to troubleshoot common issues will ensure your security camera system operates reliably for years to come. Proactive care is key to preventing downtime and ensuring you have clear footage when you need it most.
Routine Maintenance Tasks
- Clean Camera Lenses: Periodically clean the lenses of your cameras with a soft, lint-free cloth and a mild lens cleaner. Dirt, dust, and cobwebs can significantly degrade image quality. For outdoor cameras, this might be needed quarterly or even monthly depending on your environment.
- Check Cable Connections: Inspect all cable connections for signs of wear, corrosion, or damage. Ensure they are securely plugged in.
- Verify Recording Functionality: Regularly check your NVR/DVR to ensure it's recording and that the hard drive has sufficient space. Review recent footage to confirm quality.
- Test Remote Access: Periodically test your remote access capabilities to ensure you can still view your cameras from outside your home network.
- Update Firmware: As mentioned, keeping firmware up-to-date is a critical maintenance task for security and performance. Check for updates monthly or quarterly.
- Inspect Mounting Hardware: For outdoor cameras, check that mounting brackets and screws are still secure, especially after periods of extreme weather.
- Check Power Sources: For battery-powered cameras, monitor battery levels and recharge or replace them as needed. For wired systems, ensure power adapters or PoE switches are functioning correctly.
Common Troubleshooting Issues and Solutions
Camera Not Showing Video Feed
- Check Power: Ensure the camera is receiving power (indicator lights, check adapter/PoE connection).
- Check Cable Connections: Verify that the Ethernet cable is securely plugged into both the camera and the NVR/PoE switch. Try a different cable if possible.
- Restart NVR/DVR: Power cycle the NVR/DVR.
- Check Camera Status: Some NVRs show camera status. If it indicates offline, investigate further.
- IP Address Conflict: In rare cases, an IP address conflict can occur. Consult your NVR/DVR manual for how to resolve this.
Poor Image Quality (Blurry, Grainy, Poor Night Vision)
- Clean Lens: The most common culprit.
- Adjust Focus: Some cameras have manual focus adjustment.
- Lighting Conditions: Ensure adequate lighting. For night vision, check that IR LEDs are clean and unobstructed. Some cameras have adjustable IR intensity.
- Low Bandwidth (for Wireless): If using wireless cameras, a weak Wi-Fi signal can cause compression artifacts and poor quality.
- Resolution Settings: Ensure the camera is set to an appropriate resolution in the NVR/DVR settings.
Motion Detection Not Working or False Alarms
- Adjust Motion Detection Zones: Refine the zones to exclude areas with irrelevant motion (e.g., trees, busy streets).
- Adjust Sensitivity: Lower the sensitivity if you're getting too many false alarms, or increase it if you're missing events.
- Check AI Settings: If your camera has AI features, ensure person/vehicle detection is enabled and configured correctly.
- Obstructions: Ensure nothing is blocking the camera's view that might be intermittently triggering motion.
Remote Access Not Working
- Check Internet Connection: Ensure your home internet is working.
- Check NVR/DVR Network Connection: Verify the NVR/DVR is connected to your router.
- Restart Router and NVR/DVR: Power cycle both devices.
- Check Mobile App/Software: Ensure you're using the latest version of the manufacturer's app/software.
- Firewall/Router Settings: In rare cases, router firewall settings might block remote access. Consult your router's manual or ISP.
- P2P Status: Check the NVR/DVR settings to ensure the P2P connection is online.
NVR/DVR Storage Issues (Not Recording, Full Drive)
- Check Hard Drive Status: Ensure the hard drive is recognized and healthy in the NVR/DVR settings.
- Format Hard Drive: If the drive is new or showing errors, reformatting it might help (this will erase all data).
- Recording Schedule: Verify that the recording schedule is correctly set up.
- Storage Capacity: If the drive is full, you'll need to either delete old footage, adjust recording settings (e.g., motion detection instead of continuous), or upgrade to a larger hard drive.
By staying on top of these maintenance and troubleshooting tips, you can ensure your security camera system remains a reliable guardian of your property. In 2025, with increasingly integrated and intelligent systems, proactive care is more important than ever.
Conclusion
Successfully installing a security camera system yourself is an achievable and rewarding endeavor. By meticulously planning your system, selecting the right cameras and recording devices, and following a structured installation process, you can significantly bolster your property's security and gain invaluable peace of mind. Remember to prioritize key areas, consider power and connectivity, and leverage the advanced features available in 2025, such as AI analytics and robust remote access, to create a truly effective surveillance network. Regular maintenance and awareness of common troubleshooting steps will ensure your system remains operational and reliable. Investing the time and effort into a DIY installation empowers you with control over your security and provides a customized solution tailored to your unique needs.