Setting up a Blink camera system is a straightforward process designed for homeowners and renters seeking accessible and effective home security. This guide will walk you through each step, from unboxing to full integration, ensuring your Blink cameras are optimally positioned and functioning to protect your property.
Understanding Blink Camera Systems
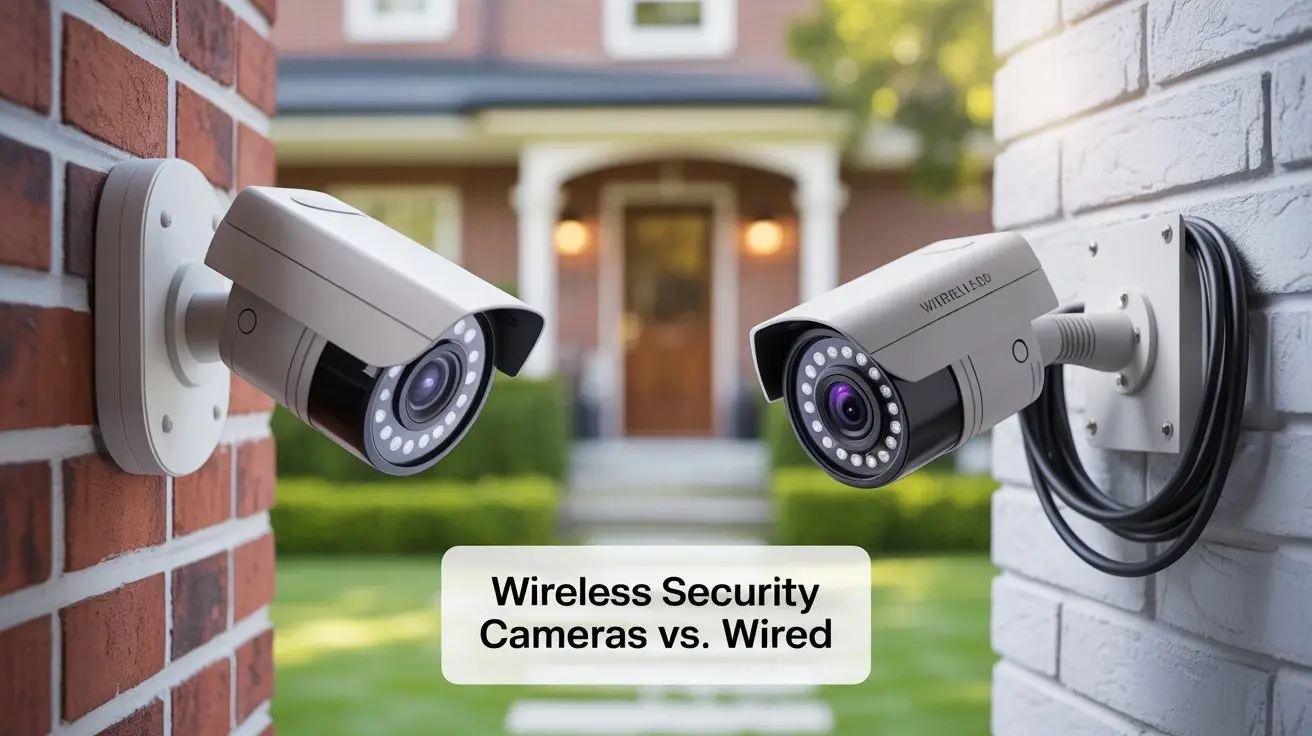
Blink offers a range of wireless, battery-powered home security cameras known for their ease of use and affordability. These systems are designed to provide peace of mind by allowing users to monitor their homes remotely via a smartphone or tablet. The core components typically include one or more Blink cameras and, for some models, a Sync Module, which acts as the central hub connecting your cameras to your home Wi-Fi network and the Blink cloud service. The wireless nature of Blink cameras significantly simplifies installation, eliminating the need for complex wiring and professional setup, making it an attractive option for DIY security enthusiasts. As of 2025, the market for smart home security continues to grow, with an estimated 45% of households in North America utilizing some form of smart security device, and Blink has carved out a significant niche by focusing on user-friendly, budget-conscious solutions.
Choosing the Right Blink System
Blink offers several system configurations, each tailored to different needs and budgets. Understanding these options is crucial before you begin the setup process. The primary systems available in 2025-26 include:
- Blink Outdoor: Designed for both indoor and outdoor use, these cameras are weather-resistant and offer high-definition video recording. They are battery-powered, providing flexibility in placement.
- Blink Indoor: Primarily for indoor monitoring, these cameras offer similar features to the Outdoor model but without the same level of weatherproofing.
- Blink Mini: A compact, plug-in camera ideal for indoor monitoring of specific areas like entryways or nurseries. It does not require a Sync Module and connects directly to Wi-Fi.
- Blink Video Doorbell: Replaces your existing doorbell and allows you to see, hear, and speak to visitors from anywhere. It can be wired or battery-powered.
When selecting a system, consider the areas you wish to monitor, whether you need outdoor capabilities, and your preferred power source (battery vs. wired). For comprehensive coverage, a combination of these devices might be ideal. For instance, an Outdoor camera for the front porch, an Indoor camera for the living room, and a Video Doorbell can create a robust perimeter and interior monitoring network. The decision often hinges on the number of cameras needed and the specific features prioritized, such as night vision quality, field of view, and motion detection sensitivity.
What You Need Before You Start
Before diving into the setup, ensure you have the following essentials to make the process as smooth as possible:
- Your Blink Cameras and Sync Module (if applicable): Unpack all components and verify that everything is present according to the product packaging.
- A Smartphone or Tablet: You'll need a compatible iOS (version 13.0 or later) or Android (version 6.0 or later) device to download and run the Blink Home Monitor app.
- A Stable Wi-Fi Network: Blink cameras require a 2.4 GHz Wi-Fi network with a strong signal. Ensure your router is within range of where you plan to place your cameras and Sync Module. A minimum download speed of 2 Mbps per camera is recommended for optimal performance, though higher is always better for smoother streaming and faster cloud uploads.
- Your Wi-Fi Network Name (SSID) and Password: You will need these to connect the Sync Module or Blink Mini cameras to your network.
- Batteries: Most Blink cameras use AA lithium batteries. Ensure you have fresh batteries ready for installation. The Blink Video Doorbell may come with a rechargeable battery pack or require AA batteries depending on the model and installation method.
- Mounting Hardware: Most Blink cameras come with mounting kits. Ensure you have the necessary tools (e.g., screwdriver, drill if mounting on certain surfaces) for secure installation.
- Optional: MicroSD Card: For Blink cameras that support local storage (like the Sync Module 2), a compatible MicroSD card (up to 256GB) can be used for storing video clips locally, providing an alternative or backup to cloud storage.
Having these items prepared in advance will prevent interruptions and ensure a seamless setup experience. It’s also a good idea to check your Wi-Fi signal strength in the intended camera locations using your smartphone before drilling any holes or permanently mounting devices.
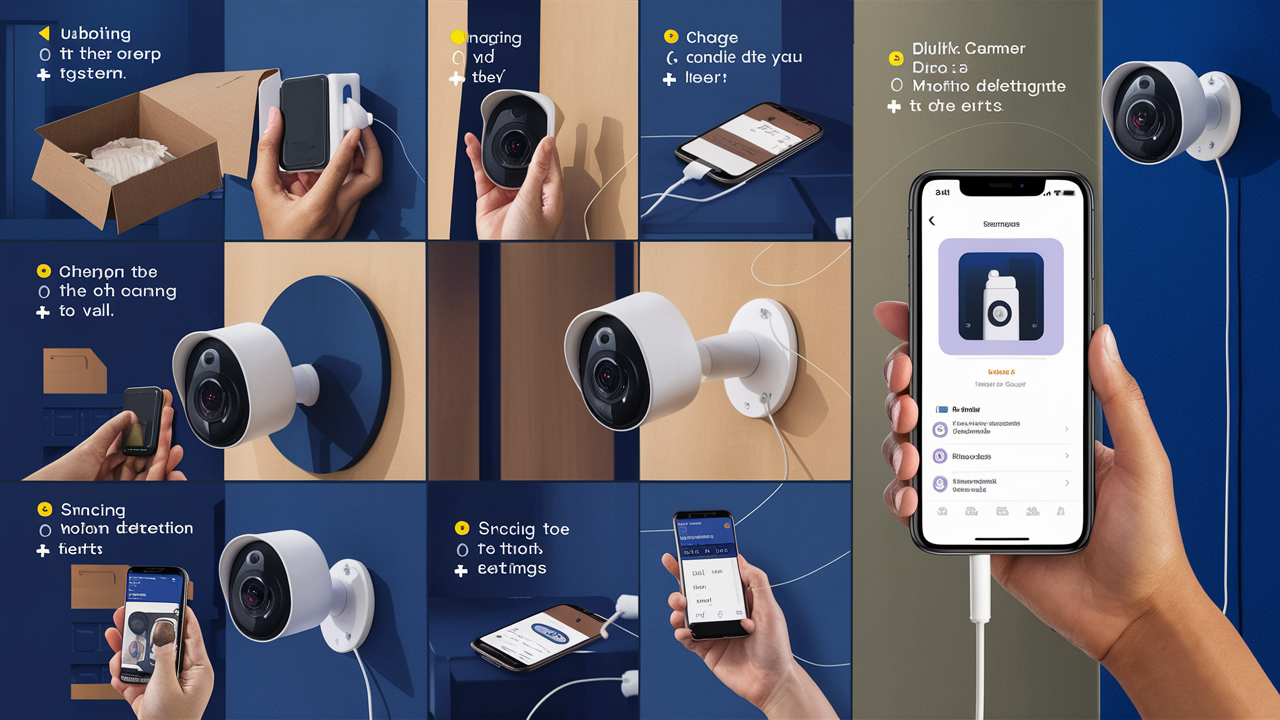
Step-by-Step Setup Guide
Setting up your Blink camera system is designed to be intuitive. Follow these detailed steps to get your system operational:
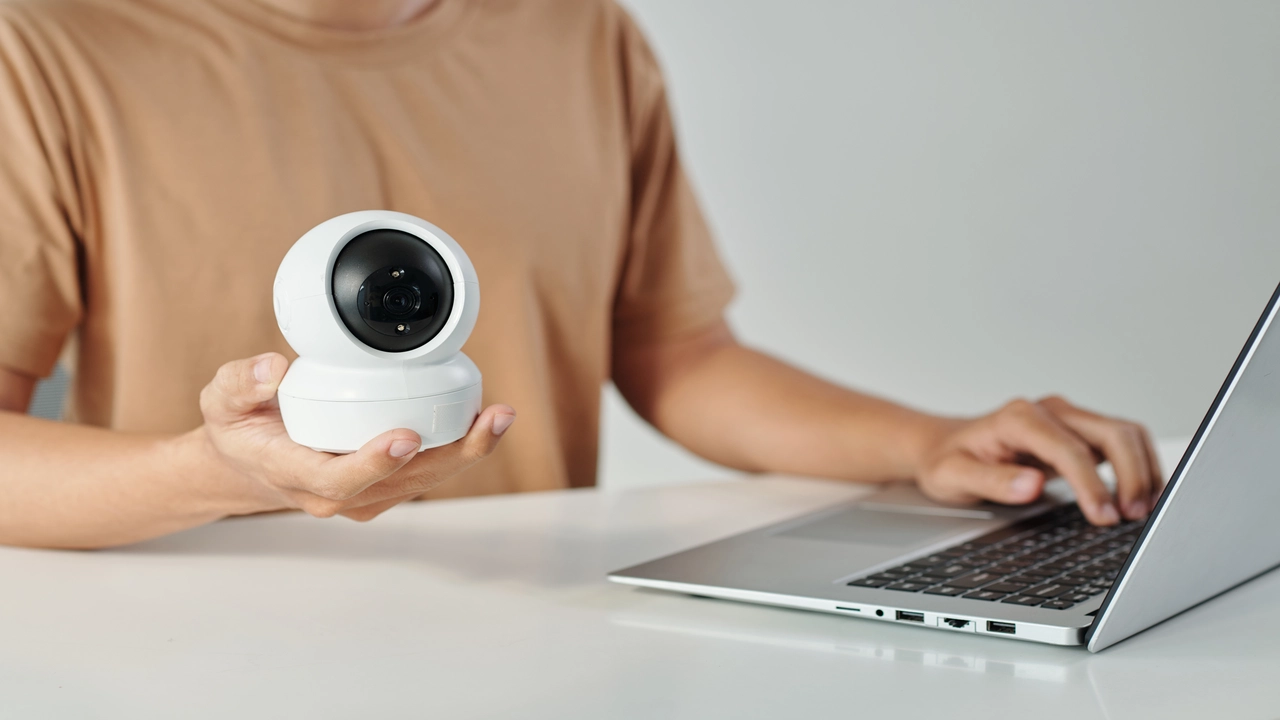
Step 1: Downloading the Blink App
The Blink Home Monitor app is your central command for managing your security system. It's available for free on both the Apple App Store and Google Play Store.
- Open the App Store on your iOS device or Google Play Store on your Android device.
- Search for "Blink Home Monitor".
- Tap "Install" or "Get" to download and install the application on your device.
Once downloaded, locate the Blink Home Monitor icon on your device's home screen and tap it to open the app.
Step 2: Creating or Logging Into Your Account
Upon opening the Blink app, you'll be prompted to either create a new account or log in to an existing one.
- For New Users: Tap "Sign Up". You will need to provide your email address and create a secure password. Follow the on-screen instructions to verify your email address. You will also be prompted to set up Two-Factor Authentication (2FA) for enhanced security, which is highly recommended.
- For Existing Users: Tap "Sign In" and enter your registered email address and password.
After successfully logging in, you will be taken to the main dashboard of the Blink app, ready to add your devices.
Step 3: Adding Your Sync Module (If Applicable)
If your Blink system includes a Sync Module (e.g., Blink Outdoor, Blink Indoor, Blink XT2), this is the first device you'll need to add. The Sync Module connects your cameras to your Wi-Fi network and the Blink cloud.
- Plug the Sync Module into a power outlet in a central location within your home, ideally close to your Wi-Fi router.
- Wait for the status light on the Sync Module to turn solid blue, indicating it's ready for setup.
- In the Blink app, tap the "+" icon (usually in the top right corner) to add a new device.
- Select "Sync Module" from the list of device types.
- The app will prompt you to scan a QR code. This QR code is typically found on the bottom or back of your Sync Module. Hold your phone's camera up to the QR code until it's recognized.
- Follow the on-screen instructions to connect the Sync Module to your 2.4 GHz Wi-Fi network. You will be asked to select your Wi-Fi network name (SSID) and enter your password.
- Once successfully connected, the Sync Module's status light will turn solid blue, and it will appear in your Blink app.
Note: The Blink Mini camera does not require a Sync Module and connects directly to Wi-Fi.
Step 4: Adding Your Blink Cameras
With the Sync Module set up (or if you're using Blink Mini cameras), you can now add your cameras.
- Ensure your cameras have fresh batteries installed.
- In the Blink app, tap the "+" icon again.
- Select "Camera" from the device types.
- If you are using a Sync Module, the app will prompt you to scan the QR code on your camera. If you are setting up a Blink Mini, it will guide you through a direct Wi-Fi connection process.
- Hold your phone's camera up to the QR code on the Blink camera until it's recognized.
- The app will then guide you through pairing the camera with your Sync Module (if applicable) or connecting it directly to your Wi-Fi network (for Blink Mini).
- Give each camera a descriptive name (e.g., "Front Door," "Living Room," "Backyard") to easily identify it in the app.
- Repeat this process for each Blink camera you wish to add to your system.
Step 5: Camera Placement and Mounting
Strategic placement is key to maximizing the effectiveness of your Blink cameras. Consider the following:
- Field of View: Most Blink cameras have a wide field of view (around 110-130 degrees). Position them to cover the desired areas without excessive blind spots.
- Height: For general surveillance, mounting cameras between 7-10 feet off the ground is often ideal. This height is high enough to deter tampering but low enough to capture clear facial details of visitors.
- Motion Detection: Avoid pointing cameras directly at heat sources like vents or windows that receive direct sunlight, as these can trigger false motion alerts. Also, avoid placing them where they will constantly detect moving objects like trees swaying in the wind or busy streets.
- Power Source: For battery-powered cameras, consider how easy it will be to replace batteries. For Blink Mini, ensure it's near a power outlet.
- Wi-Fi Signal Strength: Before permanently mounting, temporarily position the camera and check the Wi-Fi signal strength within the Blink app. If the signal is weak, you may need to relocate the camera, the Sync Module, or consider a Wi-Fi extender.
Mounting Instructions:
- Indoor Cameras: These can often be placed on shelves or tables, or mounted using the included adhesive strips or screws.
- Outdoor Cameras: Use the provided mounting bracket. For most surfaces (wood, stucco), screws are recommended for secure attachment. If mounting on brick or concrete, you may need to use appropriate wall anchors (not always included). Ensure the bracket is firmly attached before clipping the camera onto it.
- Video Doorbell: Remove your existing doorbell button. Use the included mounting plate and screws to attach the Blink Video Doorbell. Ensure it's securely fastened.
Take your time with placement. It's better to adjust positioning now than to have to remount later.
Step 6: Configuring Camera Settings
Once your cameras are added and mounted, you'll want to fine-tune their settings within the Blink app for optimal performance.
- Motion Detection Sensitivity: Adjust this setting to control how sensitive the camera is to movement. A lower setting will require more significant motion to trigger an alert, while a higher setting will detect subtler movements. Finding the right balance is crucial to avoid false alerts.
- Motion Zones: For cameras with this feature (available on select models and subscription plans), you can define specific areas within the camera's view where motion detection should be active. This is invaluable for ignoring areas like busy sidewalks while still capturing activity on your property.
- Recording Settings:
- Clip Length: Choose how long each motion-activated video clip should be (e.g., 5, 10, 15, 30, or 60 seconds). Longer clips provide more context but use more storage and battery.
- Record on Motion: Ensure this is enabled to capture video when motion is detected.
- Pre-motion Capture: Some Blink cameras can record a few seconds of video *before* motion is detected, providing crucial context. This feature is often dependent on battery life and system load.
- Video Quality: Select the desired video resolution (e.g., 720p, 1080p) and frame rate. Higher quality provides clearer images but uses more data and battery.
- Audio Settings: Enable or disable audio recording as per your preference and local regulations.
- Status Lights: You can choose to keep the status light on (visible to indicate recording) or turn it off for discreet monitoring.
Navigate to each camera's settings within the app by tapping on its name from the main dashboard. Experiment with these settings until you achieve the desired balance between security coverage and battery life/data usage.
Step 7: Testing Your System
Before considering your setup complete, thoroughly test each camera and the system's overall functionality.
- Motion Detection Test: Walk in front of each camera and verify that it detects motion and begins recording a clip. Check the app to ensure the clip appears in your event history.
- Live View Test: Tap on each camera in the app to initiate a live view. Check the video and audio quality. Ensure the stream is stable and clear.
- Notification Test: Ensure that motion alerts are being sent to your smartphone or tablet. If not, check your app notification settings and your device's general notification settings.
- Sync Module Connectivity: Verify that the Sync Module's light remains solid blue, indicating a stable connection to your Wi-Fi and the Blink cloud.
- Battery Levels: Check the battery status for each camera in the app. Ensure they are showing a healthy charge.
If you encounter any issues during testing, refer to the troubleshooting section of this guide or Blink's official support resources.
Advanced Setup and Features
Once your Blink system is up and running, explore these advanced features to enhance your security experience.
Understanding Blink Subscription Plans
While Blink cameras can function without a subscription, a Blink Subscription Plan unlocks significant features and benefits, especially for cloud storage and advanced functionalities. As of 2025, Blink offers different tiers:
- Blink Basic Plan: Covers a single camera, offering cloud storage for video clips, live view, and motion alerts.
- Blink Plus Plan: Covers an unlimited number of cameras on a single account. It includes all Basic features plus extended warranties, 10% off Blink products, and 24/7 professional monitoring services (in select regions).
Key benefits of a subscription plan include:
- Cloud Storage: Video clips are automatically saved to the cloud, accessible via the app for 60 days (or longer depending on the plan and region).
- Extended Warranty: Protects your devices against defects.
- 24/7 Professional Monitoring: For Plus subscribers, this service can dispatch emergency services when an alarm is triggered.
You can manage your subscription within the Blink app. While local storage via MicroSD card is an option for some Sync Modules, cloud storage provides greater convenience and accessibility. The decision to subscribe often depends on the number of cameras and the desired level of service and storage.
Integrating with Alexa
Blink systems are compatible with Amazon Alexa-enabled devices, allowing for voice control and enhanced convenience.
- Enable the Blink Skill: Open the Amazon Alexa app, go to "Skills & Games," search for "Blink," and enable the Blink Home Monitor skill.
- Link Your Account: You will be prompted to log in to your Blink account to link it with your Alexa account.
- Discover Devices: Ask Alexa to "Discover devices." Your Blink cameras and Sync Module should appear in your Alexa device list.
Useful Alexa Commands:
- "Alexa, show me the [Camera Name]." (e.g., "Alexa, show me the Front Door.") - This will display the live feed on compatible Echo Show devices.
- "Alexa, arm Blink."
- "Alexa, disarm Blink." (You will need to set up a voice code for disarming.)
- "Alexa, take a photo with [Camera Name]."
Voice control can be particularly useful for quickly checking on your home without needing to open the Blink app.
Managing Notifications
Customizing your notifications is crucial to staying informed without being overwhelmed.
- Motion Alerts: You can enable or disable motion alerts for each camera individually.
- Delivery Method: Receive alerts as push notifications on your smartphone or tablet.
- Scheduling: Set specific times when you want to receive motion alerts (e.g., only when you're away from home).
- Notification Tone: Choose a distinct sound for Blink alerts.
Access notification settings within the Blink app by tapping on a camera and then selecting "Settings," followed by "Notifications." You can also manage app-level notification permissions within your device's operating system settings.
Creating Custom Motion Detection Zones
This advanced feature, often available with a subscription, allows you to define specific areas within your camera's view that will trigger motion alerts. This is incredibly useful for eliminating false alarms caused by non-critical activity.
- In the Blink app, select the camera you wish to configure.
- Go to "Settings" and then "Motion Detection Zones."
- You will see a grid overlay on your camera's live view.
- Tap and drag on the grid to select or deselect areas. Areas that are selected (often highlighted in red or a similar color) are where motion will be detected.
- Areas that are deselected will be ignored for motion detection. For example, you might deselect a busy public sidewalk visible from your front door camera to avoid alerts from passersby.
Experiment with different zone configurations to find the optimal setup for your specific environment. This is a powerful tool for making your Blink system more efficient and less intrusive.
Troubleshooting Common Issues
While Blink systems are generally reliable, you might encounter occasional issues. Here are solutions for common problems:
- Camera Not Connecting to Wi-Fi:
- Ensure you are using a 2.4 GHz Wi-Fi network, not 5 GHz.
- Check that your Wi-Fi password is correct.
- Move the camera or Sync Module closer to your router.
- Restart your router and modem.
- Ensure the camera's batteries are fresh and properly inserted.
- No Motion Alerts:
- Verify that "Record on Motion" is enabled in the camera's settings.
- Check that motion detection sensitivity is set appropriately (not too low).
- Ensure motion zones are configured correctly (if applicable).
- Confirm that notifications are enabled in the Blink app and your device's settings.
- Check your subscription status, as some features may be tied to it.
- Poor Video Quality:
- Ensure your Wi-Fi signal strength is adequate.
- Clean the camera lens.
- Check the video quality settings in the app.
- Ensure there is sufficient lighting, especially at night.
- Sync Module Not Pairing:
- Ensure the Sync Module's status light is solid blue before attempting to pair.
- Try a different USB power adapter if the included one seems faulty.
- Ensure you are scanning the correct QR code.
- Perform a factory reset on the Sync Module (refer to Blink's support for instructions).
- Short Battery Life:
- Reduce motion detection sensitivity.
- Shorten video clip length.
- Disable pre-motion capture if not essential.
- Ensure the camera is not constantly being triggered by false motion.
- Use high-quality lithium AA batteries, as they perform better in varying temperatures.
For persistent issues, Blink's official support website offers extensive FAQs and troubleshooting guides. Contacting their customer support is also a viable option.
Security and Privacy Considerations
When setting up any home security system, it's important to consider security and privacy.
- Strong Passwords: Use a strong, unique password for your Blink account and enable Two-Factor Authentication (2FA). This is your first line of defense against unauthorized access.
- Secure Wi-Fi: Ensure your home Wi-Fi network is secured with WPA2 or WPA3 encryption and a strong password.
- Camera Placement: Be mindful of where you place cameras, especially indoors. Avoid positioning them in private areas like bathrooms or bedrooms unless absolutely necessary and with full consent of all occupants.
- Legal Compliance: Be aware of local laws regarding audio and video recording, especially if you are recording in areas where individuals have a reasonable expectation of privacy.
- Data Storage: Understand Blink's data retention policies. If using cloud storage, be aware of how long your footage is stored and who has access.
- Firmware Updates: Keep your Blink app and camera firmware updated. Updates often include security patches that protect against vulnerabilities.
Blink employs encryption for data transmission and storage, but user vigilance in securing accounts and network is paramount. By following best practices, you can ensure your Blink system enhances your security without compromising your privacy.
Conclusion: Optimizing Your Blink Setup
Setting up a Blink camera system is a rewarding process that significantly enhances your home security. By carefully following the steps outlined, from initial unboxing and app setup to strategic camera placement and fine-tuning settings, you can create a robust and reliable surveillance network tailored to your needs. Remember to leverage advanced features like Alexa integration and custom motion zones to maximize convenience and minimize false alerts. Regular testing and an understanding of your Blink subscription benefits will ensure your system operates at its peak performance. Prioritizing strong account security and being mindful of privacy considerations are essential for a truly secure and effective home monitoring solution. With a properly configured Blink system, you can gain invaluable peace of mind, knowing your property is protected and you can stay connected to your home from anywhere in the world.