Setting up home security cameras doesn't have to be a daunting task. This comprehensive guide breaks down the entire process, from choosing the right system to final installation and configuration, ensuring your home is protected effectively and efficiently. Learn how to enhance your peace of mind with smart, modern surveillance.
Understanding Home Security Camera Types
The world of home security cameras has evolved dramatically, offering a diverse range of options to suit every need and budget. Understanding the different types available is the crucial first step in building an effective surveillance system. In 2025-26, the market is dominated by several key categories, each with its own set of advantages and disadvantages.
Wired Security Cameras (CCTV Systems)
These are the traditional workhorses of home security. Wired systems, often referred to as Closed-Circuit Television (CCTV), typically involve cameras connected to a Digital Video Recorder (DVR) or Network Video Recorder (NVR) via coaxial or Ethernet cables. The DVR/NVR then stores the footage locally.
- Pros: Generally offer more stable and reliable connections, less susceptible to interference, and can provide higher quality footage without signal degradation. Power over Ethernet (PoE) options simplify installation by running both power and data through a single Ethernet cable.
- Cons: Installation can be more complex and invasive, requiring drilling holes to run cables through walls and ceilings. They are less flexible for repositioning once installed.
Wireless Security Cameras
Wireless cameras transmit data wirelessly, typically via Wi-Fi, to a router or a dedicated hub. They still require a power source, either from a wall outlet or a battery pack.
- Pros: Significantly easier and quicker to install, offering greater flexibility in placement. They are ideal for renters or those who prefer a less invasive setup. Many battery-powered models offer true wire-free installation.
- Cons: Can be susceptible to Wi-Fi interference, which might lead to dropped connections or lower video quality. Battery-powered models require regular charging or battery replacement.
IP Cameras (Internet Protocol Cameras)
IP cameras are a type of digital camera that transmits data over an IP network. They can be wired or wireless and are often considered the modern standard. They offer higher resolution and more advanced features than older analog CCTV cameras.
- Pros: High resolution (HD, 4K), remote access via the internet, often feature advanced analytics like motion detection, facial recognition, and object tracking.
- Cons: Can be more expensive than basic analog cameras. Require a stable internet connection for remote viewing and cloud storage.
Battery-Powered Security Cameras
These are a subset of wireless cameras that rely solely on rechargeable or long-lasting batteries for power. This offers the ultimate in placement flexibility.
- Pros: True wire-free installation, making them ideal for areas without nearby power outlets. Easy to move and reposition.
- Cons: Battery life is a significant consideration; frequent charging or replacement is necessary, especially for cameras with high activity or frequent recording.
Doorbell Cameras
These replace your existing doorbell and integrate a camera, microphone, and speaker, allowing you to see, hear, and speak to visitors remotely via a smartphone app.
- Pros: Enhanced front-door security, package theft deterrence, and convenience for screening visitors.
- Cons: Limited field of view compared to dedicated security cameras.
Specialty Cameras
This category includes cameras designed for specific purposes, such as outdoor cameras with enhanced weatherproofing, night vision cameras with superior low-light performance, and cameras with built-in spotlights or sirens.
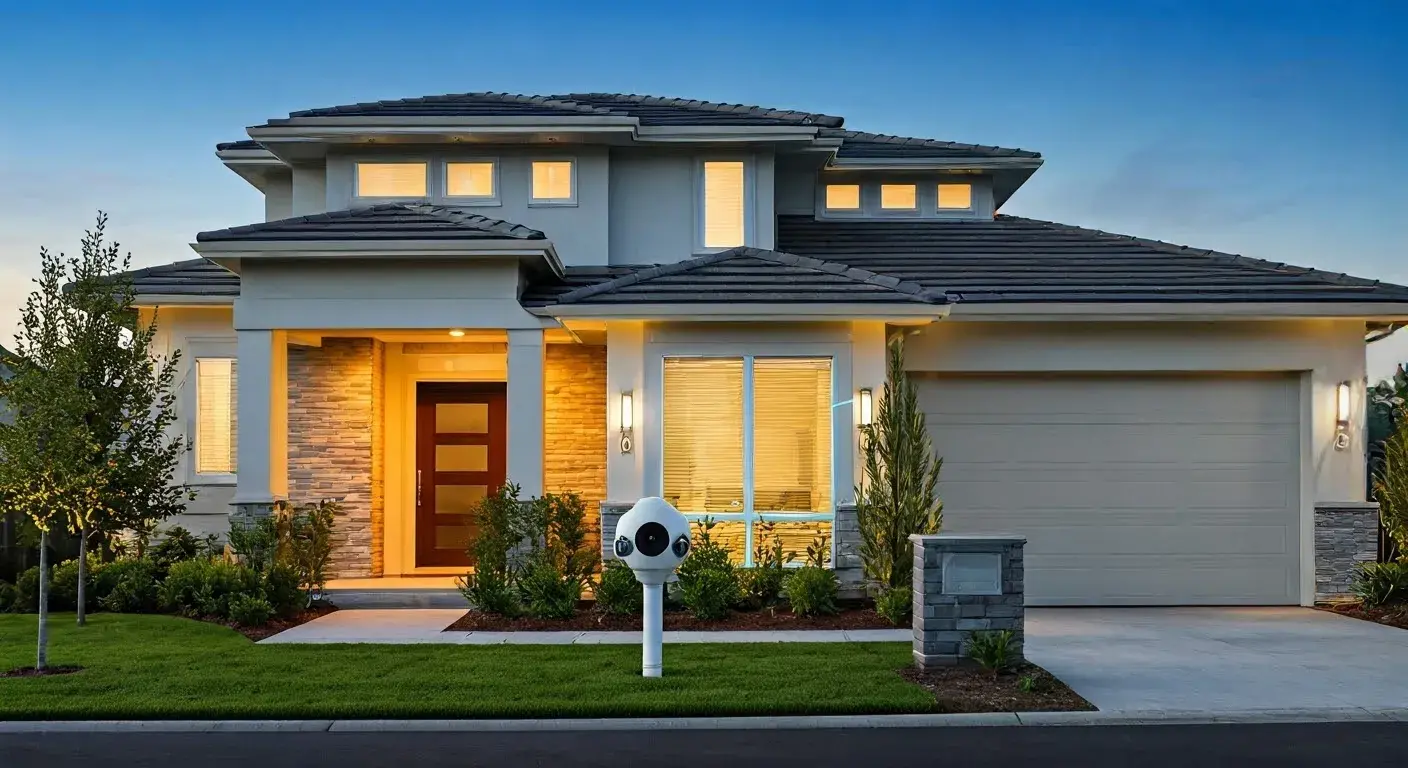
Planning Your Camera Placement: Strategic Surveillance
Effective camera placement is paramount to a robust home security system. It's not just about covering every inch of your property; it's about strategic positioning to capture the most critical areas and deter potential intruders. In 2025-26, with increased awareness of smart home integration and layered security, thoughtful planning is more important than ever.
Assessing Your Vulnerabilities
Before you even think about where to place a camera, identify your property's weak points. Walk around your home, both inside and out, and consider:
- Entry Points: Front door, back door, garage doors, ground-floor windows. These are the most common access points for burglars.
- High-Traffic Areas: Hallways, living rooms, areas where valuables are kept.
- Blind Spots: Areas around your home that are not visible from the street or your usual vantage points.
- Perimeter: Fences, gates, and the overall boundary of your property.
- Areas of Concern: Driveways, sheds, detached garages, or any outbuildings that may contain valuable items.
Outdoor Camera Placement Strategy
Outdoor cameras are your first line of defense. Aim to cover the perimeter and all entry points.
- Front Door: A doorbell camera or a camera mounted above the door can capture who approaches your home. Ensure it covers the doorstep and any immediate vicinity.
- Back Door & Side Doors: Similar to the front door, these need direct coverage.
- Garage: Cameras inside and outside the garage can monitor vehicles and deter break-ins. Consider covering the driveway leading to the garage.
- Ground-Floor Windows: Position cameras to cover accessible windows, especially those in less visible areas.
- Corners of the House: Mounting cameras in corners can provide a wider field of view, capturing activity along two walls of your property.
- Height and Angle: Mount outdoor cameras at a height of 8-10 feet. This is high enough to deter tampering but low enough to capture clear facial details. Angle them downwards to avoid capturing too much sky, which can reduce image quality, especially in bright conditions.
Indoor Camera Placement Strategy
Indoor cameras provide a secondary layer of security and can help monitor activity within your home when you're away or during the night.
- Main Entry Points: Cameras near the front and back doors can catch anyone who manages to get inside.
- Living Areas: Cover main living spaces where family members congregate or where valuables might be stored.
- Hallways: Position cameras at the ends of long hallways to monitor movement.
- Staircases: A camera at the top or bottom of a staircase can monitor activity between floors.
- Areas with Valuables: If you have a home office or a room with expensive electronics or art, consider placing a camera there.
- Nursery/Children's Rooms (with caution): While not strictly for security against intruders, some parents use cameras to monitor children or caregivers. Ensure compliance with privacy laws and ethical considerations.
- Mounting Indoors: Indoor cameras can be placed on shelves, mounted on walls, or ceilings. Avoid pointing them directly at windows, as this can create glare and make it difficult to see outside.
Field of View and Overlap
Consider the field of view (FOV) of your chosen cameras. A wider FOV covers more area but may offer less detail at a distance. A narrower FOV provides more detail but covers less ground. Aim for strategic overlap between camera views to ensure there are no blind spots and that if one camera is compromised, another can still capture activity.
Power and Connectivity Considerations
As you plan placement, think about how each camera will be powered and how it will connect to your network. For wired cameras, this means proximity to power outlets or network cables. For wireless cameras, it means being within Wi-Fi range of your router or hub, and for battery-powered cameras, it means accessibility for charging.
Choosing Your System: Wired vs. Wireless
The decision between a wired and a wireless home security camera system is one of the most significant choices you'll make. Each has distinct advantages and disadvantages that impact installation, reliability, cost, and flexibility. In 2025-26, with advancements in both technologies, the choice often comes down to your specific needs and property.
Wired Security Camera Systems
Wired systems, historically the standard, rely on physical cables to transmit both video data and, in many cases, power. These systems typically connect to a DVR (Digital Video Recorder) or NVR (Network Video Recorder) for local storage.
Pros of Wired Systems:
- Reliability: Wired connections are generally more stable and less prone to interference than wireless signals. This means a consistent feed and fewer dropped connections, which is crucial for continuous surveillance.
- Security: The physical cables make them harder to hack remotely compared to wireless systems that rely on Wi-Fi.
- Power over Ethernet (PoE): Many modern wired IP cameras utilize PoE, where a single Ethernet cable delivers both data and power. This simplifies installation compared to running separate power and data cables.
- No Battery Concerns: Cameras are continuously powered, eliminating the need for battery charging or replacement.
- Higher Quality (Potentially): In some configurations, wired systems can offer higher bandwidth and thus potentially higher resolution and frame rates without signal degradation over distance.
Cons of Wired Systems:
- Installation Complexity: This is the biggest hurdle. Running cables through walls, attics, and basements can be labor-intensive, time-consuming, and may require professional installation, adding to the overall cost.
- Inflexibility: Once installed, repositioning wired cameras is difficult. If you want to change the camera's angle or location, you'll likely need to run new cables.
- Aesthetics: Visible cables can be unsightly if not properly concealed.
- Cost: While the cameras themselves might be comparable, the installation cost for wired systems can be significantly higher.
Wireless Security Camera Systems
Wireless cameras transmit data wirelessly, typically over Wi-Fi. They still require a power source, which can be a wall outlet or a battery.
Pros of Wireless Systems:
- Ease of Installation: This is their primary advantage. Installation is often as simple as mounting the camera, connecting it to power (if not battery-powered), and configuring it via a mobile app. No drilling through walls is usually required.
- Flexibility: Wireless cameras can be easily repositioned or moved to a new location as your needs change. This is ideal for renters or those who want to experiment with different camera placements.
- Aesthetics: With no visible data cables, wireless systems tend to look cleaner and less obtrusive.
- Scalability: It's generally easier to add more wireless cameras to an existing system as needed.
Cons of Wireless Systems:
- Signal Interference: Wi-Fi signals can be affected by distance from the router, physical obstructions (walls, furniture), and interference from other wireless devices (microwaves, cordless phones). This can lead to dropped connections, lag, or reduced video quality.
- Power Dependency: While many wireless cameras plug into an outlet, battery-powered models require regular charging or battery replacement, which can be inconvenient and may lead to gaps in surveillance if not managed properly.
- Security Risks: Wireless signals can be more susceptible to hacking if not properly secured with strong passwords and up-to-date firmware.
- Bandwidth Limitations: High-resolution wireless cameras can consume significant bandwidth, potentially impacting other devices on your network.
Making the Choice: Key Considerations
When deciding between wired and wireless, consider these factors:
- Your Homeownership Status: Renters often find wireless systems more practical due to installation limitations. Homeowners have more freedom to choose.
- Your Technical Skill Level: If you're comfortable with basic DIY and potentially some minor electrical work, wired might be feasible. If not, wireless is the easier route.
- Your Budget: Factor in the cost of professional installation for wired systems.
- Desired Flexibility: If you anticipate needing to move cameras, go wireless.
- Reliability Needs: For critical areas where a dropped feed is unacceptable, wired systems often have an edge.
- Existing Infrastructure: Do you already have Ethernet cabling in place? This could make a wired IP system much easier.
In 2025-26, many systems offer hybrid solutions, allowing you to mix and match wired and wireless cameras to leverage the strengths of each. For example, using wired cameras for critical entry points and wireless for less sensitive areas.
Key Features to Look For in 2025-26
The home security camera market is constantly innovating. Staying abreast of the latest features in 2025-26 will ensure you invest in a system that offers the best protection, convenience, and value. Beyond basic video recording, several advanced capabilities are becoming standard and highly desirable.
Video Resolution and Quality
Higher resolution is key. Look for cameras offering at least 1080p (Full HD). However, 2K (1440p) and 4K (2160p) are increasingly common and offer significantly more detail, allowing you to zoom in on footage without losing clarity. This is crucial for identifying faces or license plates.
- Frame Rate (FPS): A higher frame rate (e.g., 30 FPS) results in smoother video, especially for capturing fast-moving objects.
- Field of View (FOV): A wider FOV (e.g., 130-160 degrees) covers more area with a single camera, reducing the number of cameras needed.
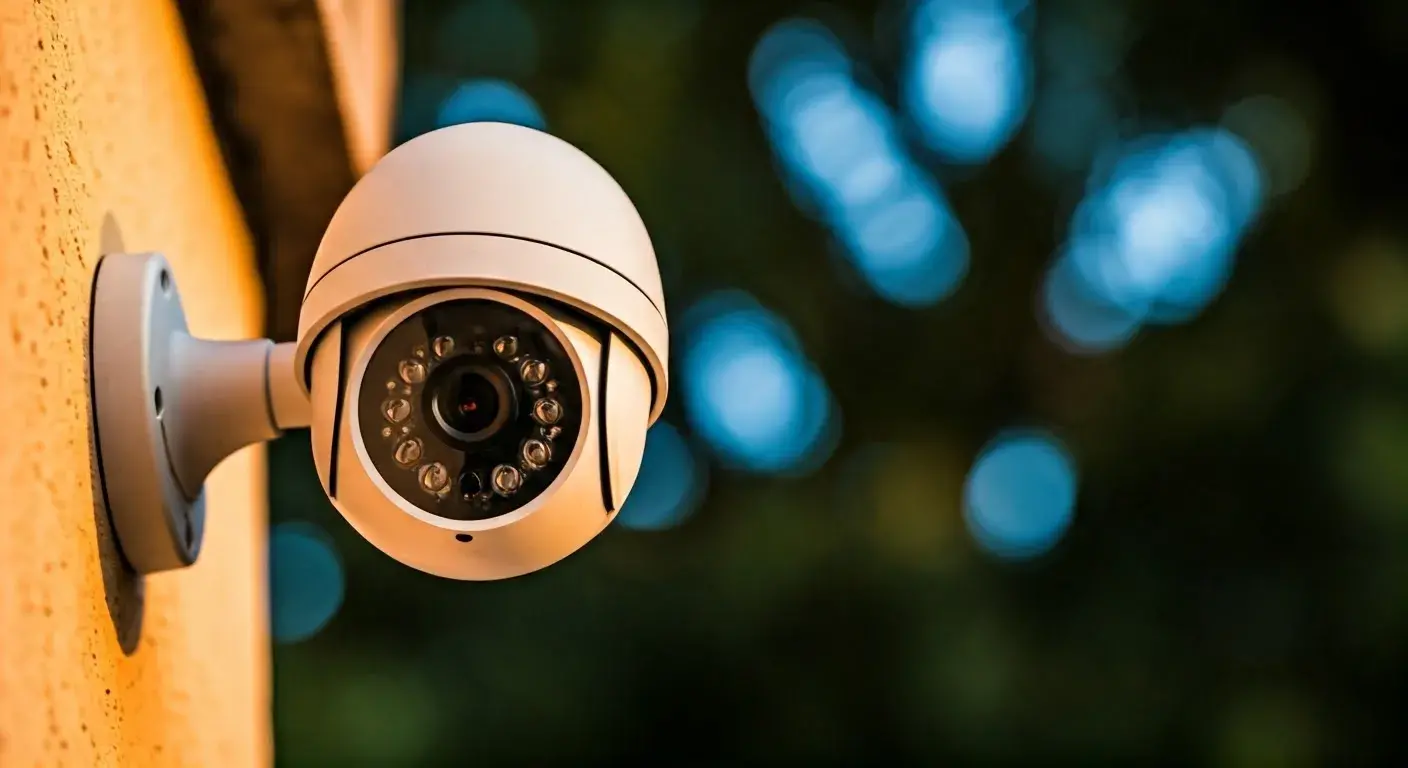
Night Vision Capabilities
Effective night vision is non-negotiable for 24/7 surveillance. Modern cameras offer several types:
- Infrared (IR) Night Vision: Standard black-and-white night vision. Look for cameras with a good IR range (e.g., 30-100 feet) and an automatic IR cut filter for clear images in both day and night.
- Color Night Vision: Advanced sensors and ambient light technology allow some cameras to produce color footage even in very low light conditions, offering more detail and easier identification.
- Starlight Sensors: These are highly sensitive sensors that excel in capturing color images in extremely low light, often surpassing traditional IR night vision.
Motion Detection and Smart Alerts
This is where modern cameras shine. Basic motion detection triggers recording when movement is sensed. Advanced features include:
- Person Detection: Differentiates between people, animals, vehicles, and general motion, significantly reducing false alarms.
- Package Detection: Alerts you when a package is delivered or removed from your doorstep.
- Customizable Motion Zones: Allows you to define specific areas within the camera's view where motion should be detected, ignoring irrelevant activity (e.g., a busy street).
- Smart Alerts: Push notifications sent directly to your smartphone or email when specific events are detected.
Two-Way Audio
Many cameras now include built-in microphones and speakers. This allows you to:
- Hear what's happening around the camera.
- Speak through the camera to deter intruders, greet visitors, or communicate with family members.
Storage Options
How and where your footage is stored is a critical consideration:
- Local Storage (SD Card/DVR/NVR): Offers privacy and avoids monthly fees. However, if the device is stolen or damaged, footage can be lost.
- Cloud Storage: Provides secure off-site backup and easy remote access. Most cloud services require a monthly subscription fee, with different tiers offering varying amounts of storage and retention periods.
- Hybrid Storage: Some systems offer both local and cloud storage, providing a balance of privacy, security, and convenience.
Connectivity and Power
As discussed in the previous section, consider the power source (wired, battery, solar) and connectivity (Wi-Fi, Ethernet, PoE). Ensure your Wi-Fi network is robust enough to support wireless cameras.
Durability and Weatherproofing
For outdoor cameras, look for a high IP rating (e.g., IP65, IP66, IP67) which indicates resistance to dust and water. These cameras are built to withstand various weather conditions like rain, snow, and extreme temperatures.
Integration with Smart Home Ecosystems
In 2025-26, seamless integration with other smart home devices is highly valued. Check for compatibility with platforms like Amazon Alexa, Google Assistant, Apple HomeKit, or IFTTT. This allows for voice control, automation (e.g., turning on lights when motion is detected), and centralized management.
AI and Advanced Analytics
Beyond basic detection, AI is powering more sophisticated features:
- Facial Recognition: Identifies known individuals, differentiating them from strangers.
- License Plate Recognition (LPR): Can capture and record license plates of vehicles.
- Activity Zones: More advanced than custom zones, these can trigger different actions based on activity in specific areas.
Power Options for Wireless Cameras
For battery-powered cameras, consider:
- Battery Life: Manufacturers often quote impressive battery life, but real-world usage (motion frequency, recording duration) can significantly reduce it. Look for reviews and realistic estimates.
- Rechargeable vs. Replaceable: Rechargeable batteries are more eco-friendly and cost-effective in the long run.
- Solar Panel Compatibility: Some battery cameras can be paired with optional solar panels to keep them charged continuously, offering a true wire-free, maintenance-free solution.
Step-by-Step Installation Guide
Installing home security cameras can seem complex, but by breaking it down into manageable steps, you can achieve a professional-level setup. This guide covers the general process, applicable to most wired and wireless systems. Always refer to your specific camera's manual for detailed instructions.
Step 1: Unboxing and Initial Setup
Carefully unbox all components. Lay them out and check that everything listed in the manual is present. For wireless cameras, charge the batteries fully or plug them in. For wired systems, identify the DVR/NVR, cameras, cables, and power adapters.
Step 2: Plan Your Camera Placement (Revisited)
Refer back to your placement plan. Temporarily hold cameras in their intended positions. Consider:
- Field of View: Ensure the camera covers the desired area without major blind spots.
- Power Source: Is there an outlet nearby for wired cameras, or is it a good spot for a battery camera?
- Network Connectivity: For wireless, is the Wi-Fi signal strong enough? For wired, is it near an Ethernet port or where you can run a cable?
- Mounting Surface: Is the surface suitable for mounting (e.g., solid wood, brick)?
Step 3: Mount the Cameras
For Wired Cameras:
- Drill Holes: If running cables through walls, drill appropriate-sized holes from the inside out or outside in. Use a stud finder to avoid drilling into electrical wires or pipes.
- Run Cables: Carefully feed the video/Ethernet cables through the drilled holes to the desired camera locations and to the DVR/NVR. Conceal cables using raceways, clips, or by running them through attics/basements for a cleaner look.
- Secure Cameras: Attach the mounting brackets to the wall or ceiling using the provided screws. Ensure they are firmly secured.
- Attach Cameras: Connect the cables to the cameras and then mount the cameras onto their brackets. Adjust the angle as needed.
For Wireless Cameras:
- Install Mounting Bracket: Secure the mounting bracket to the chosen surface using the provided screws. For some cameras, you might use adhesive strips for temporary placement or lighter cameras.
- Attach Camera: Snap or screw the camera onto the bracket. Adjust the angle to capture the desired view.
- Connect Power (if applicable): Plug in the power adapter if it's not a battery-powered model.
Step 4: Connect the DVR/NVR (for Wired Systems)
Connect the DVR/NVR to your router using an Ethernet cable. Connect the cameras to the DVR/NVR using their respective cables (coaxial for analog, Ethernet for IP). Connect the DVR/NVR to a monitor (via HDMI or VGA) and a power source.
Step 5: Power Up and Initial Configuration
Turn on the DVR/NVR and all connected cameras. The system should boot up. Follow the on-screen prompts or the manufacturer's instructions to set up the DVR/NVR. This often involves setting a password, configuring date and time, and formatting the hard drive.
Step 6: Connect Wireless Cameras to Your Network
This is typically done via a mobile app provided by the camera manufacturer.
- Download the App: Install the app on your smartphone or tablet.
- Create an Account: Sign up for an account with the manufacturer.
- Add Camera: Follow the app's instructions to add a new camera. This usually involves scanning a QR code on the camera, pressing a sync button, or entering a device ID.
- Connect to Wi-Fi: The app will guide you to connect the camera to your home Wi-Fi network. You'll need to select your network name (SSID) and enter your Wi-Fi password. Ensure you are connecting to a 2.4GHz network if the camera doesn't support 5GHz.
- Firmware Updates: Once connected, the app will likely prompt you to update the camera's firmware. This is crucial for security and performance.
Step 7: Adjust Camera Angles and Settings
Once cameras are mounted and connected, fine-tune their angles. Use the live view on your DVR/NVR monitor or mobile app to ensure optimal coverage. Adjust settings like motion detection sensitivity, recording schedules, and notification preferences.
Step 8: Test Your System
Walk in front of each camera to test motion detection and recording. Check the live feed on your app or monitor. Trigger any alarms or two-way audio features. Ensure notifications are being received promptly.
Step 9: Secure Your System
Change Default Passwords: This is critical. Change the default administrator password on your DVR/NVR and any camera accounts to a strong, unique password. Use a password manager if necessary.
Secure Your Wi-Fi: Ensure your home Wi-Fi network uses WPA2 or WPA3 encryption and has a strong, unique password. Consider creating a separate guest network for your IoT devices if your router supports it.
Connecting and Configuring Your Cameras
Once your cameras are physically installed, the next crucial phase is connecting them to your network and configuring their settings to maximize their effectiveness. This process varies slightly between wired and wireless systems, but the core principles remain the same. In 2025-26, user-friendly mobile apps have made this more accessible than ever.
Connecting Wired Cameras (IP Cameras with NVR/DVR)
For wired IP cameras connected to an NVR, the process is generally straightforward:
- Physical Connection: Ensure all Ethernet cables are securely plugged into the NVR's PoE ports and the cameras. If using a separate PoE switch, connect the cameras to the switch and the switch to the NVR.
- NVR Setup: Power on the NVR and connect it to your router via Ethernet. Follow the NVR's on-screen wizard for initial setup, which typically includes setting a strong administrator password, configuring network settings (DHCP is usually recommended for automatic IP assignment), and formatting the hard drive.
- Camera Discovery: The NVR should automatically detect and add cameras connected to its PoE ports. If you're using a separate PoE switch, you might need to manually add cameras within the NVR's interface, often by scanning the network or entering camera IP addresses.
- Firmware Updates: Check the NVR's interface for any available firmware updates for both the NVR and the connected cameras. Apply them to ensure optimal performance and security.
For older analog CCTV systems with a DVR, the connections are typically BNC connectors for video and RCA for audio, plus separate power cables. The DVR setup is similar to the NVR.
Connecting Wireless Cameras
Wireless cameras usually rely on a mobile app for setup and management:
- Download the Manufacturer's App: Search for the official app for your camera brand in your smartphone's app store (iOS or Android).
- Create an Account: Most apps require you to create a user account. This account is used to manage your devices and access them remotely.
- Initiate Setup Mode: Power on your wireless camera. It will typically enter a setup or pairing mode, often indicated by a flashing LED light.
- Add Device in App: Within the app, find the option to "Add Device" or "Add Camera."
- Pairing Process: The app will guide you through the pairing. This often involves:
- Scanning a QR Code: The app may generate a QR code that you display to the camera's lens. The camera scans it to get your Wi-Fi credentials.
- Bluetooth Pairing: Some cameras use Bluetooth to initially connect to your phone for easier Wi-Fi setup.
- Direct Wi-Fi Connection: In some cases, your phone might temporarily connect directly to a Wi-Fi network broadcast by the camera.
- Enter Wi-Fi Credentials: You'll need to select your home Wi-Fi network (SSID) and enter its password. Ensure you're connecting to a 2.4GHz network if your camera doesn't support 5GHz.
- Connection Confirmation: Once connected, the app will confirm the camera is online.
- Naming Your Camera: Give each camera a descriptive name (e.g., "Front Door," "Backyard," "Living Room") for easy identification.
- Firmware Updates: Immediately check for and install any available firmware updates for your cameras via the app.
Essential Configuration Settings
Regardless of system type, configuring these settings is vital:
1. Recording Settings
- Continuous Recording: Records 24/7. Requires significant storage space.
- Motion-Activated Recording: Records only when motion is detected. Saves storage space and makes reviewing footage easier. Configure motion detection sensitivity and zones carefully to avoid missing events or recording too much irrelevant footage.
- Scheduled Recording: Records only during specific times or days.
- Event Recording: Records a short clip before and after a motion event.
2. Motion Detection Configuration
- Sensitivity: Adjust how easily motion triggers recording. Too high can lead to false alarms; too low can miss events.
- Detection Zones: Define specific areas within the camera's view where motion should be monitored. This is crucial for ignoring irrelevant activity like swaying trees or passing cars if the camera has a wide view.
- Smart Alerts: Enable and customize the types of alerts you want to receive (e.g., person detection, package alerts). Choose how you want to be notified (push notification, email).
3. Video Quality and Frame Rate
Choose the resolution and frame rate that balances image detail with storage and bandwidth requirements. Higher resolution and frame rates consume more storage and can strain Wi-Fi networks.
4. Night Vision Settings
Most cameras have an "Auto" setting for night vision. You can often choose to force it on or off, or adjust IR LED intensity if available.
5. Audio Settings
Enable or disable audio recording. If two-way audio is available, test its functionality. Ensure audio recording complies with local privacy laws.
6. Storage Management
Configure how long recordings are kept (retention period) for both local and cloud storage. For cloud storage, select a subscription plan that meets your needs.
7. User Access and Permissions
If your system allows multiple users, set up different access levels to control who can view live feeds, access recordings, or change settings.
8. Network Settings
Ensure your cameras are connected to a stable network. For wireless cameras, monitor Wi-Fi signal strength. For wired systems, ensure the NVR/DVR has a stable connection to your router.
Remote Access Setup
Most modern systems allow remote viewing via a mobile app or web portal. Ensure your account is set up correctly and that remote access is enabled in the system's settings. Test accessing your cameras from outside your home network.
Advanced Tips and Maintenance
To ensure your home security camera system operates at peak performance and remains effective over time, consider these advanced tips and essential maintenance practices. In 2025-26, proactive care is key to longevity and reliability.
Optimizing Wi-Fi for Wireless Cameras
If you're using wireless cameras, a strong and stable Wi-Fi signal is paramount. Consider these strategies:
- Router Placement: Position your Wi-Fi router in a central location in your home, away from obstructions and sources of interference.
- Mesh Wi-Fi Systems: For larger homes or areas with weak Wi-Fi, a mesh Wi-Fi system can extend coverage and provide a more robust connection to all your devices, including cameras.
- Wi-Fi Extenders/Boosters: While less effective than mesh systems, these can help in specific dead zones.
- Separate Network for IoT Devices: If your router supports it, create a separate guest network or VLAN for your security cameras and other smart home devices. This can improve security and prevent bandwidth congestion on your main network.
- Channel Optimization: Access your router's settings and experiment with different Wi-Fi channels to find one with less interference from neighboring networks.
Enhancing Security Beyond Basic Passwords
Your camera system is a gateway into your home's network. Beyond strong passwords, consider:
- Two-Factor Authentication (2FA): Enable 2FA on your camera system's account and your Wi-Fi network if supported. This adds an extra layer of security, requiring a second verification step (e.g., a code from your phone) to log in.
- Regular Firmware Updates: Always install firmware updates for your cameras, NVR/DVR, and router as soon as they are available. These updates often patch security vulnerabilities.
- Disable Unused Features: If your cameras or NVR have features you don't use (e.g., UPnP, remote access if not needed), disable them to reduce potential attack vectors.
- Physical Security: For wired systems, ensure the DVR/NVR is stored in a secure location, ideally locked, to prevent tampering or theft.
Storage Management Best Practices
Effective storage management ensures you have footage when you need it without running out of space.
- Set Appropriate Retention Periods: Determine how long you need to store footage (e.g., 7 days, 30 days). Shorter periods save space and cost but may not be sufficient for all incidents.
- Monitor Storage Usage: Regularly check how much storage space is being used on your DVR/NVR or cloud service.
- Consider RAID for NVRs: If using an NVR with multiple hard drives, consider configuring RAID (Redundant Array of Independent Disks) for data redundancy. RAID 1 (mirroring) or RAID 5 offers protection against single drive failure.
- Cloud Storage Tiers: Evaluate different cloud storage plans based on the number of cameras, resolution, and desired retention period.
Camera Maintenance Schedule
Regular maintenance keeps your cameras in optimal working condition:
- Cleaning Lenses: Periodically clean camera lenses with a soft, lint-free cloth and a mild lens cleaner. Dust, dirt, and spiderwebs can obscure the view. For outdoor cameras, this might be needed quarterly or semi-annually.
- Checking Mounts: Ensure camera mounts are still secure and haven't loosened due to weather or vibration.
- Testing Functionality: Regularly test motion detection, recording, and remote access to ensure everything is working as expected.
- Battery Management (for battery cameras): Keep batteries charged. If using replaceable batteries, have spares on hand. Consider solar panels for continuous charging if available.
- Checking Cables (for wired cameras): Inspect cables for any signs of damage, fraying, or wear, especially in outdoor or high-traffic areas.
Utilizing Advanced Features
Don't overlook the potential of your system's advanced features:
- AI Analytics: Leverage person detection, package detection, and facial recognition to reduce false alarms and receive more relevant notifications. Fine-tune these settings for your specific environment.
- Customizable Recording Schedules: Set different recording schedules for weekdays, weekends, or when you're away on vacation.
- Integration with Other Smart Devices: Explore how your cameras can work with smart lights, alarms, or voice assistants for automated responses to security events.
- Geofencing: Some systems allow you to arm/disarm cameras or change recording settings based on your smartphone's location.
Environmental Considerations
For outdoor cameras, be mindful of environmental factors:
- Extreme Temperatures: Ensure your cameras are rated for the temperature range in your climate.
- Sun Glare: Position cameras to avoid direct sunlight hitting the lens during peak hours, which can cause glare and wash out images.
- Weather Protection: Ensure all outdoor cameras have adequate weatherproofing (IP rating). Consider adding small protective hoods if they are exposed to heavy rain or snow.
Troubleshooting Common Issues
Even with the best setup, you might encounter occasional issues with your home security cameras. Here's a guide to troubleshooting common problems encountered in 2025-26.
Issue 1: Camera Offline / No Connection
Possible Causes:
- Wi-Fi signal is weak or lost.
- Router or modem has lost internet connection.
- Camera power is off or disconnected.
- Incorrect Wi-Fi password entered.
- Network interference.
- Firmware issue.
Solutions:
- Check Power: Ensure the camera is powered on and the power adapter is securely plugged in. For battery cameras, check battery level.
- Check Network: Verify your home internet is working. Restart your router and modem.
- Check Wi-Fi Signal: For wireless cameras, check the signal strength in the app. Move the camera closer to the router or consider a Wi-Fi extender/mesh system.
- Re-enter Wi-Fi Password: Go into the camera's settings via the app and re-enter your Wi-Fi password.
- Check Router Settings: Ensure your router is not blocking the camera's MAC address or IP address.
- Restart Camera: Power cycle the camera (turn it off, wait 30 seconds, then turn it back on).
- Firmware Update: If possible, check for and install firmware updates.
Issue 2: Poor Video Quality (Blurry, Pixelated, Lagging)
Possible Causes:
- Weak Wi-Fi signal.
- Low bandwidth on your internet connection.
- Camera lens is dirty or obstructed.
- Low light conditions without adequate night vision.
- Incorrect resolution settings.
- Overheating camera.
Solutions:
- Improve Wi-Fi Signal: As above, ensure a strong connection.
- Check Internet Speed: Run a speed test to ensure your internet upload speed is sufficient for the number and resolution of your cameras.
- Clean the Lens: Gently clean the camera lens with a microfiber cloth.
- Check Lighting: Ensure the camera has enough light or that night vision is functioning correctly.
- Adjust Resolution: Lower the video resolution in the camera's settings if bandwidth is an issue.
- Check Camera Placement: Ensure the camera isn't overheating due to direct sunlight or poor ventilation.
Issue 3: False Motion Alerts
Possible Causes:
- Motion detection sensitivity is too high.
- Detection zones are too broad or poorly configured.
- Environmental factors (e.g., swaying trees, passing headlights, insects on the lens).
- Camera is picking up general movement outside its intended scope.
Solutions:
- Adjust Sensitivity: Lower the motion detection sensitivity.
- Refine Detection Zones: Use the app to draw more precise detection zones, excluding areas with frequent irrelevant motion.
- Enable Smart Alerts: If available, enable person detection, vehicle detection, or other AI-powered filters.
- Check Camera Angle: Ensure the camera is not pointed at a busy street or other areas prone to constant movement.
- Clean Lens: Insects or debris on the lens can trigger false alarms.
Issue 4: No Audio or Poor Audio Quality
Possible Causes:
- Audio is disabled in settings.
- Microphone or speaker is obstructed or damaged.
- Low network bandwidth affecting audio transmission.
- Privacy settings blocking audio.
Solutions:
- Check Audio Settings: Ensure audio recording and playback are enabled in the camera's settings.
- Check Microphone/Speaker: Ensure the microphone and speaker grilles are clear of debris.
- Test Two-Way Audio: If applicable, test both speaking and listening through the app.
- Check Network: A poor network connection can impact audio quality.
Issue 5: Difficulty Accessing Cameras Remotely
Possible Causes:
- Incorrect account credentials.
- Remote access is disabled on the system.
- Firewall blocking remote connections.
- Mobile app needs updating.
- Internet connection issues at home or on the mobile device.
Solutions:
- Verify Credentials: Double-check your username and password.
- Check Remote Access Settings: Ensure remote access is enabled in your NVR/DVR or camera app settings.
- Check Firewall: Ensure your router's firewall is not blocking the necessary ports for remote access (consult your camera's manual or manufacturer support).
- Update Mobile App: Ensure you have the latest version of the camera's mobile app installed.
- Check Internet Connections: Ensure both your home internet and your mobile device have a stable connection.
Issue 6: DVR/NVR Not Recording
Possible Causes:
- Hard drive is full or not formatted.
- Recording schedule is incorrect or disabled.
- Motion detection is not configured correctly.
- Hard drive failure.
Solutions:
- Check Hard Drive Status: Access the NVR/DVR settings to check the hard drive's health and capacity. Format the drive if necessary (this will erase all data).
- Review Recording Schedule: Ensure the recording schedule is active and configured correctly.
- Verify Motion Detection: If using motion-activated recording, ensure motion detection is properly set up and triggering events.
- Test Manual Recording: Try initiating a manual recording to see if the system records.
- Check for Alerts: Look for any error messages or alerts on the NVR/DVR interface.
When troubleshooting, always start with the simplest solutions first (e.g., checking power, restarting devices) before moving to more complex configurations. If problems persist, consult your camera system's user manual or contact the manufacturer's customer support.
Conclusion
Setting up home security cameras is an investment in your safety and peace of mind. By carefully planning your camera placement, understanding the differences between wired and wireless systems, and choosing features relevant to 2025-26, you can build a robust surveillance network. This guide has walked you through the entire process, from initial planning and installation to configuration and ongoing maintenance. Remember to prioritize strong passwords, regular firmware updates, and proper network security to keep your system safe and effective. Don't hesitate to leverage advanced features like AI detection and smart home integration to create a truly intelligent security solution. With the right approach, you can confidently protect your home and loved ones.