Discover the most effective methods to temporarily disable or permanently turn off your Vivint camera. This comprehensive guide provides step-by-step instructions for various scenarios, ensuring you can manage your home security system's privacy and functionality with ease. Learn how to control your Vivint cameras without compromising your overall security.
Understanding Vivint Cameras and Power
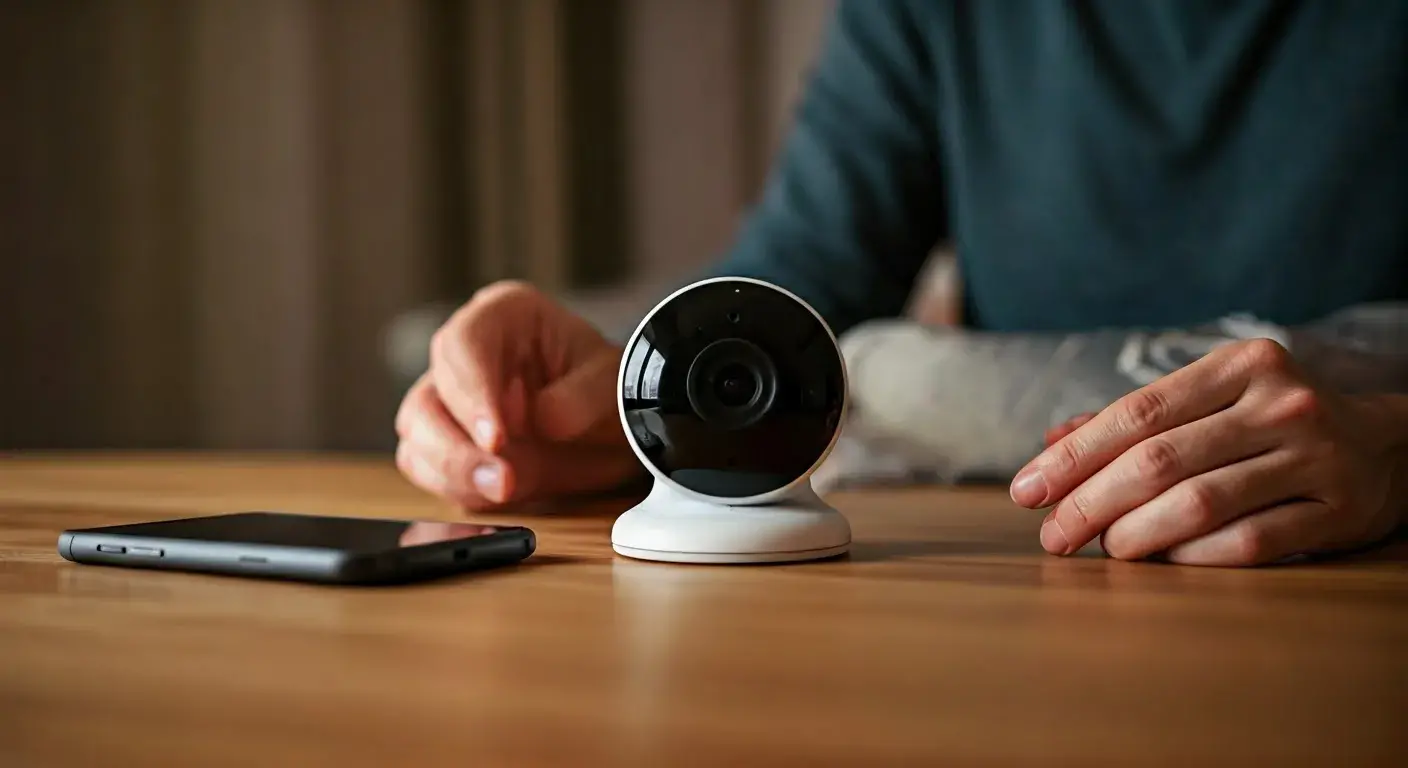
Vivint offers a comprehensive suite of smart home security solutions, with their cameras being a central component for visual monitoring and deterrence. Understanding how these cameras are powered is crucial for knowing how to effectively turn them off, whether for a brief period or a more permanent deactivation. Most Vivint cameras are designed to be continuously powered to ensure constant surveillance and immediate recording capabilities. This continuous power is typically supplied through a wired connection to a power outlet or, in the case of some wireless models, via a rechargeable battery pack. The method of powering directly influences the options available for disabling the camera. For instance, cameras plugged into a standard electrical outlet will require a different approach than those relying on battery power. Vivint's ecosystem is designed for seamless integration, meaning cameras often communicate wirelessly with the main Vivint Smart Hub or panel, which then connects to the internet for remote access and monitoring. This interconnectedness means that simply unplugging a camera might trigger alerts or notifications on your panel, which is an important consideration for temporary shutdowns. In 2025, Vivint continues to innovate, with newer models offering enhanced features and more sophisticated power management options, though the fundamental principles of powering remain consistent. Understanding the specific model of your Vivint camera and its power source is the first step in effectively managing its operational status.
Turning Off Vivint Cameras Temporarily
There are several legitimate reasons why you might need to temporarily turn off your Vivint cameras. Perhaps you're having guests over and wish to maintain a higher level of privacy, or maybe you're conducting sensitive work at home that you don't want recorded. In some instances, a temporary disablement might be necessary for maintenance or troubleshooting. Vivint, recognizing these needs, provides users with multiple methods to achieve this without fully deactivating their security system. These temporary solutions are designed to be user-friendly and reversible, allowing you to quickly bring your cameras back online when needed. It's important to distinguish between temporarily disabling a camera and permanently removing it from your system, as the latter involves a more involved process. The primary goal of temporary disabling is to halt recording and live streaming while keeping the camera connected to your network and ready for reactivation. This ensures that when you decide to turn it back on, it seamlessly rejoins the system without requiring a full re-setup. The methods available generally involve either software-based controls through the Vivint app or panel, or a physical disconnection of the power source. Each method has its own set of advantages and considerations, which we will explore in detail. By understanding these options, you can choose the most convenient and appropriate way to manage your camera's activity according to your immediate needs.
Methods for Temporary Disabling
Vivint offers a layered approach to managing your camera's operational status, providing flexibility for users. The most common and recommended methods for temporarily disabling your Vivint cameras involve leveraging the system's integrated software features. These include using the Vivint mobile application, which is accessible from any smartphone or tablet, and directly interacting with the Vivint Smart Hub or security panel installed in your home. Both of these methods are designed to be intuitive and allow for quick adjustments to your camera settings. Beyond software controls, physical methods can also be employed, though these are generally considered less elegant and may require more direct access to the camera hardware. These physical methods include unplugging the camera's power adapter from the wall outlet or, for battery-powered models, removing the battery. While these physical interventions can effectively cut power, they might not always be as seamlessly integrated with the Vivint system's status reporting as the software-based options. For example, unplugging a camera might not immediately inform the Vivint panel that the camera is offline for a specific, user-defined reason, potentially leading to system alerts or confusion. Therefore, understanding the nuances of each method is key to choosing the most appropriate approach for your situation. The following sections will delve into each of these methods, providing detailed, step-by-step instructions and highlighting any important considerations.
Using the Vivint App for Disabling
The Vivint app is the most convenient and recommended tool for managing your security system, including temporarily disabling your cameras. This mobile application provides a user-friendly interface that allows you to control various aspects of your home security from virtually anywhere. To disable a camera using the app, you'll typically need to navigate to the 'Cameras' or 'Video' section. Once there, you should see a list of all your connected Vivint cameras. Each camera usually has an individual control option. For most Vivint camera models, you can find a toggle switch or a status indicator that allows you to turn the camera on or off. Tapping this option will prompt a confirmation, and once confirmed, the camera will stop recording and streaming live video. The app will typically indicate that the camera is offline or disabled. This method is highly effective because it communicates directly with the Vivint system, ensuring that the panel and monitoring center are aware of the camera's status (or lack thereof). This can prevent unnecessary alerts if your system is configured to notify you of offline devices. For example, if you're expecting a technician and need a specific camera disabled for privacy, using the app ensures that the system registers this as a controlled action. The app also allows for easy reactivation; simply toggle the switch back to the 'on' position. This seamless process is a significant advantage over physical disconnection methods, especially for users who are frequently on the go. In 2025, Vivint continues to refine its app interface, making these controls even more accessible. Always ensure your Vivint app is updated to the latest version to benefit from the most current features and a smooth user experience.
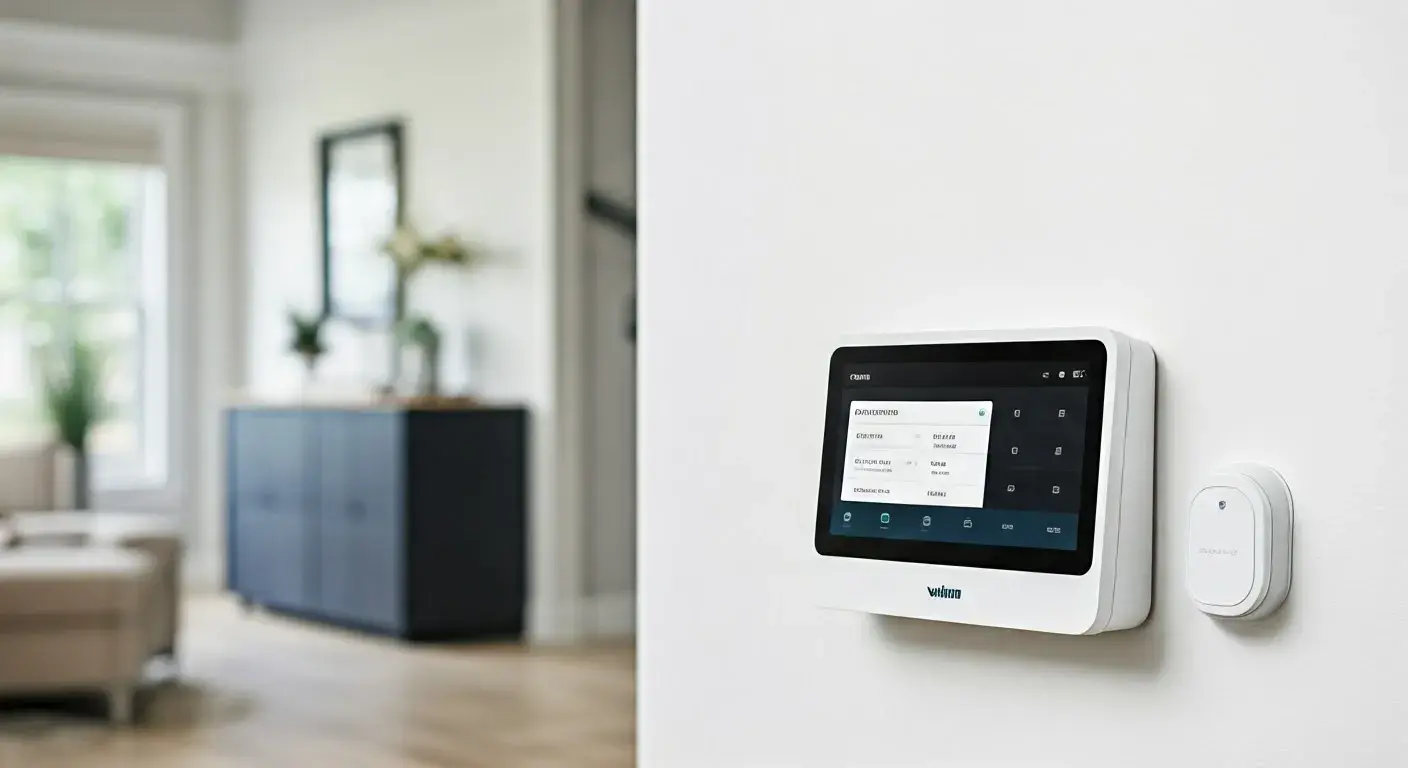
Disabling via the Vivint Panel
For users who prefer to manage their system directly from their home, the Vivint Smart Hub or security panel offers another straightforward method for temporarily disabling cameras. The exact steps may vary slightly depending on the model of your Vivint panel, but the general process involves accessing the system's settings or video management interface. Typically, you would navigate to a menu option labeled 'Cameras,' 'Video,' or 'Settings.' Within this section, you should be able to view a list of all your connected cameras. Similar to the mobile app, each camera will usually have an associated control that allows you to enable or disable it. This might be a button, a checkbox, or a status toggle. Selecting the option to disable a camera will prompt a confirmation. Once confirmed, the panel will update the camera's status, and it will cease recording and streaming. This method is also highly recommended because, like the app, it ensures that the Vivint system is aware of the camera's operational status. This can be particularly useful if you are home and need to quickly disable a camera without reaching for your phone. For instance, if you're having a private conversation in a room with a camera, a few taps on the panel can immediately address your privacy needs. The Vivint panel also provides visual confirmation of the camera's disabled state, often indicated by an icon or text label. Reactivating the camera is just as simple: navigate back to the same menu and re-enable the device. This direct control ensures that you are always in command of your security system's visual surveillance capabilities.
Physical Disconnection Methods
While software-based controls through the Vivint app or panel are the preferred and most integrated methods for temporarily disabling cameras, physical disconnection is also an option. These methods involve directly interrupting the power supply to the camera. It's important to note that these approaches might not always be as seamlessly integrated with the Vivint system's status reporting as the software options. This means that the Vivint panel might not automatically register that the camera has been intentionally disabled, potentially leading to system alerts or error messages. However, in situations where software access is limited or for users who prefer a more direct, hands-on approach, physical disconnection can be effective. The primary physical methods involve unplugging the camera's power adapter or, for battery-powered models, removing the battery. These actions directly cut off the power source, rendering the camera inoperable. The effectiveness and implications of these methods depend heavily on the specific Vivint camera model you have installed. Understanding your camera's power source is paramount before attempting any physical disconnection.
Unplugging Power Adapters
Many Vivint indoor and outdoor cameras are powered by AC adapters that plug into standard electrical outlets. To temporarily disable such a camera, the most straightforward physical method is to locate the power adapter and unplug it from the wall socket. This immediately cuts off the power supply to the camera, preventing it from recording, streaming, or connecting to your Vivint system. For indoor cameras, the power adapter and its cable are often visible, making this a relatively easy task. For outdoor cameras, the power connection might be more concealed, often requiring access to an outdoor outlet or a junction box. If you choose this method, ensure that you can safely access the power source without compromising any weatherproofing or electrical safety. Once unplugged, the camera will be completely offline. It's crucial to remember where you unplugged it from, especially if you have multiple devices connected to the same outlet or power strip. When you wish to reactivate the camera, simply plug the adapter back into the outlet. However, be aware that some Vivint cameras might take a few minutes to boot up and reconnect to the network after power is restored. This method is effective for a complete shutdown, but as mentioned, it might trigger a "camera offline" alert on your Vivint panel or app if the system is configured to monitor camera connectivity.
Removing Batteries for Battery-Powered Cameras
Vivint offers several battery-powered camera models, such as certain versions of the Vivint Spotlight Cam or Doorbell Camera. These cameras are designed for easier installation without the need for direct wiring, but they also require battery management. To temporarily disable a battery-powered Vivint camera, you will need to physically remove the battery. This process typically involves accessing the battery compartment, which is usually located on the back or underside of the camera. Depending on the model, you might need a small screwdriver or a specific tool provided by Vivint to open the compartment. Once opened, carefully remove the battery pack or individual batteries. This will immediately cut power to the camera, rendering it inactive. Similar to unplugging a wired camera, removing the battery will likely cause the camera to go offline in your Vivint system, potentially triggering notifications. It's important to store the battery safely and in a location where it won't be accidentally discharged or damaged. When you're ready to reactivate the camera, simply reinsert the battery pack and secure the compartment. The camera will then begin its startup sequence and attempt to reconnect to your Vivint network. For some models, you might need to press a reset button after reinserting the battery to initiate the reconnection process. Always refer to your specific camera's user manual for the most accurate instructions on battery removal and reinstallation.
Turning Off Vivint Cameras Permanently
Permanently turning off Vivint cameras is a more involved process than temporary disabling and typically signifies a decision to cease using the camera altogether, either because you are moving, upgrading your system, or no longer require its services. This process usually involves deactivating the camera's service with Vivint and then physically removing it from your property. It's crucial to understand that simply disconnecting a camera without properly deactivating its service through Vivint can lead to continued billing or issues with your overall system. Vivint's monitoring services are often tied to the devices connected to your account, and a camera that is still registered but offline might still incur charges or impact your service plan. Therefore, the first and most critical step in permanently disabling a camera is to contact Vivint customer support. They will guide you through the necessary procedures to remove the camera from your account and deactivate any associated services. This ensures a clean break and avoids any unexpected charges or complications. Once the service is deactivated, you can then proceed with the physical removal of the camera from your home. This involves carefully detaching it from its mounting location and disconnecting any power or network cables.
Deactivating Service and Uninstalling
The process of permanently turning off a Vivint camera begins with deactivating its service through Vivint. This is a critical step that should not be skipped. To do this, you will need to contact Vivint customer support directly. You can usually find their contact information on the Vivint website or within your Vivint app. When you call, explain that you wish to permanently deactivate a specific camera and remove it from your account. The Vivint representative will guide you through their deactivation protocol. This may involve verifying your account details and confirming the specific camera you want to remove. They might also ask for the reason for deactivation, which can help them improve their services. Once Vivint confirms that the camera's service has been deactivated, you can then proceed with the physical uninstallation.
For wired cameras, this involves disconnecting the power adapter from the outlet and then carefully detaching the camera from its mounting bracket. You will also need to disconnect any network cables if they are used. For outdoor cameras, this might involve unscrewing the mounting plate and carefully detaching the camera from its housing. For battery-powered cameras, the process is similar: remove the battery and then detach the camera from its mount. It's advisable to keep the original mounting hardware and screws in case you need to reinstall the camera later or if you are selling your home and want to leave the mounting bracket. When uninstalling, be mindful of any wiring that might be concealed within walls or conduits. If you are unsure about how to safely disconnect wiring, it's best to consult a qualified electrician. After the camera is physically removed, ensure that all associated cables are neatly managed or removed entirely to avoid tripping hazards or aesthetic issues. If you are moving, you may be able to take your Vivint cameras with you and have them reinstalled at your new location, provided they are compatible with the new system and you have an active Vivint service plan. However, if the camera is being permanently retired, ensure it is disposed of responsibly.
Considerations Before Turning Off Cameras
Before you decide to turn off any of your Vivint cameras, whether temporarily or permanently, it's essential to carefully consider the implications. Vivint cameras are an integral part of your home security system, and their deactivation can have significant consequences. These considerations fall into several key categories: privacy concerns, security implications, and the impact on your monitoring services. Understanding these factors will help you make an informed decision and ensure that you are not inadvertently compromising your safety or incurring unnecessary costs. It's always a good practice to weigh the benefits of disabling a camera against its potential drawbacks. For instance, while disabling a camera for privacy during a party is understandable, doing so without considering the security gaps it creates could be a risk. Similarly, if you're planning to permanently remove a camera, ensuring that its service is properly deactivated with Vivint is crucial to avoid billing issues. The following sections will elaborate on these critical considerations.
Privacy Concerns
Privacy is a primary reason why users might want to turn off their Vivint cameras. This is particularly relevant when you have guests in your home, are engaging in private activities, or are concerned about the continuous recording of your daily life. Vivint cameras are designed to capture video, and in certain situations, you may wish to temporarily disable them to ensure a private environment. For example, if you're hosting a family gathering or have a private meeting at home, you might want to turn off cameras in specific areas to provide a sense of comfort and privacy to your visitors. Using the Vivint app or panel to temporarily disable cameras in these rooms is a quick and effective way to address these concerns. It's important to communicate with your household members and guests about the status of the cameras if privacy is a significant concern. For instance, you could inform them that cameras in certain areas will be temporarily disabled for their comfort. However, it's also worth noting that Vivint cameras are typically used for security purposes, and disabling them for privacy in areas where security is paramount (like entry points) might introduce vulnerabilities. Therefore, a balanced approach is often best, disabling cameras only in areas and for times when privacy is the overriding concern, and ensuring they are reactivated promptly afterward.
Security Implications
The most significant implication of turning off Vivint cameras is the potential compromise of your home security. Cameras serve as a deterrent to potential intruders and provide valuable evidence in the event of a break-in or other security incident. When a camera is turned off, it can no longer perform these functions. If you temporarily disable a camera, you are creating a blind spot in your security coverage. This blind spot could be exploited by criminals if they are aware of the camera's deactivation. For example, disabling an outdoor camera that monitors your driveway could leave your vehicle vulnerable. Similarly, turning off an indoor camera that covers a main entry point removes a layer of protection. It's crucial to assess the risk associated with each camera before disabling it. If you are disabling a camera due to a malfunction, it's imperative to get it repaired or replaced as soon as possible. If you are disabling it for privacy reasons, ensure that the area being monitored is not a critical security zone or that alternative security measures are in place. For permanent deactivation, carefully consider whether removing a camera leaves a significant gap in your overall security strategy. In 2025, with evolving security threats, maintaining comprehensive surveillance is more important than ever. Therefore, any decision to turn off cameras should be made with a thorough understanding of the potential security risks involved.
Impact on Monitoring Services
Vivint's core offering includes professional monitoring services, where a central station is alerted to security events and can dispatch emergency services. The functionality of these monitoring services is directly tied to the operational status of your connected devices, including your cameras. When you turn off a Vivint camera, especially through software-based methods like the app or panel, the Vivint system is typically notified. This notification is important because it informs the monitoring service that the camera is intentionally offline. This can prevent false alarms or unnecessary dispatches. For instance, if a camera is temporarily disabled for privacy, the monitoring service won't flag it as a system malfunction.
However, if you permanently deactivate a camera without properly informing Vivint or if a camera is offline due to a persistent technical issue, it can impact your monitoring. If a critical camera that is supposed to be active is showing as offline for an extended period, Vivint's monitoring center might interpret this as a system fault. Depending on your service plan and Vivint's policies, this could lead to notifications being sent to you, or in some cases, even a service interruption if the issue is not resolved. When permanently removing a camera, it is absolutely essential to go through Vivint's official deactivation process. This ensures that the camera is removed from your account and that your monitoring plan is adjusted accordingly, preventing any continued billing for a device you are no longer using. It's also worth checking your service agreement to understand how camera outages are handled and what notifications you can expect.
Troubleshooting and Common Issues
While turning off and on Vivint cameras is generally a straightforward process, users may occasionally encounter issues. These can range from the camera not responding to commands to the Vivint panel displaying error messages. Understanding common troubleshooting steps can help you resolve these problems quickly and efficiently. The most frequent issues often stem from connectivity problems, software glitches, or power interruptions. It's important to approach troubleshooting systematically, starting with the simplest solutions and progressing to more complex ones. For example, if a camera isn't responding to a command to turn off, the first step might be to check its power source and internet connection. If the issue persists, you might need to consult the Vivint app or panel for more specific error codes or diagnostic information. This section will cover some of the most common problems encountered when managing Vivint cameras and provide actionable solutions.
Camera Not Responding to App Commands
One of the most frustrating issues is when your Vivint camera doesn't respond to commands issued through the Vivint app, such as turning it off or on. Several factors can contribute to this problem. Firstly, ensure that your smartphone or tablet has a stable internet connection (Wi-Fi or cellular data) and that the Vivint app is updated to the latest version. An outdated app can sometimes cause compatibility issues. Secondly, check the camera's own connectivity. Is it powered on? Is its Wi-Fi connection stable? If it's a wired camera, ensure the power adapter is securely plugged in. If it's a battery-powered camera, check the battery level. You can often see the battery status within the Vivint app.
Another common cause is a temporary network glitch between the camera, your home router, and the Vivint servers. A simple solution is to try rebooting your Vivint camera. This usually involves unplugging its power adapter for about 30 seconds and then plugging it back in. For battery-powered cameras, removing and reinserting the battery can achieve a similar reboot. You might also consider rebooting your home router and modem. If the issue persists after these steps, it might be a more complex software issue. In such cases, you may need to try removing the camera from your Vivint account via the app and then re-adding it. This process, sometimes called "re-pairing" the camera, can resolve configuration errors. If all else fails, contacting Vivint customer support is the next best step. They have the tools to diagnose deeper system issues and can guide you through advanced troubleshooting or arrange for a technician if necessary.
Vivint Panel Errors Related to Camera Disconnection
Occasionally, when you attempt to disable a camera or if a camera goes offline unexpectedly, your Vivint panel might display error messages or alerts. These errors are designed to inform you of a problem with your system. Common error codes might indicate that a camera is "offline," "not detected," or experiencing a "communication error." If you have intentionally disabled a camera using the app or panel, and the panel is still showing an error, it could be that the system hasn't fully registered the change, or there's a secondary issue.
The first step in resolving these errors is to confirm the camera's status through the Vivint app. If the app shows the camera as disabled or offline, and you intended this, you can often dismiss the alert on the panel. If you did not intend for the camera to be disabled, then the error indicates a genuine problem. Check the camera's power source and its Wi-Fi connection. Ensure your home Wi-Fi network is functioning correctly. Rebooting the camera, your router, and even the Vivint panel itself can often resolve temporary communication glitches. If the error persists, look up the specific error code on Vivint's support website or contact customer service. They can provide context for the error code and guide you through the appropriate troubleshooting steps. Sometimes, a firmware update for the camera or panel might be required, which Vivint can often push remotely.
Reconnecting Vivint Cameras
After temporarily disabling a Vivint camera, reconnecting it is usually as simple as reversing the disabling process. If you used the Vivint app or panel to disable the camera, navigate back to the camera settings within the app or on the panel and toggle the switch or option to re-enable it. The camera should then power up and reconnect to your Vivint system. It may take a few moments for the camera to establish a stable connection and begin streaming video.
If you physically unplugged a wired camera, simply plug the power adapter back into the electrical outlet. For battery-powered cameras, reinsert the battery pack. Once the camera has power, it will begin its startup sequence. Depending on the model, you might need to press a button on the camera or the Vivint panel to initiate the reconnection process. The Vivint system will then detect the camera and bring it back online. If the camera does not reconnect automatically after a few minutes, check its Wi-Fi connection and ensure your home network is stable. You may need to go through the camera's setup or pairing process again if it fails to reconnect. This typically involves using the Vivint app to add the camera to your system, similar to when it was first installed. Refer to your camera's specific user manual for detailed instructions on the reconnection or re-pairing process.
FAQ on Vivint Camera Disabling
Q1: Can I turn off all my Vivint cameras at once?
A1: While there isn't a single "turn off all cameras" button in the Vivint app or panel, you can individually disable each camera through the respective interfaces. For temporary disabling, this is a common approach. For permanent deactivation, you'd contact Vivint to remove them from your service.
Q2: Will disabling a camera trigger an alarm?
A2: Generally, no. When you intentionally disable a camera through the Vivint app or panel, the system registers this as a controlled action, not a security breach. However, if a camera goes offline due to a malfunction or power loss without being intentionally disabled, it might trigger a notification or alarm depending on your system's settings.
Q3: How long does it take for a camera to reconnect after being powered off?
A3: This can vary by model, but typically, it takes anywhere from 30 seconds to a few minutes for a Vivint camera to boot up and reconnect to the network after power is restored.
Q4: Can I disable Vivint cameras remotely?
A4: Yes, the Vivint app allows you to remotely disable and re-enable your cameras as long as your phone has an internet connection and your Vivint system is online.
Q5: What happens if I move and want to take my Vivint cameras with me?
A5: You can typically take your Vivint cameras with you. You will need to contact Vivint to deactivate them from your old account and then arrange for installation and activation at your new location. There may be service fees associated with this.
Q6: Does disabling a camera affect my Vivint video recording history?
A6: Temporarily disabling a camera will stop new recordings from being made during that period. However, it does not erase your existing video recording history. Once re-enabled, the camera will resume recording.
Conclusion: Managing Your Vivint Cameras
Effectively managing your Vivint cameras, whether for temporary privacy needs or permanent system changes, is crucial for both convenience and security. We've explored the various methods available, from the user-friendly Vivint app and panel controls to physical disconnection techniques. The key takeaway is that Vivint provides flexible options to suit different user preferences and situations. For temporary disabling, the app and panel are the recommended routes, ensuring seamless integration with your overall security system and avoiding unnecessary alerts. These methods allow for quick activation and deactivation, giving you control over your surveillance at all times.
When considering permanent deactivation, the process shifts to deactivating the service with Vivint customer support, followed by physical uninstallation. This ensures that you are no longer billed for unused equipment and that your system is properly updated. Always weigh the privacy benefits against the potential security implications before disabling any camera, especially those covering critical entry points or vulnerable areas. Understanding potential troubleshooting steps for common issues, such as cameras not responding or panel errors, will empower you to resolve problems swiftly. By staying informed and utilizing the tools Vivint provides, you can confidently manage your home security cameras, ensuring they serve your needs without compromising your safety or privacy.