Embark on a journey to fortify your property with our definitive guide to security camera installation. We demystify the process, from choosing the right system to seamless setup, ensuring your peace of mind. Discover expert insights and practical advice to protect what matters most.
Understanding Your Security Camera Needs
Before diving into the technicalities of installation, a thorough understanding of your specific security needs is paramount. This foundational step ensures you select the right type of cameras and strategically place them for maximum effectiveness. Consider the primary goals you aim to achieve with your security camera system. Are you looking to deter potential intruders, monitor activity around your property, keep an eye on children or pets, or perhaps document events for insurance purposes? Your objectives will dictate the features, resolution, and coverage area required.
In 2025, the landscape of home and business security is more sophisticated than ever. According to recent industry reports, the global video surveillance market is projected to reach over $120 billion by 2027, with a significant portion attributed to residential and small business installations. This growth is fueled by increasing concerns about safety and the accessibility of advanced technology. Understanding these trends can inform your decision-making process. For instance, the rise in smart home integration means many users are looking for cameras that can seamlessly connect with other devices, offering remote access and smart alerts.
Key questions to ask yourself include:
- What specific areas do I need to monitor? (e.g., front door, backyard, driveway, garage, interior rooms)
- What is my budget for the system and installation?
- Do I need indoor, outdoor, or both types of cameras?
- What environmental conditions will the cameras need to withstand (e.g., rain, extreme temperatures, low light)?
- What level of detail do I require from the footage (e.g., facial recognition, license plate reading)?
- Do I need wired or wireless connectivity?
- What are my storage needs for recorded footage (e.g., local storage, cloud storage)?
- Do I require advanced features like motion detection, night vision, two-way audio, or AI-powered analytics?
Addressing these questions upfront will save you time and money, preventing costly mistakes and ensuring your chosen system effectively meets your security objectives. For example, if deterring intruders is your main goal, visible cameras with clear signage might be more effective than discreet ones. If you need to identify individuals, higher resolution and better low-light performance become critical.
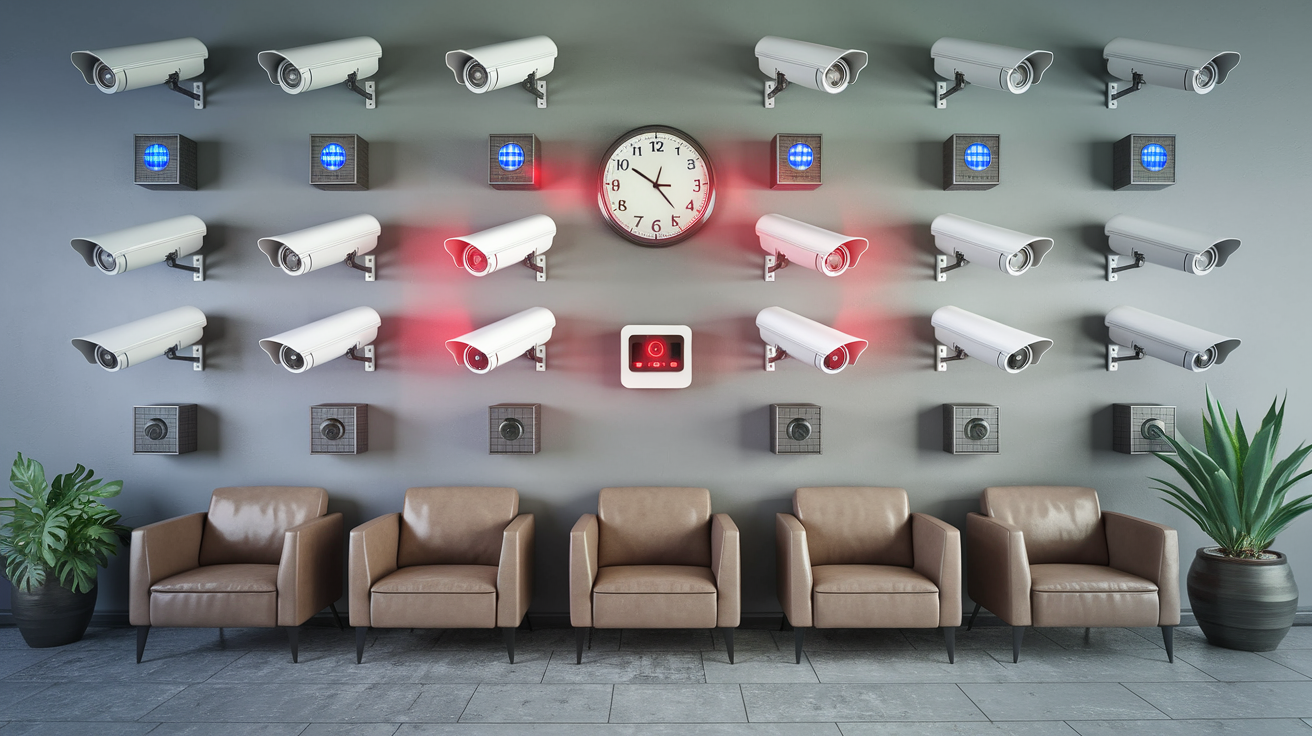
Types of Security Cameras Available
The market offers a diverse array of security cameras, each designed for specific applications and environments. Understanding the different types available is crucial for making an informed decision.
Dome Cameras
Dome cameras are characterized by their distinctive dome-shaped casing, which can conceal the direction the camera is pointing, making it harder for potential intruders to know if they are being watched. They are often mounted on ceilings or under eaves.
- Pros: Discreet, vandal-resistant, wide field of view.
- Cons: Can be difficult to adjust the viewing angle once installed, may have glare issues from the dome cover.
- Best for: Indoor areas, retail environments, public spaces.
Bullet Cameras
Bullet cameras are cylindrical and typically mounted on walls or poles. They are highly visible, acting as a strong deterrent. Many come with adjustable mounts for easy aiming.
- Pros: Highly visible deterrent, easy to aim, often weather-resistant for outdoor use.
- Cons: More conspicuous than dome cameras, can be more susceptible to vandalism if not protected.
- Best for: Outdoor perimeter monitoring, driveways, entrances.
Turret Cameras (Eyeball Cameras)
Turret cameras are a hybrid, often resembling a dome but with a more exposed lens. They are generally easier to adjust than traditional dome cameras and offer good visibility and vandal resistance.
- Pros: Good balance of discretion and adjustability, often good night vision.
- Cons: Less discreet than fully enclosed dome cameras.
- Best for: Versatile use in both indoor and outdoor environments.
PTZ (Pan-Tilt-Zoom) Cameras
PTZ cameras offer advanced control, allowing users to remotely pan, tilt, and zoom the camera's view. This makes them ideal for monitoring large areas or tracking moving subjects.
- Pros: Wide coverage area, ability to track targets, high level of control.
- Cons: More expensive, require more complex installation and setup, often need a dedicated operator or pre-set patrol routes.
- Best for: Large properties, commercial sites, areas requiring active surveillance.
Reolink vs. Arlo vs. Wyze (2025 Comparison)
To illustrate the variety, let's compare three popular brands in 2025, highlighting their typical offerings and suitability for different users.
| Feature | Reolink | Arlo | Wyze |
|---|---|---|---|
| Typical Price Point | Mid-range | Premium | Budget-friendly |
| Connectivity Options | Wired (PoE), Wi-Fi | Wi-Fi | Wi-Fi |
| Resolution (Common) | 2K to 4K | 2K to 4K | 1080p |
| Storage Options | Local (SD card, NVR), Cloud | Cloud (subscription required for full features) | Local (SD card), Cloud (subscription) |
| Power Source | Wired (AC/PoE), Battery | Battery, Wired | Wired (AC), Battery |
| Key Differentiator | Strong wired options, value for money | Wireless convenience, battery life, smart features | Affordability, basic functionality |
Choosing the right camera type depends on your specific needs and budget. For instance, if you're setting up a system for a large commercial property, PTZ cameras might be essential. For a small business or home, a combination of bullet and dome cameras could suffice.
Specialty Cameras
Beyond the common types, you'll find specialty cameras:
- Wireless Cameras: Offer flexibility in placement but rely on Wi-Fi signal strength and battery life.
- Wired Cameras (PoE - Power over Ethernet): Provide a stable connection and power through a single Ethernet cable, ideal for reliability.
- Night Vision Cameras: Equipped with infrared LEDs to capture clear images in complete darkness.
- Wide-Angle Cameras: Offer a broader field of view, reducing the number of cameras needed to cover an area.
- License Plate Recognition (LPR) Cameras: Designed with high resolution and specific lenses to capture clear license plate images.
Planning Your Security Camera Installation
A well-planned installation is the cornerstone of an effective security camera system. This phase involves site assessment, determining camera placement, and deciding on the system's architecture (wired vs. wireless, NVR vs. cloud).
Site Assessment
Walk through your property, both inside and out, to identify potential blind spots and critical areas that require surveillance. Consider:
- Entry Points: Front door, back door, garage doors, ground-floor windows.
- Perimeter: Fence lines, gates, driveways, pathways.
- Vulnerable Areas: Areas with poor lighting, secluded spots, areas prone to vandalism.
- High-Value Assets: Where valuable items are stored or displayed.
- Traffic Flow: Areas where people or vehicles regularly move.
Camera Placement Strategy
Strategic placement maximizes coverage and deterrence. Aim for overlapping fields of view to eliminate blind spots.
- Height: Mount cameras high enough to prevent tampering but low enough to capture clear details (e.g., faces). Typically, 8-10 feet is recommended for outdoor cameras.
- Angle: Position cameras to capture the widest possible area without excessive glare from the sun or artificial lights.
- Deterrence: Visible cameras at prominent locations can deter criminals.
- Identification: Place cameras where they can capture clear, identifiable images of individuals and vehicles.
- Weather Protection: Ensure outdoor cameras are protected from direct rain, snow, and extreme temperatures, or choose cameras with appropriate IP ratings.
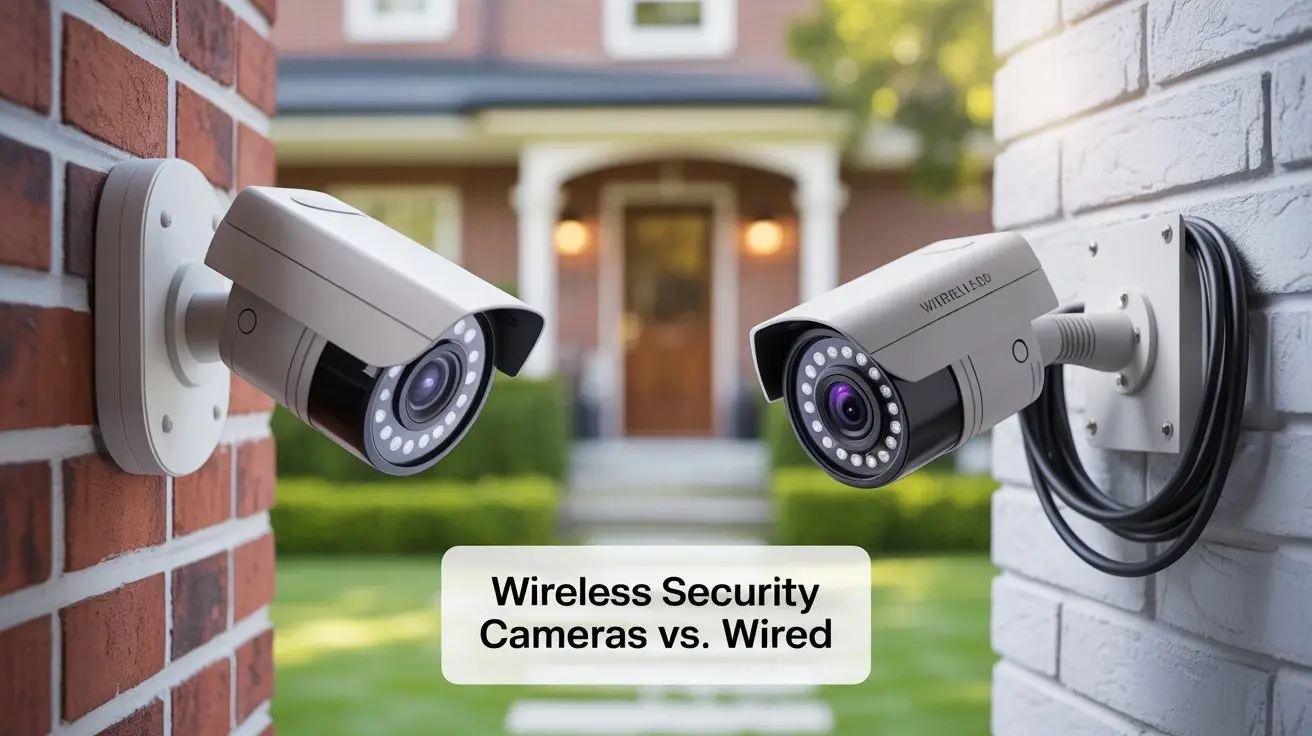
Wired vs. Wireless Systems
This is a critical decision impacting installation complexity, reliability, and cost.
Wired Systems (PoE)
Power over Ethernet (PoE) systems use a single Ethernet cable to transmit both data and power to the camera. This offers superior reliability and eliminates the need for separate power outlets near each camera.
- Pros: Highly reliable, stable connection, no Wi-Fi interference, continuous power.
- Cons: Requires running cables, which can be complex and costly, especially in existing structures.
Wireless Systems (Wi-Fi)
These cameras connect to your home's Wi-Fi network. They offer easier installation but can be susceptible to Wi-Fi signal strength issues and battery drain for battery-powered models.
- Pros: Easier and quicker installation, flexible placement.
- Cons: Dependent on Wi-Fi signal strength, potential for interference, battery management for wireless models.
NVR vs. DVR vs. Cloud Storage
This decision impacts how your video footage is stored and accessed.
- NVR (Network Video Recorder): Used for IP cameras. It's a dedicated device that records footage from multiple cameras connected to your network. Offers local storage and often remote access.
- DVR (Digital Video Recorder): Used for analog or older coaxial cable cameras. Similar to NVRs but with different technology.
- Cloud Storage: Footage is uploaded to a remote server. Offers convenience and off-site backup but usually requires a monthly subscription and depends on internet upload speed.
In 2025, hybrid solutions are increasingly popular, offering both local storage (NVR/DVR) and optional cloud backup for added security and accessibility.
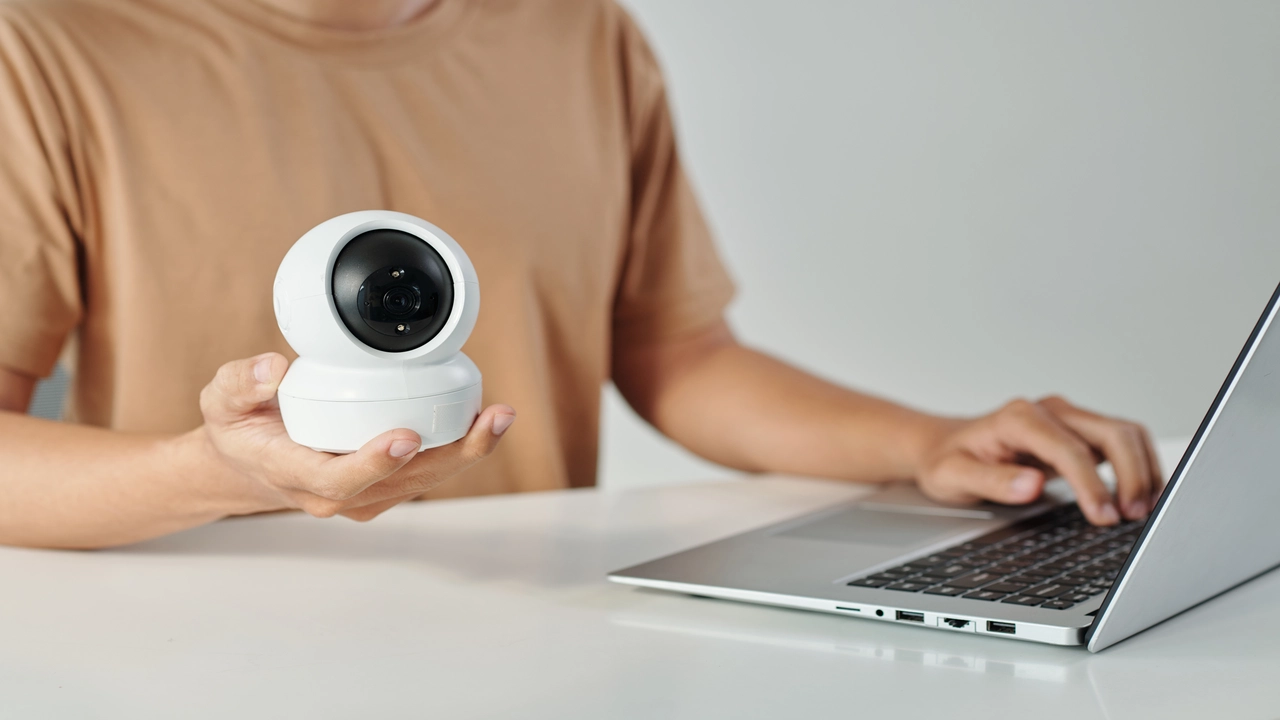
DIY vs. Professional Security Camera Installation
The choice between installing your security cameras yourself or hiring a professional is a significant one, with implications for cost, time, and the quality of the final installation.
DIY Installation
This option is appealing for those with a moderate level of technical skill and a desire to save money.
- Pros: Cost savings on labor, complete control over the process, learning experience.
- Cons: Time-consuming, requires technical knowledge (networking, basic wiring), potential for errors if not done correctly, may void warranties if damage occurs.
Who is it for? Homeowners or small business owners comfortable with basic tools, networking concepts, and following detailed instructions.
Professional Installation
Hiring professionals offers expertise, convenience, and often a warranty on the work.
- Pros: Expertise ensures optimal placement and performance, time-saving, professional finish, often comes with a warranty, handles complex wiring and network setup.
- Cons: Higher upfront cost, less control over the exact placement and timing.
Who is it for? Those who value convenience, lack technical expertise, have complex property layouts, or want the assurance of a professionally guaranteed installation.
Cost Comparison (2025 Estimates)
Here's a general breakdown of costs. These are estimates and can vary significantly based on location, system complexity, and chosen provider.
| Aspect | DIY Installation | Professional Installation |
|---|---|---|
| Labor Costs | $0 (your time) | $300 - $1500+ (depending on system size and complexity) |
| Tools & Materials | Minimal (ladder, drill, cable ties, etc. - often already owned) | Included in professional quote |
| System Cost | Same as professional (camera hardware) | Same as DIY (camera hardware, sometimes bundled) |
| Overall Estimated Cost (4-camera system) | $400 - $1200 (hardware only) | $700 - $2700+ (hardware + labor) |
For many, the peace of mind and professional finish offered by a qualified installer outweigh the potential cost savings of DIY, especially for complex setups. However, with the increasing user-friendliness of modern systems, DIY is a viable and cost-effective option for many.
The Security Camera Installation Process: Step-by-Step
Whether you're going DIY or overseeing a professional, understanding the installation process is key. This guide outlines the typical steps involved in installing a wired (PoE) system, which is generally considered more robust. Wireless installation follows similar principles but skips the cabling steps.
Step 1: Unboxing and System Check
Carefully unbox all components. Check for any physical damage and ensure all items listed in the manual are present. Familiarize yourself with each piece of equipment.
Step 2: Planning and Marking
Refer to your installation plan. Mark the exact locations where cameras will be mounted and where cables will enter and exit the building. For wired systems, plan the cable routes, considering aesthetics and protection from the elements.
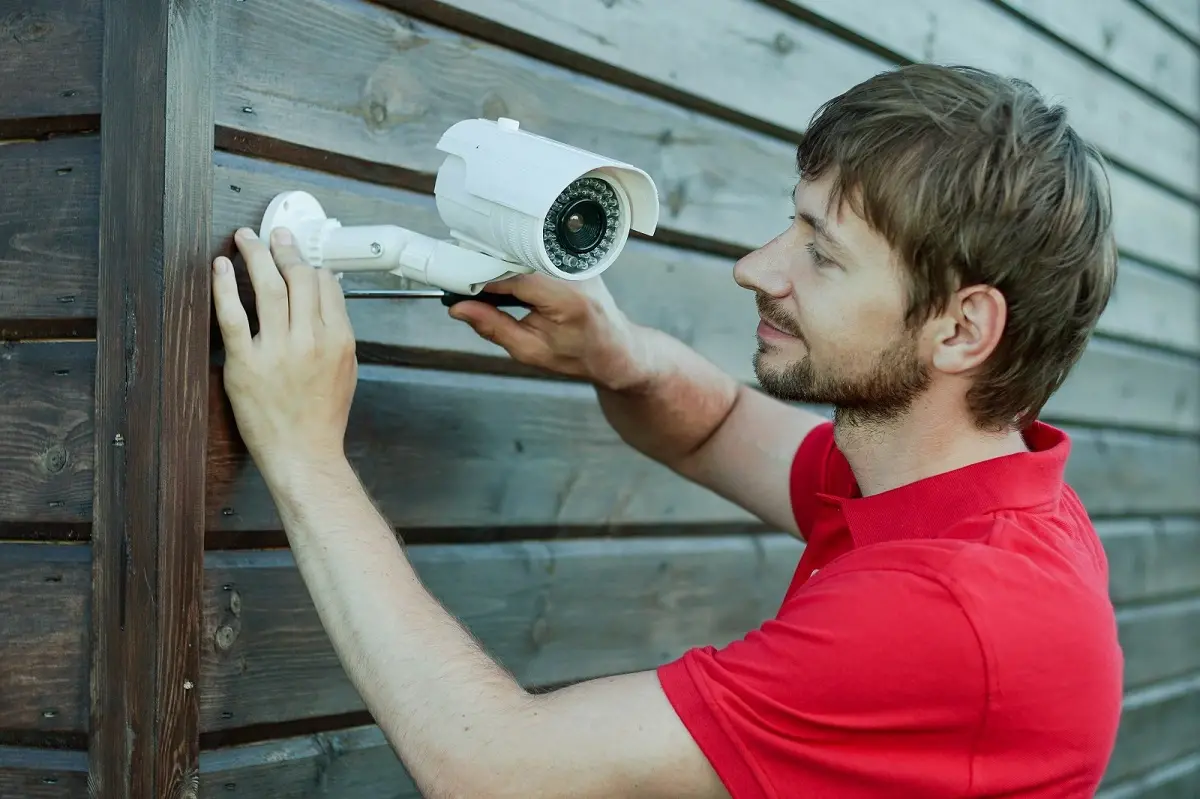
Step 3: Mounting Cameras
Using appropriate hardware (screws, anchors), securely mount the camera brackets at the pre-determined locations. Ensure they are level and stable. For outdoor cameras, consider using weatherproof junction boxes to protect connections.
Step 4: Running Cables (for Wired Systems)
This is often the most labor-intensive part.
- Interior: Carefully drill holes through walls or ceilings to run cables. Use fish tape or a cable puller if necessary. Conceal cables by running them through attics, crawl spaces, or behind baseboards and moldings.
- Exterior: Use conduit to protect cables from UV rays, moisture, and physical damage. Ensure all exterior penetrations are properly sealed to prevent water ingress.
Step 5: Connecting Cameras to the Network/Recorder
- Wired (PoE): Connect one end of the Ethernet cable to the camera and the other end to your PoE switch or NVR.
- Wireless: Follow the manufacturer's instructions to connect each camera to your Wi-Fi network. This usually involves using a mobile app.
Step 6: Connecting the NVR/DVR
- Connect the NVR/DVR to your router via an Ethernet cable for remote access.
- Connect the NVR/DVR to a power source.
- Connect a monitor and mouse to the NVR/DVR for initial setup and configuration.
Step 7: Powering On and Initial Configuration
Turn on the NVR/DVR and then the cameras. The system should detect the cameras. Follow the on-screen prompts or the manufacturer's app instructions to:
- Format the hard drive (if applicable).
- Set up a strong administrator password.
- Configure network settings.
- Assign IP addresses to cameras (if not using DHCP).
- Set up recording schedules (continuous, motion-detection).
- Configure motion detection zones and sensitivity.
- Set up remote access via a mobile app or web browser.
Step 8: Testing and Adjusting
- View live feeds from all cameras.
- Check the field of view for each camera and make minor adjustments as needed.
- Test motion detection by walking through the monitored areas.
- Review recorded footage to ensure quality and clarity.
- Verify remote access is working correctly from your smartphone or computer.
Step 9: Securing Cables and Final Touches
- Tidy up any visible cables using cable ties or clips.
- Ensure all drilled holes are properly sealed to prevent drafts and water entry.
- Install any warning signs indicating the presence of surveillance cameras, as required by local regulations.
"The key to a successful security camera installation lies in meticulous planning and execution. Every cable run, every camera angle, and every software setting contributes to the overall effectiveness of your security posture."
Post-Installation Considerations and Maintenance
Once your security cameras are installed, the job isn't entirely done. Ongoing maintenance and understanding system features will ensure your system remains effective and reliable for years to come.
System Updates
Manufacturers regularly release firmware updates for cameras and NVRs/DVRs. These updates often include:
- Security patches to protect against vulnerabilities.
- Performance enhancements.
- New features.
Check for updates periodically (monthly is a good practice) and install them promptly. For smart cameras, this is often automated, but for wired systems, you might need to initiate it through the NVR interface or manufacturer's software.
Storage Management
If you're using local storage (SD cards, NVR/DVR hard drives), you'll need to manage it.
- Overwrite Settings: Most systems are set to automatically overwrite the oldest footage when storage is full. Ensure this is configured correctly based on your desired retention period.
- Hard Drive Health: For NVRs/DVRs, hard drives have a finite lifespan. Monitor their health through the system interface. Consider replacing the hard drive every 3-5 years as a preventative measure.
- Cloud Storage: Ensure your subscription is active and that your internet connection is stable for continuous uploads.
Cleaning and Physical Checks
- Camera Lenses: Periodically clean camera lenses, especially for outdoor cameras, to remove dust, dirt, cobwebs, or water spots that can degrade image quality. Use a soft, lint-free cloth and a mild cleaning solution if necessary.
- Connections: Inspect all cable connections for signs of wear, corrosion, or damage. Ensure they are secure.
- Mounting: Check that cameras are still securely mounted and haven't shifted due to weather or vibration.
Testing and Monitoring
Regularly test your system to ensure it's functioning as expected.
- Live View: Check the live feed from each camera at least once a week.
- Motion Detection: Trigger motion detection zones periodically to confirm alerts are being sent and recorded.
- Playback: Review recorded footage occasionally to ensure playback is smooth and clear.
- Remote Access: Test remote access from your smartphone or computer regularly.
Troubleshooting Common Issues
- No Video Feed: Check power supply, cable connections, and network connectivity. Reboot the camera, NVR/DVR, and router.
- Poor Image Quality: Clean the lens, check for obstructions, ensure adequate lighting, or consider upgrading to a higher-resolution camera.
- Intermittent Connection (Wireless): Check Wi-Fi signal strength, move the router closer, or consider a Wi-Fi extender.
- Motion Detection Not Working: Adjust sensitivity settings, ensure motion detection is enabled, and check for obstructions in the detection zone.
Legal and Privacy Aspects of Security Camera Installation
Installing security cameras involves legal and ethical considerations, particularly concerning privacy. Understanding and adhering to these guidelines is crucial to avoid potential legal issues.
Recording Audio
In many jurisdictions, it is illegal to record audio conversations without the consent of all parties involved. Most security cameras focus solely on video. If your camera has audio recording capabilities, be aware of your local laws. It is generally advisable to disable audio recording unless you are certain it is legal and necessary for your specific application.
Privacy Zones
Most modern security camera systems allow you to define "privacy zones" within the camera's field of view. These are areas that the camera will not record or display. This is essential for respecting the privacy of neighbors or common areas that you do not need to monitor. For example, you might block out a neighbor's window or a public sidewalk.
Notice of Surveillance
In many public or commercial settings, and often recommended for residential properties, it is a legal requirement or good practice to inform individuals that they are being recorded. This is typically done through signage. Prominently displayed signs stating "You are under video surveillance" or similar can help avoid legal disputes.
Data Storage and Security
- Secure Passwords: Use strong, unique passwords for your NVR/DVR, camera interfaces, and any cloud accounts.
- Network Security: Ensure your home or business network is secure with a strong Wi-Fi password and firewall enabled.
- Data Retention: Be mindful of how long you store footage. Some regulations may dictate maximum retention periods.
Neighbor's Property
Avoid pointing cameras directly at private areas of your neighbor's property, such as their backyard, windows, or doors, unless absolutely necessary for security and you have their consent or are complying with specific legal requirements. Focus your cameras on your own property.
Local Laws and Regulations
Laws regarding surveillance vary significantly by state, county, and even city. It is your responsibility to research and comply with all local ordinances. This includes regulations on where cameras can be placed, whether audio can be recorded, and how long footage can be retained. Consulting with a legal professional is recommended if you have any doubts.
Use of Footage
Footage obtained from security cameras should be used responsibly and ethically. It should primarily be used for security purposes, such as investigating incidents or deterring crime. Sharing footage publicly without consent, especially if it captures identifiable individuals, can lead to privacy violations and legal repercussions.
By understanding and respecting these legal and privacy considerations, you can install and operate your security camera system responsibly, ensuring it serves its intended purpose without infringing on the rights of others.
Conclusion
Implementing a robust security camera system is a proactive step towards safeguarding your property, assets, and loved ones. From understanding your unique security needs to selecting the right camera types, meticulously planning the installation, and considering the legal implications, this comprehensive guide has equipped you with the knowledge to navigate the process with confidence. Whether you opt for a DIY approach or engage professional services, the key lies in informed decision-making and thorough execution. Prioritize clear objectives, strategic placement, and reliable technology to create a surveillance system that offers unparalleled peace of mind. Regularly maintaining your system and staying informed about privacy regulations will ensure its continued effectiveness and your compliance.