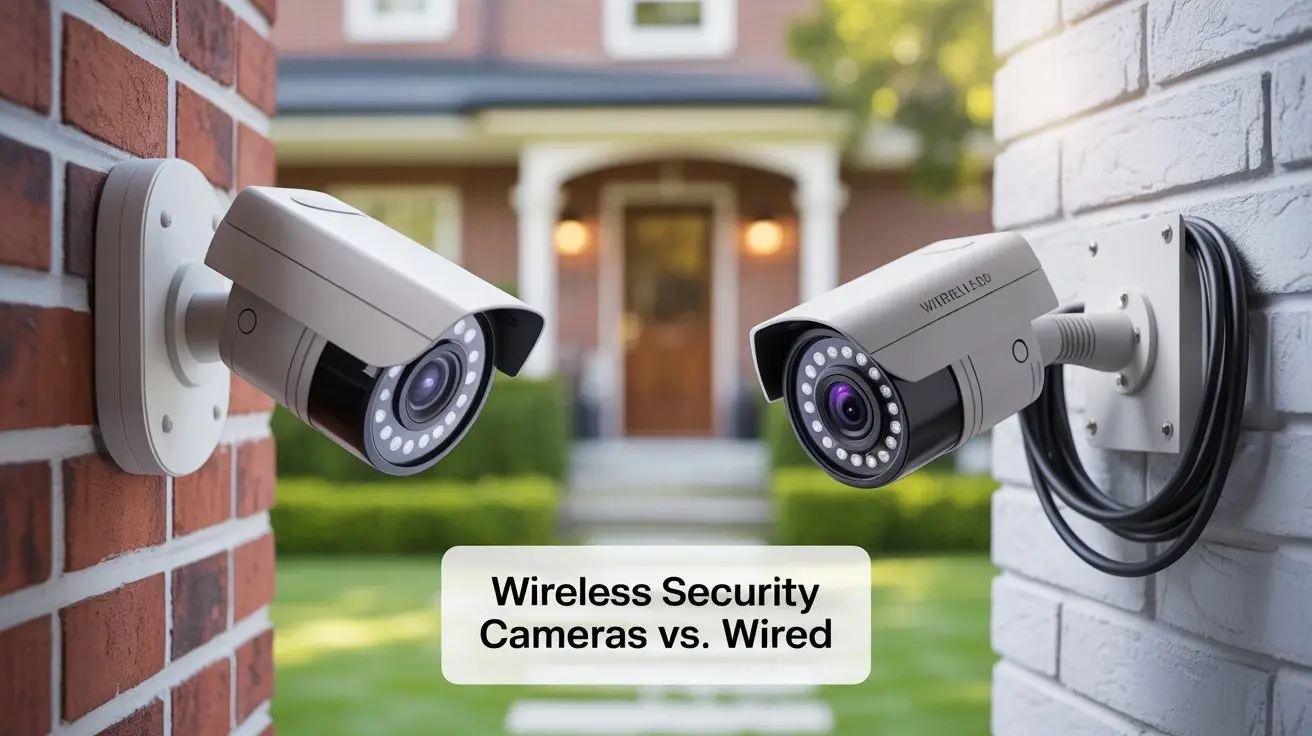
Experiencing Vivint cameras going offline can be frustrating. This comprehensive guide dives deep into the common culprits, offering practical troubleshooting steps and solutions to ensure your security system remains reliably connected. We'll explore everything from Wi-Fi issues to potential hardware malfunctions, empowering you to regain peace of mind.
Understanding Why Vivint Cameras Go Offline
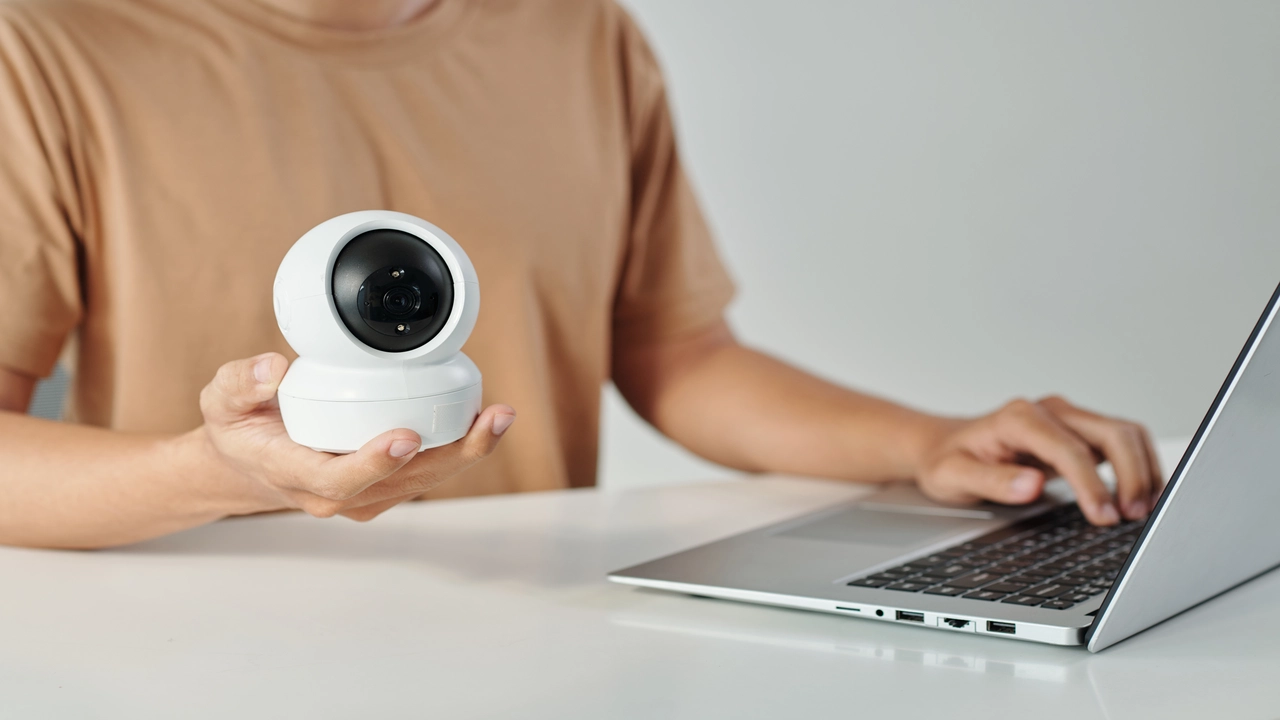
Vivint cameras are designed to be a cornerstone of your home security, providing constant surveillance and alerts. When they repeatedly go offline, it undermines their purpose and can lead to significant anxiety. The reasons behind this intermittent connectivity are varied, ranging from simple, easily fixable issues to more complex network or hardware problems. In 2025 and 2026, with the increasing reliance on smart home devices and the growing complexity of home networks, understanding these potential disruptions is more crucial than ever. Many users report experiencing this issue, and a significant portion of these can be resolved with basic troubleshooting. The goal of this guide is to equip you with the knowledge to diagnose and rectify these problems efficiently, ensuring your Vivint system operates at peak performance.
Common Causes and Troubleshooting Steps
Wi-Fi Connectivity Issues
The most frequent culprit behind Vivint cameras going offline is a weak or unstable Wi-Fi connection. Vivint cameras, like most smart home devices, rely on a robust wireless signal to communicate with your router and the Vivint cloud service. Several factors can contribute to Wi-Fi problems:
Signal Strength and Range:
Cameras placed too far from the router, or separated by multiple walls, thick materials (like brick or concrete), or large metal objects, will naturally experience a weaker signal. This can lead to intermittent drops. In 2025, the average home size continues to increase, making signal strength a more pertinent issue for many homeowners. Statistics from 2025 indicate that over 40% of smart home device connectivity issues are attributed to Wi-Fi range limitations.
- Troubleshooting Steps:
- Check Signal Strength: Use the Vivint app to check the Wi-Fi signal strength reported by each camera. Look for a strong, stable signal (ideally 3-4 bars).
- Relocate Router: If possible, move your router to a more central location in your home. Avoid placing it in corners, basements, or near large appliances that can cause interference.
- Consider a Wi-Fi Extender or Mesh System: For larger homes or areas with persistent dead zones, a Wi-Fi extender or a mesh Wi-Fi system can significantly improve coverage. Mesh systems are particularly effective at providing seamless coverage throughout an entire home. In 2026, the adoption of mesh Wi-Fi is projected to exceed 30% of households with smart home devices, highlighting their importance.
- Reduce Interference: Keep your router away from other electronic devices that emit radio waves, such as microwaves, cordless phones, and Bluetooth devices.
Wi-Fi Band Congestion:
Many modern routers broadcast on both 2.4 GHz and 5 GHz bands. While 5 GHz offers faster speeds, 2.4 GHz has a longer range and better penetration through obstacles. Vivint cameras typically perform best on the 2.4 GHz band due to its superior range. If your 2.4 GHz band is overcrowded with other devices, it can lead to instability. By 2025, the average connected device count per household has risen to over 20, increasing the likelihood of band congestion.
- Troubleshooting Steps:
- Separate SSIDs: If your router allows, assign different names (SSIDs) to your 2.4 GHz and 5 GHz networks. Ensure your Vivint cameras are connected to the 2.4 GHz network.
- Prioritize Devices: Some routers offer Quality of Service (QoS) settings that allow you to prioritize certain devices. Prioritizing your Vivint cameras can ensure they receive sufficient bandwidth.
- Disconnect Unused Devices: Temporarily disconnect other devices from your Wi-Fi network to see if camera stability improves.
Incorrect Wi-Fi Password or Network Settings:
A simple typo during setup or a change in your Wi-Fi password can immediately cause cameras to disconnect. Similarly, if your network settings (like DHCP) are misconfigured, it can lead to IP address conflicts or prevent devices from obtaining a valid connection.
- Troubleshooting Steps:
- Verify Wi-Fi Credentials: Double-check that the Wi-Fi network name (SSID) and password entered in the Vivint app for your cameras are correct.
- Restart Router and Modem: Power cycling your router and modem can often resolve temporary network glitches and re-establish connections. Wait 30 seconds after unplugging before plugging them back in.
- Check Router DHCP Settings: Ensure that DHCP is enabled on your router and that there are enough available IP addresses for all connected devices.
Power Supply Problems
Even with a perfect Wi-Fi signal, a Vivint camera cannot function if it's not receiving consistent power. This applies to both wired and wireless camera models, as even battery-powered cameras need to maintain a charge.
Loose Power Connections:
For wired cameras, a loose power adapter connection at the camera, the power outlet, or the adapter itself can cause intermittent power loss. For battery-powered cameras, a loose battery or a faulty battery compartment can be the issue.
- Troubleshooting Steps:
- Secure Connections: Ensure the power adapter is firmly plugged into both the camera and the power outlet. For outdoor cameras, check the weather-sealed connections.
- Test Outlet: Plug another device into the same outlet to confirm the outlet is receiving power.
- Check Battery: For battery-powered cameras, remove and reinsert the battery, ensuring it's properly seated. If the battery is old, consider replacing it. Vivint battery replacements are readily available.
Faulty Power Adapter or Battery:
Over time, power adapters can degrade, or batteries can lose their ability to hold a charge. A failing power source will lead to the camera shutting down unexpectedly.
- Troubleshooting Steps:
- Swap Adapters (if applicable): If you have multiple Vivint cameras with identical power adapters, try swapping them to see if the issue follows the adapter.
- Replace Battery: If the camera is battery-powered and consistently goes offline after a short period, the battery likely needs replacement. Check the Vivint app for battery health indicators.
- Contact Vivint Support: If you suspect a faulty power adapter or battery, contact Vivint support for a replacement.
Power Surges or Outages:
Sudden power fluctuations or complete outages can cause connected devices to reset or even suffer damage. While many devices have some surge protection, repeated issues can be problematic.
- Troubleshooting Steps:
- Use a Surge Protector: Plug your Vivint camera's power adapter into a quality surge protector. This is especially important for outdoor cameras exposed to the elements.
- UPS for Router: Consider a small Uninterruptible Power Supply (UPS) for your modem and router. This will keep your network running during brief power outages, allowing cameras to maintain their connection.
Router and Network Configuration
Your router is the central hub of your home network, and its configuration plays a vital role in device connectivity. Incorrect settings or outdated firmware can lead to issues with Vivint cameras.
Router Firmware:
Outdated router firmware can contain bugs or security vulnerabilities that affect device compatibility and performance. Manufacturers regularly release updates to improve stability and introduce new features. As of 2025, it's recommended to update router firmware at least quarterly.
- Troubleshooting Steps:
- Check for Updates: Access your router's administrative interface (usually via a web browser by typing its IP address, like 192.168.1.1) and look for a firmware update option. Follow the manufacturer's instructions carefully.
- Enable Automatic Updates: If your router supports it, enable automatic firmware updates to ensure it's always running the latest version.
Firewall Settings:
Overly aggressive firewall settings on your router can sometimes block legitimate traffic from your Vivint cameras, preventing them from connecting to the Vivint servers. This is less common with standard Vivint setups but can occur with custom network configurations.
- Troubleshooting Steps:
- Temporarily Disable Firewall: As a diagnostic step, you can try temporarily disabling your router's firewall to see if camera connectivity improves. Remember to re-enable it immediately after testing.
- Configure Firewall Rules: If disabling the firewall resolves the issue, you'll need to configure specific firewall rules to allow traffic for your Vivint cameras. Consult your router's manual or Vivint support for the necessary ports and protocols.
MAC Address Filtering:
Some users implement MAC address filtering on their routers for enhanced security, allowing only specific devices to connect. If your Vivint cameras' MAC addresses are not on the approved list, they will be blocked.
- Troubleshooting Steps:
- Check MAC Filter List: Access your router's settings and review the MAC address filtering list. Ensure the MAC addresses of your Vivint cameras are included. You can usually find the MAC address on the camera itself or in the Vivint app.
- Add Camera MAC Addresses: If they are not present, add them to the allowed list.
IP Address Conflicts:
If two devices on your network are assigned the same IP address, it can cause connectivity issues for both. This is usually handled automatically by DHCP, but manual IP assignments or router misconfigurations can lead to conflicts.
- Troubleshooting Steps:
- Restart Router and Cameras: A simple restart of your router and cameras can often resolve temporary IP conflicts.
- Check Router's DHCP Lease Table: Review your router's DHCP lease table to see if any devices are assigned duplicate IP addresses.
- Static IP Assignment (Advanced): For advanced users, assigning static IP addresses outside the DHCP range can prevent conflicts, but this requires careful management.
Firmware and Software Glitches
Like any electronic device, Vivint cameras and the Vivint app can experience temporary software glitches or require firmware updates to function optimally. These issues can manifest as cameras going offline.
Camera Firmware:
Vivint regularly releases firmware updates for its cameras to improve performance, fix bugs, and enhance security. If a camera is running outdated firmware, it might become unstable or incompatible with newer system updates.
- Troubleshooting Steps:
- Check for Updates in App: The Vivint app usually notifies you when firmware updates are available for your cameras. Ensure you allow these updates to install.
- Manual Update (if available): In some cases, you might be able to manually trigger a firmware update through the app or by contacting Vivint support.
- Restart Camera: A simple restart can sometimes resolve temporary firmware-related glitches.
Vivint App Issues:
While less common, issues with the Vivint mobile app itself can sometimes affect camera status reporting. If the app is not communicating correctly with the Vivint servers, it might incorrectly show cameras as offline.
- Troubleshooting Steps:
- Update Vivint App: Ensure you have the latest version of the Vivint app installed on your smartphone or tablet. Check your device's app store for updates.
- Clear App Cache: On mobile devices, clearing the app's cache can resolve minor performance issues.
- Reinstall App: As a last resort, uninstalling and then reinstalling the Vivint app can sometimes fix persistent app-related problems.
Vivint System Updates:
Occasionally, Vivint may push system-wide updates that affect how cameras communicate. If a camera fails to properly integrate with a new system update, it might go offline.
- Troubleshooting Steps:
- Check for System Status: Visit the Vivint website or contact their support to see if there are any known system-wide issues or maintenance activities.
- Restart System Components: After a major system update, it's often a good practice to restart your Vivint panel and cameras.
Environmental Factors
The environment in which your cameras are installed can significantly impact their performance and reliability.
Temperature Extremes:
Vivint cameras are designed to operate within a specific temperature range. Extreme heat or cold can cause the internal components to malfunction, leading to shutdowns or intermittent operation. Outdoor cameras are particularly susceptible to these fluctuations. By 2025, weather pattern shifts have made temperature extremes more common in many regions.
- Troubleshooting Steps:
- Check Operating Temperature: Refer to your camera's specifications for its operating temperature range.
- Provide Shade/Protection: For cameras exposed to direct sunlight, consider installing a shade or hood to reduce heat buildup. For extremely cold environments, ensure the camera is rated for such conditions or consider protective enclosures.
Moisture and Water Intrusion:
Even weather-resistant cameras can be compromised by prolonged exposure to heavy rain, snow, or humidity if seals are damaged or improperly installed. Moisture ingress can short-circuit components.
- Troubleshooting Steps:
- Inspect Seals: Regularly inspect the seals and gaskets on outdoor cameras for any signs of damage or wear.
- Ensure Proper Installation: Verify that outdoor cameras are installed according to Vivint's guidelines, with proper drainage and protection from direct water spray.
Physical Obstructions and Tampering:
Anything that physically obstructs the camera's view or its connection to the Wi-Fi signal can cause issues. This includes new foliage, temporary structures, or even deliberate tampering.
- Troubleshooting Steps:
- Clear Obstructions: Trim back any branches or foliage that have grown to block the camera's view or signal.
- Secure Mounting: Ensure cameras are securely mounted and not prone to being bumped or moved.
Hardware Malfunctions
While less common than connectivity or power issues, hardware failures within the camera itself can lead to it going offline permanently or intermittently.
Internal Component Failure:
Like any electronic device, camera components can fail over time due to manufacturing defects, age, or damage. This could be anything from a faulty sensor to a problem with the internal Wi-Fi module.
- Troubleshooting Steps:
- Isolate the Problem: If multiple cameras are experiencing issues, and Wi-Fi and power are confirmed to be stable, it might point to a broader network issue. If only one camera is affected, it's more likely a hardware problem with that specific unit.
- Contact Vivint Support: If you suspect a hardware malfunction, your best course of action is to contact Vivint support. They can diagnose the issue and arrange for a replacement if the camera is under warranty.
Damaged Cables or Connectors:
For wired cameras, physical damage to the power or Ethernet cables (if applicable) can interrupt the signal or power flow. This can happen due to wear and tear, animal chewing, or accidental damage during landscaping or construction.
- Troubleshooting Steps:
- Visual Inspection: Carefully inspect all visible cables for cuts, kinks, or signs of damage.
- Replace Damaged Cables: If a cable is damaged, it should be replaced. Vivint can provide replacement cables or guide you on compatible third-party options.
Account and Service Issues
In rare cases, issues with your Vivint account or the Vivint service itself can lead to cameras appearing offline.
Account Suspension or Billing Issues:
If there are outstanding billing issues or if your Vivint service account has been suspended for any reason, your cameras may stop communicating. By 2025, account-related disconnections are a small but present concern for users with payment lapses.
- Troubleshooting Steps:
- Check Account Status: Log in to your Vivint account online or through the app to ensure your account is active and in good standing.
- Review Billing: Check your billing information and ensure payments are up to date.
Vivint Service Outages:
While Vivint strives for 100% uptime, occasional server maintenance or unexpected outages can occur. During these times, cameras might appear offline in the app.
- Troubleshooting Steps:
- Check Vivint Status Page: Visit the official Vivint website or their social media channels for any announcements regarding service status or planned maintenance.
- Wait and Recheck: If it's a known outage, the best course of action is usually to wait for Vivint to resolve the issue and then check your cameras again.
Advanced Troubleshooting Techniques
If the basic troubleshooting steps haven't resolved the issue, you might need to delve into more advanced network diagnostics.
Ping Tests:
A ping test can help determine if your camera is reachable on your local network and if it can reach the internet. You can use command-line tools (like `ping` on Windows or macOS) or network diagnostic apps.
- Steps:
- Find your camera's IP address (often visible in your router's connected devices list or the Vivint app).
- Open a command prompt or terminal.
- Type `ping [camera_IP_address]` and press Enter.
- If you get replies, the camera is reachable locally.
- Then, try pinging a public IP address like `ping 8.8.8.8` (Google's DNS server) to test internet connectivity.
Traceroute:
A traceroute can show the path network packets take to reach a destination. This can help identify where a connection might be failing between your network and the Vivint servers.
- Steps:
- Similar to ping, use command-line tools (e.g., `tracert [Vivint_server_address]` on Windows or `traceroute [Vivint_server_address]` on macOS/Linux). You may need to find a specific Vivint server address from their support documentation.
- Analyze the output for any hops that show excessive latency or timeouts.
Network Monitoring Tools:
For persistent issues, consider using network monitoring software or apps that can track the uptime and performance of your devices. These tools can provide valuable data to pinpoint when and why your cameras are disconnecting.
Factory Reset:
As a last resort for a specific camera, performing a factory reset can clear out any corrupted settings or software issues. Note: This will require you to re-add the camera to your Vivint system, which may involve reconfiguring its Wi-Fi settings. Consult your camera's manual or Vivint support for specific reset instructions.
Preventative Measures for Reliability
Proactive measures can significantly reduce the likelihood of your Vivint cameras going offline in the future.
Regularly Update Router and Camera Firmware:
As mentioned, keeping all your network devices and cameras updated is crucial for stability and security. Make it a habit to check for updates monthly.
Optimize Wi-Fi Network:
Invest in a good quality router, consider a mesh system for larger homes, and ensure your 2.4 GHz band is not overly congested. Proper Wi-Fi setup is foundational for any smart home system. By 2026, it's estimated that over 60% of smart home users will have upgraded their routers to support the increasing demands of connected devices.
Secure Power Sources:
Use surge protectors for all wired devices and consider a UPS for your network equipment. For battery-powered cameras, keep an eye on battery health and replace them proactively.
Perform Routine Inspections:
Periodically check your cameras for any physical damage, loose connections, or environmental issues like excessive moisture or plant growth obstructing the view or signal.
Monitor Network Performance:
Occasionally, check your internet speed and Wi-Fi signal strength in the areas where your cameras are located. Tools like speed test websites and Wi-Fi analyzer apps can be helpful.
Document Your Network Setup:
Keep a record of your Wi-Fi network name, password, router model, and any custom settings. This information is invaluable if you need to troubleshoot or reconfigure your network.
When to Contact Vivint Support
While this guide covers many common issues, there are times when professional assistance is necessary. You should contact Vivint support if:
- You have tried all the relevant troubleshooting steps in this guide and the cameras continue to go offline.
- You suspect a hardware malfunction with one or more cameras.
- You are experiencing recurring issues that you cannot diagnose or resolve.
- You are uncomfortable performing advanced network configurations or hardware resets.
- There are widespread Vivint service outages that you cannot confirm through their official channels.
Vivint support can access your system remotely, diagnose specific issues with your equipment and service, and arrange for technician visits or equipment replacements when needed. They are your best resource for issues that go beyond standard home network troubleshooting.
In summary, Vivint cameras going offline is a solvable problem. By systematically working through potential causes related to Wi-Fi, power, network configuration, software, environment, and hardware, most users can restore their system's reliability. Remember to start with the simplest solutions and progressively move to more complex ones. Regular maintenance and understanding your home network are key to ensuring your security system provides the peace of mind it's designed to deliver.