Removing a Vivint panel might seem daunting, but with the right guidance, it's a manageable process. This comprehensive guide will walk you through every step, from understanding your options to safely disconnecting and uninstalling your Vivint Smart Hub or control panel. We cover everything you need to know to ensure a smooth transition, whether you're moving, upgrading, or switching security providers.
Understanding Your Vivint Panel Removal Options
When considering how to remove a Vivint panel, it's crucial to first understand the different scenarios and the implications of each. The method you choose will depend heavily on your current contract status with Vivint, your reasons for removal, and whether you intend to reinstall the system elsewhere or dispose of it. Vivint systems are designed for professional installation and deactivation, which can complicate DIY removal. However, with careful planning and adherence to specific steps, homeowners can navigate this process effectively. In 2025, Vivint continues to offer various service plans, and understanding your agreement is the first step in determining your removal rights and responsibilities. Many users search for "how to remove Vivint panel" when they are moving homes, switching to a different security provider, or simply no longer wish to use the service. Each of these situations might have slightly different approaches. For instance, if you're moving, you might be able to transfer the service, which would involve a different process than outright cancellation and removal. If your contract has expired, you generally have more freedom. If you are still under contract, Vivint may have specific procedures or fees associated with early termination and equipment removal. This section will delve into these initial considerations to set the stage for a successful removal process.
Vivint System Components and Panel Types
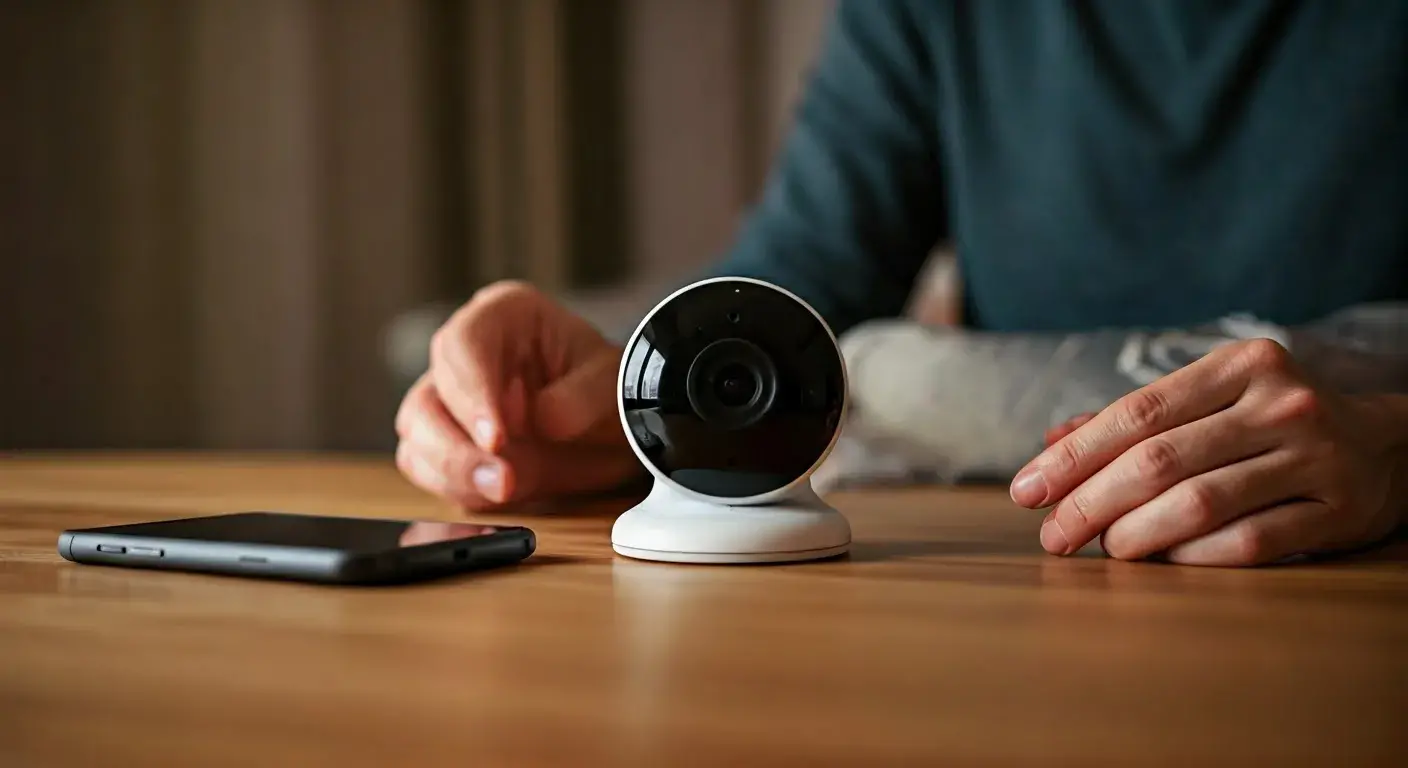
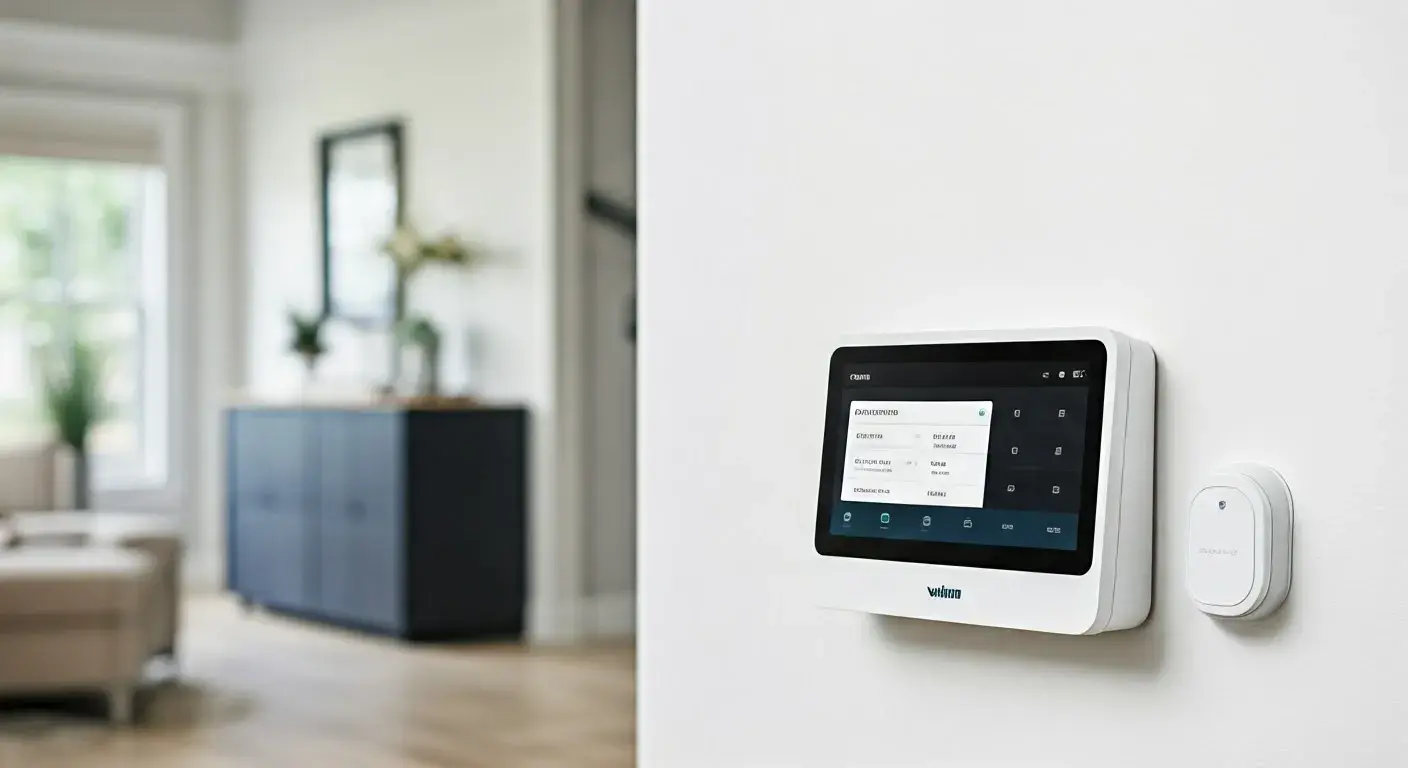
Vivint offers a range of smart home security systems, and the "panel" typically refers to the central control hub. The most common Vivint panel is the Vivint Smart Hub, a touchscreen device that acts as the brain of the system. Older systems might have used different models, but the principle of removal remains similar. Understanding the components connected to your panel is also important. These can include door/window sensors, motion detectors, security cameras, smart locks, and thermostats. While this guide focuses on removing the central panel, it's worth noting that other components might need to be detached or deactivated separately. The Smart Hub itself is usually mounted on a wall, connected to power, and often hardwired into the home's network or relies on Wi-Fi. Identifying the specific model of your Vivint panel will help in finding precise instructions or seeking targeted support if needed. For example, a Vivint SkyControl panel might have different physical mounting than a newer Smart Hub.
Reasons for Vivint Panel Removal
The impetus behind wanting to remove a Vivint panel can vary significantly. Here are some of the most common reasons:
- Moving Homes: This is perhaps the most frequent reason. Homeowners may wish to take their security system with them to a new residence.
- Switching Security Providers: A user might find a competitor's service more appealing due to features, pricing, or contract terms.
- Contract Expiration and Discontinuation of Service: Once a contract ends, some users decide to discontinue Vivint's monitoring services.
- System Malfunction or Upgrade: In rare cases, a panel might malfunction, or a user might want to upgrade to a newer Vivint system.
- Selling a Home: If the system is leased, the seller might need to remove it. If owned, they might leave it for the new owners or remove it.
Each of these scenarios requires a slightly different approach, especially concerning Vivint's policies and potential fees. Understanding your specific motivation is key to navigating the process correctly.
Legal and Contractual Considerations
Before you even think about unscrewing a Vivint panel from the wall, it's imperative to understand the legal and contractual obligations you have with Vivint. This is the most critical step to avoid unexpected fees, penalties, or legal issues. In 2025, Vivint, like most security companies, operates on service agreements that dictate terms for equipment ownership, monitoring, and removal. Failing to address these contractual aspects can lead to significant complications.
Vivint Service Agreements and Equipment Ownership
Vivint's business model often involves a combination of equipment purchase and a long-term monitoring contract. It's essential to determine whether you own the Vivint panel outright or if it's leased equipment. This information is typically detailed in your initial service agreement.
- Owned Equipment: If you purchased the equipment outright, you generally have more freedom to remove and reuse it, though Vivint may still require deactivation of the monitoring service.
- Leased Equipment: If the equipment is leased, Vivint retains ownership. You may be obligated to return the equipment to Vivint upon cancellation of service, or there might be a buyout option to purchase it. Attempting to remove leased equipment without Vivint's explicit consent or following their return procedures could be a breach of contract.
Reviewing your Vivint contract is the first and most important action. Look for clauses related to equipment ownership, termination fees, and procedures for ending service and removing equipment. If you cannot locate your contract, contact Vivint customer support to request a copy or clarify your terms.
Contract Termination and Associated Fees
Terminating a Vivint contract, especially before its term is up, can incur fees. These are often referred to as early termination fees (ETFs). The amount of the ETF can vary based on the remaining term of your contract and the specific terms you agreed to. Some contracts may have a tiered fee structure that decreases over time.
2025 Data Insight: While specific fee structures are proprietary, industry trends indicate that early termination fees for home security systems can range from a few hundred dollars to over a thousand dollars, depending on the system's initial cost and the length of the remaining contract. It is vital to get a clear, written statement from Vivint detailing any outstanding balance and termination fees before proceeding with cancellation and removal.
If you are moving and Vivint offers service at your new location, they might allow you to transfer your contract, which would negate the need for removal and termination fees. However, if you are not transferring service, you must follow Vivint's cancellation process precisely.
Vivint's Role in Deactivation
Vivint's monitoring service is tied to their central servers. Simply removing the panel without proper deactivation can lead to:
- Continued false alarms being dispatched to authorities (if the system is still armed).
- Ongoing charges if the contract is not formally terminated.
- Potential issues with Vivint's ability to remotely manage or troubleshoot the system if you ever need assistance.
Vivint customer service is usually required to remotely deactivate your system from their network. This is a crucial step that often needs to be done before or immediately after the physical removal of the panel. They will guide you through the deactivation process, confirm your contract status, and inform you about any equipment return policies or fees. It's advisable to schedule this deactivation call for the day you plan to physically remove the panel.
Preparing for Panel Removal
Once you've confirmed your contractual obligations and understand Vivint's procedures, thorough preparation is key to a smooth and safe removal process. This involves gathering the necessary tools, understanding the panel's power source, and ensuring you have a plan for the equipment afterward.
Gathering Necessary Tools and Materials
The tools required will depend on how your Vivint panel is mounted. Most commonly, you'll need:
- Screwdrivers: A Phillips head screwdriver is almost always necessary. You might also need a smaller precision screwdriver for any delicate parts.
- Drill (Optional but Recommended): If the panel is screwed into a stud or requires more force to detach, a drill with appropriate bits can be very helpful.
- Pry Tool or Putty Knife: For gently dislodging the panel from its mounting bracket if it's clipped or adhered.
- Wire Strippers/Cutters (if applicable): Only if you are dealing with any hardwired connections, which is less common for the main panel itself but possible for accessories.
- Gloves: To protect your hands and keep the equipment clean.
- Safety Glasses: Especially if drilling or prying is involved.
- A Bag or Box: To safely store the panel and any associated hardware.
- Phone: To contact Vivint support if needed during the process.
Having these items ready before you start will prevent interruptions and ensure you can complete the task efficiently.
Identifying and Disconnecting Power Sources
The Vivint panel receives power in a few ways. It's critical to disconnect these safely before attempting any physical removal.
1. AC Power Adapter:
- Locate the power adapter plugged into the wall outlet and connected to the back of the Vivint panel.
- Unplug the adapter from the wall outlet first, then disconnect it from the panel.
2. Battery Backup:
- Most Vivint panels have an internal battery backup. This battery will keep the system running if the main power goes out.
- The location and method of disconnecting the battery vary by model. For the Vivint Smart Hub, the battery is typically located inside the unit. You may need to open the panel casing to access and disconnect it. Consult your Vivint manual or Vivint support for specific instructions on battery disconnection for your model.
- Caution: Disconnecting the battery might require a specific sequence or tool. Improper handling can damage the battery or the panel.
3. Hardwired Connections (Less Common for Panel):
- In some installations, especially older ones or for specific accessory modules, the panel might be hardwired into your home's electrical system.
- If you suspect hardwiring, it is highly recommended to consult a qualified electrician or Vivint support. Tampering with household wiring can be dangerous and may violate your home insurance or local building codes.
Crucial Step: Always ensure the panel is completely powered down and disconnected from all power sources before proceeding with physical removal. This prevents electrical shock and damage to the equipment.
Understanding the Mounting Mechanism
Vivint panels are typically mounted using a bracket system. The panel itself usually clicks or slides onto this bracket, which is then secured to the wall with screws.
- Wall Bracket: The bracket is the piece that is screwed into the wall.
- Panel Attachment: The panel then attaches to this bracket. This attachment can be via clips, a sliding mechanism, or sometimes screws that are accessible only once the panel is partially detached.
Before you start, examine the panel and its connection to the wall. Look for any visible screws on the sides or bottom of the panel that might hold it to the bracket. Often, there's a release mechanism, a small tab, or a specific way to lift or slide the panel off the bracket. Gently try to wiggle the panel to see if it's loose or if there's a discernible release point. If it feels firmly attached, it's likely secured by screws or clips that require careful manipulation.
Step-by-Step Vivint Panel Uninstall Guide
This section provides a detailed, step-by-step process for physically removing the Vivint panel from your wall. Remember to proceed with caution and refer to Vivint's official documentation or support if you encounter any specific challenges related to your model.
Step 1: Contact Vivint for Deactivation and Final Instructions
This should be your very first physical action before touching the panel. Call Vivint customer support. Inform them that you are terminating your service and need to deactivate your system. They will guide you through their specific deactivation protocol. This often involves verifying your account information and confirming the cancellation date. They may also provide specific instructions on how to handle the equipment, especially if it's leased. Schedule this call for the day you intend to remove the panel.
Key Actions during the Call:
- Confirm your contract end date and any outstanding fees.
- Request remote deactivation of your system.
- Inquire about any specific instructions for your panel model regarding battery removal or return procedures.
- Ask for confirmation (preferably in writing, via email) that your service is officially terminated and the system is deactivated from their network.
Step 2: Power Down the Panel
As detailed in the preparation section, safely disconnect all power sources.
- Unplug the AC adapter from the wall and the panel.
- Locate and disconnect the internal backup battery. This often involves opening the panel's casing. For the Vivint Smart Hub, you might need to gently pry open the front cover or access a battery compartment. Refer to your manual or Vivint's online resources for your specific model.
Ensure no lights are on the panel and it is completely unresponsive before proceeding.
Step 3: Detach the Panel from its Mounting Bracket
This is where you'll physically remove the panel from the wall.
- Examine the Panel: Look for any visible screws holding the panel to the bracket. These are often on the bottom or sides.
- Release Mechanism: Many panels have a hidden release mechanism. This could be a small tab at the bottom that needs to be pressed, or you might need to slide the panel upwards or sideways to disengage it from the bracket. Gently try to lift or slide the panel.
- Using a Pry Tool: If the panel is clipped on and resistant, carefully use a thin pry tool or putty knife to gently create a small gap between the panel and the bracket, working your way around. Be extremely careful not to damage the wall or the panel.
- Removing Wall Bracket (Optional): Once the panel is off, you'll be left with the wall bracket. If you plan to patch and paint the wall, you'll need to unscrew this bracket. Keep the screws handy if you plan to reinstall the system elsewhere.
Example Scenario: For a Vivint Smart Hub, the process often involves finding a small notch or screw at the bottom of the unit. Sometimes, you need to press a release button or use a specific tool (like a paperclip end) to depress a hidden latch. Once released, the panel typically pivots upwards or slides off the bracket.
Step 4: Disconnect Any Remaining Wires (If Applicable)
In most standard installations, once the panel is detached from the bracket, there will be no further wires connected directly to it, as power and data are typically handled by the adapter and internal battery. However, if your installation was more complex, or if you have accessories that were wired directly through the panel:
- Carefully inspect the back of the panel and the wall where it was mounted.
- If you find any wires, note their connections.
- If these wires are for accessories that you are also removing, disconnect them carefully.
- If they are part of your home's wiring, ensure they are properly capped or secured by an electrician if you are not comfortable. Again, if you are unsure, contact a professional.
Step 5: Secure and Store the Panel
Once the panel is safely removed from the wall, place it in a protective bag or box. This is especially important if you plan to reuse it or return it to Vivint. Ensure any loose wires or screws are also stored safely with the panel.
Step 6: Repair Wall Damage (If Necessary)
Removing the mounting bracket will likely leave holes in your wall. You'll need to:
- Remove any anchors or screws left in the wall.
- Fill the holes with spackle or drywall compound.
- Sand smooth once dry.
- Prime and paint to match your wall color.
This step can be done immediately after removal or at a later time, depending on your priorities.
Troubleshooting Common Removal Issues
Even with careful preparation, you might encounter issues during the Vivint panel removal process. Here are some common problems and their solutions.
Panel Won't Detach from Bracket
Problem: The panel feels stuck and won't slide or lift off the mounting bracket.
Solution:
- Re-check for Screws: Ensure you haven't missed any small screws that might be securing the panel to the bracket. These can sometimes be hidden.
- Locate Release Tab: Search for a small tab, button, or slot on the panel's edge or bottom. This is the most common release mechanism. You might need a small, flathead screwdriver or a stiff piece of plastic to press it.
- Gentle Wiggling: Try gently wiggling the panel up, down, left, and right while applying slight upward or outward pressure. Sometimes, the clips can be stiff.
- Consult Manual/Support: If you're still stuck, look up the specific model of your Vivint panel online for its mounting/unmounting instructions or contact Vivint support for guidance. They can often tell you the exact release mechanism.
Battery Disconnection is Unclear
Problem: You can't find or safely disconnect the internal backup battery.
Solution:
- Identify Panel Model: Knowing the exact model (e.g., Vivint Smart Hub, SkyControl 2.0) is crucial.
- Online Resources: Search for "[Your Vivint Panel Model] battery replacement" or "[Your Vivint Panel Model] manual." You'll often find videos or diagrams showing the battery compartment and disconnection method.
- Vivint Support: This is the safest route. Vivint support can walk you through the battery disconnection process over the phone. They are trained to handle this and can prevent accidental damage.
- Caution: Avoid forcing anything. If the battery is not easily accessible, it's better to get expert help than to risk shorting something or damaging the panel.
Alarm Triggers During Removal
Problem: The system unexpectedly arms or triggers an alarm during the removal process.
Solution:
- Immediate Deactivation: If you haven't already, call Vivint support immediately and explain the situation. They can often remotely disarm the system.
- Power Disconnection: Ensure both AC power and the battery backup are disconnected. This should prevent the system from arming or triggering further alarms. If the alarm is sounding and you cannot stop it, and Vivint support is unavailable, you may need to physically disconnect the battery as a last resort (if not already done).
- Inform Authorities (If Necessary): If an alarm is triggered and authorities are dispatched, be prepared to explain that you are in the process of removing the system and that it is no longer active or monitored by Vivint.
Wall Damage is More Extensive Than Expected
Problem: The wall behind the panel is damaged (e.g., drywall crumbling, large holes).
Solution:
- Assess Damage: Determine the extent of the damage. Small nail holes are easy to patch. Larger holes might require drywall repair techniques.
- Drywall Repair Kit: Purchase a drywall repair kit from a hardware store. These kits typically include spackle, putty knives, and sometimes mesh patches for larger holes.
- Professional Help: If the damage is significant, or if you're not comfortable with drywall repair, consider hiring a handyman or a painter to fix the wall before painting.
Alternatives to Full Vivint Panel Removal
In some situations, a complete DIY removal of the Vivint panel might not be the best or only option. Vivint offers services and solutions that can sometimes circumvent the need for you to physically uninstall the equipment yourself.
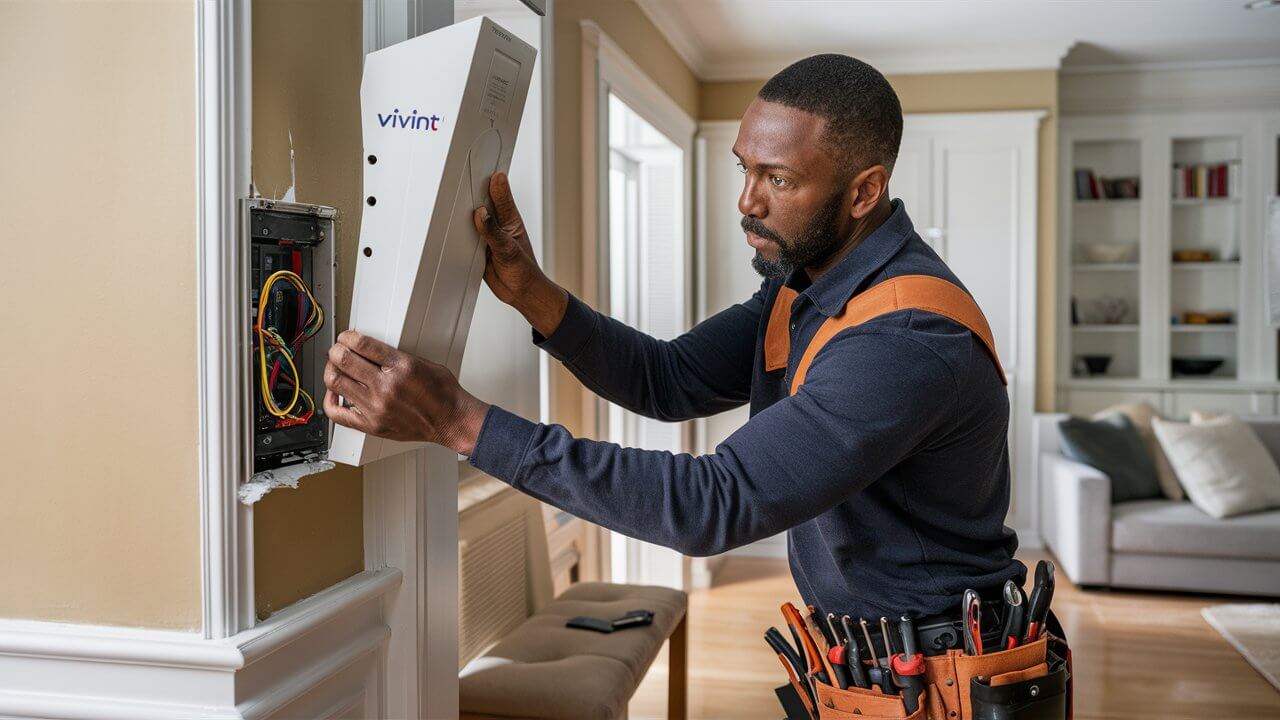
Vivint Professional Removal Service
Vivint sometimes offers professional removal services, especially if you are moving and want to transfer your system, or if you are canceling service and they require their equipment back. This service can be particularly beneficial if:
- You are still under contract and Vivint's terms mandate professional removal.
- You are uncomfortable with DIY electrical work or wall repair.
- You want to ensure the equipment is properly deactivated and returned according to Vivint's policy.
Cost: There may be a fee associated with this service, which should be clarified with Vivint support when you initiate the cancellation or transfer process. Inquire about this option when you first contact them about deactivating your service.
Transferring Vivint Service to a New Home
If you are moving to a new residence, Vivint may offer to transfer your existing system. This is often the simplest solution if you are happy with their service.
Process:
- Contact Vivint well in advance of your move date.
- They will assess if service is available at your new address and if your current equipment is compatible.
- Vivint technicians will typically uninstall the system at your old home and reinstall it at your new home.
- This process usually involves updating your service agreement and may incur transfer fees.
This option eliminates the need for you to remove the panel and potentially saves you from early termination fees if your contract allows for transfers.
Selling or Transferring Ownership of the System
If you own your Vivint equipment outright and are not moving, you might consider selling it. However, this comes with significant caveats:
- Deactivation is Essential: The system must be fully deactivated by Vivint from their network. Otherwise, it might still be tied to your account or trigger alarms.
- New Owner's Contract: The new owner will need to set up their own monitoring contract with Vivint (if they wish to use it) or potentially use it as a DIY system with a third-party provider if compatible.
- Compatibility: Ensure the system is compatible with Vivint's current offerings or any third-party services the new owner intends to use.
Selling leased equipment is generally not permissible and would violate your contract. Always confirm ownership status before considering a sale.
Post-Removal Considerations
Once the Vivint panel is physically removed from your wall, your responsibilities aren't entirely over. There are important follow-up steps to ensure a clean break from Vivint's services and to manage the equipment appropriately.
Returning Leased Equipment to Vivint
If your Vivint panel was leased, Vivint will have specific instructions for its return. Failure to return leased equipment can result in substantial charges, often equivalent to the full retail price of the equipment.
- Vivint's Instructions: Vivint will typically provide a prepaid shipping label and packaging instructions.
- Packaging: Carefully package the panel and any other specified components to prevent damage during transit.
- Shipping: Drop off the package at the designated shipping carrier.
- Proof of Return: Keep a record of the tracking number and shipping receipt as proof of return.
It's crucial to adhere strictly to Vivint's timeline and procedures for returning leased equipment to avoid penalties.
Reinstalling the System at a New Location
If you plan to move your Vivint system to a new home, ensure you have:
- All Components: Gather the panel, power adapter, battery, and any sensors or accessories you intend to move.
- Professional Installation: It's highly recommended to have Vivint or a qualified security technician reinstall the system at the new location. This ensures proper functionality and integration.
- New Service Agreement: You will likely need to establish a new monitoring contract for the new location.
DIY reinstallation is possible but can be complex, especially with wireless sensors and network configurations. Professional installation guarantees optimal performance.
Disposing of the Vivint Panel Responsibly
If you own the panel and do not plan to reuse it, responsible disposal is important. Electronic waste (e-waste) contains materials that can be harmful to the environment if not disposed of properly.
- Check Local Regulations: Your local municipality or county will have guidelines for e-waste disposal.
- Recycling Centers: Many electronics retailers and local government facilities offer e-waste recycling programs.
- Data Security: While the Vivint panel itself doesn't store personal data like a computer, it's good practice to ensure it's fully deactivated and reset if possible. Vivint's deactivation process should handle this.
Avoid simply throwing the panel in the regular trash.
Setting Up a New Security System
If you're moving away from Vivint, now is the time to research and set up a new security system. Consider your needs, budget, and desired features.
Key Considerations for New Systems (2025-26):
- DIY vs. Professional Installation: Many modern systems offer easy DIY setup, while others require professional installation.
- Monitoring Options: Decide between professional monitoring (like Vivint's) or self-monitoring via smartphone alerts.
- Smart Home Integration: Look for systems that integrate with other smart home devices (e.g., Alexa, Google Home, Apple HomeKit).
- Contract Terms: Carefully review contract lengths, cancellation policies, and equipment ownership.
The home security market in 2025-26 is robust, with options ranging from companies like ADT and SimpliSafe to newer players offering innovative solutions. Researching current market leaders and their offerings will help you find a system that best suits your needs.
Conclusion
Removing a Vivint panel is a multi-faceted process that requires careful attention to contractual obligations, preparation, and execution. By understanding your agreement, contacting Vivint for deactivation, gathering the right tools, and following the step-by-step uninstall guide, you can successfully remove the panel from your home. Remember to address any wall damage and to handle the equipment responsibly, whether by returning leased items, reinstalling at a new location, or disposing of it ethically. The transition away from Vivint, or to a new system, can be seamless with the right approach. Prioritize clear communication with Vivint and meticulous execution of the physical removal steps to ensure a positive outcome.