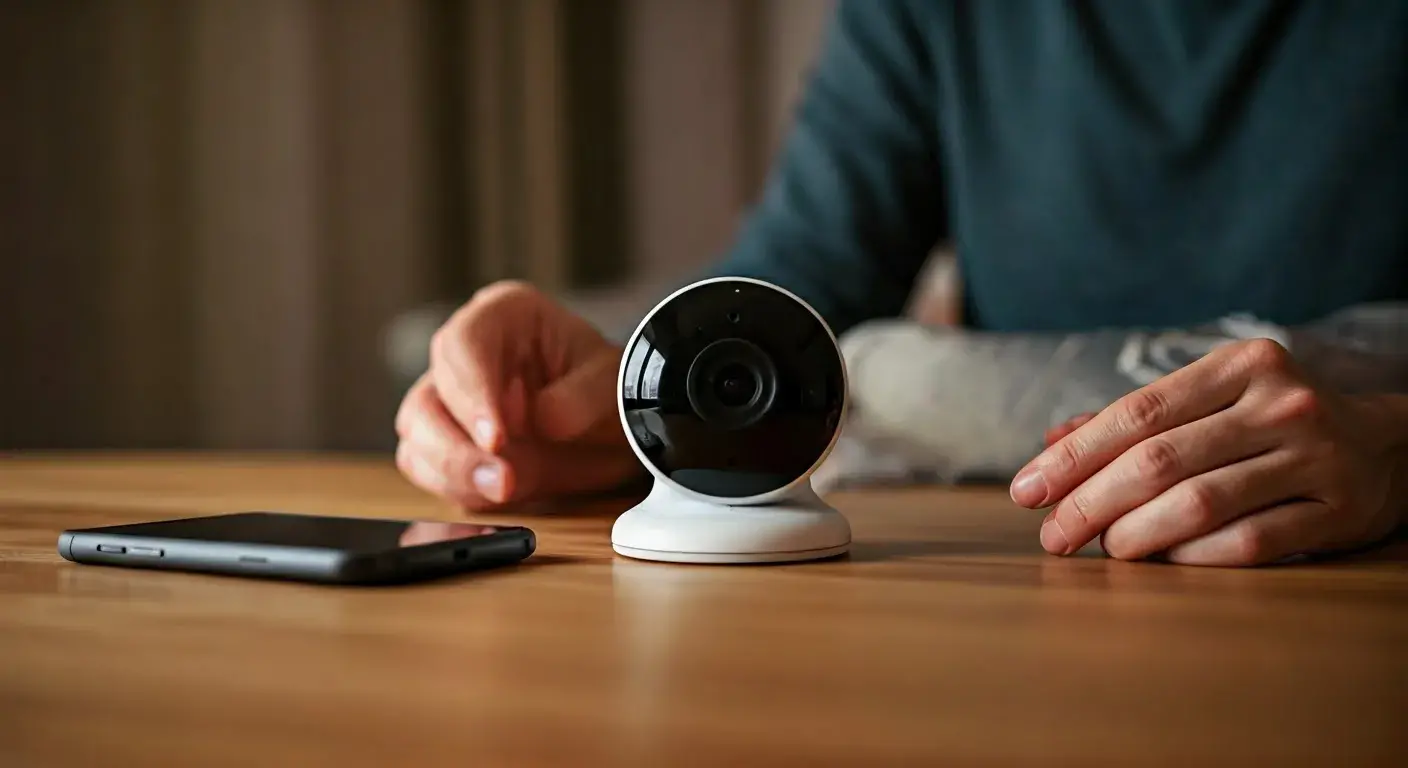
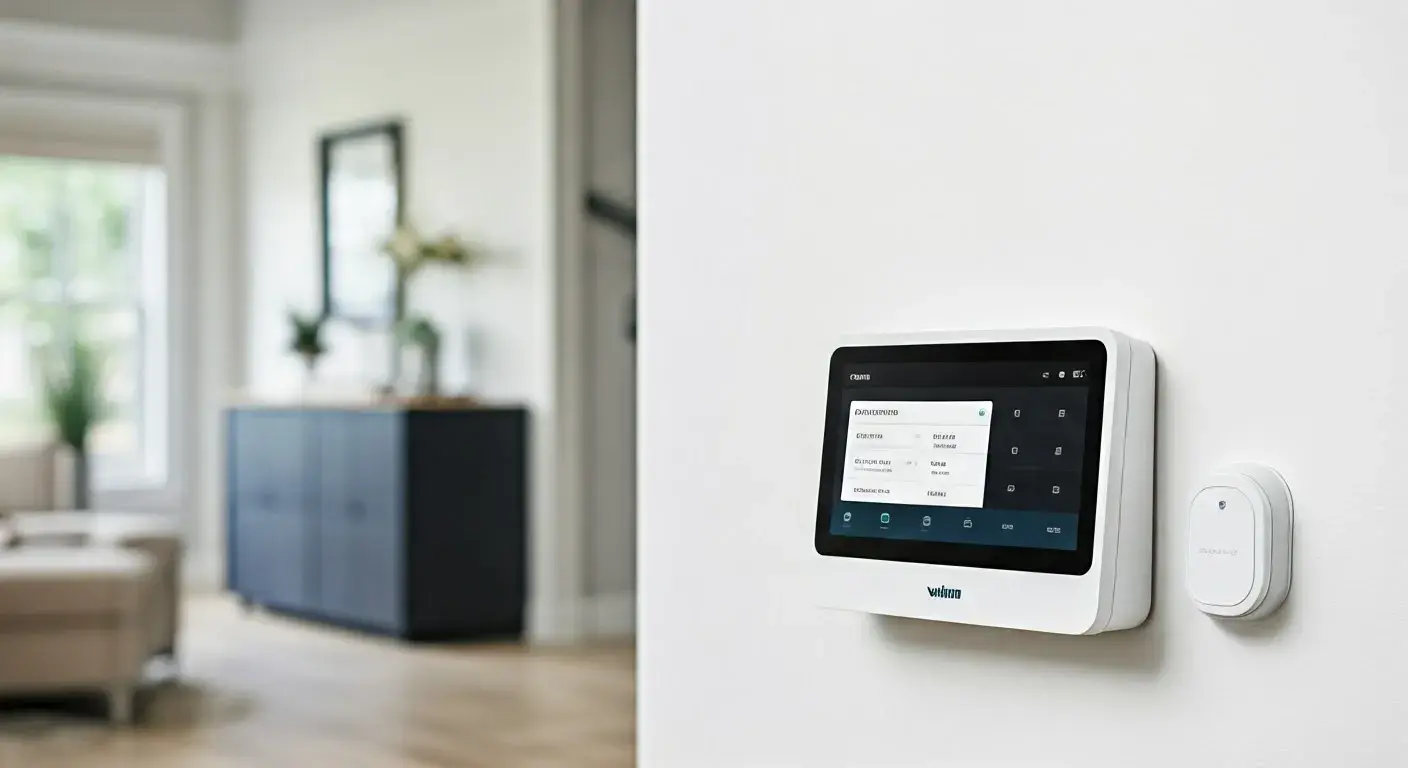
Security is a priority for any modern household, and Vivint is among the leading providers in smart home automation and video surveillance. Protecting your data and knowing exactly how to manage your video history is an essential part of keeping your security tailored to your needs. If you’re wondering how to delete Vivint video clips maybe for privacy, organization, or to free up storage this article covers everything, step by step, using both the Vivint Smart Home App and web platform. Plus, discover how Vivint home security makes managing your home’s security seamless and stress-free.
Why Delete Vivint Video Clips?
Homeowners may want to delete certain video clips for several reasons:
Privacy: Removing sensitive or outdated footage prevents unauthorized access.
Storage Management: Helps prevent unnecessary accumulation and allows new recordings.
Organization: Keeping only relevant footage makes accessing needed clips quicker and easier.
Whether for individual events or routine cleanup, knowing how to handle your Vivint video clips gives you the control you expect from a leading security provider.
Step-by-Step: Deleting Vivint Video Clips on Mobile
The Vivint Smart Home App is user-friendly and lets you manage your system from anywhere. Here’s a simple and effective step-by-step guide to deleting video clips from your mobile device:
1. Open the Vivint Smart Home App
Download and install the Vivint Smart Home app from the App Store or Google Play if you haven’t already.
Log in using your Vivint account credentials.
2. Access Your Cameras
Tap the “Video Cameras” option typically found at the bottom of the main screen.
This will display a list of all your connected Vivint cameras.
3. Select the Desired Camera
Browse the list and select the specific camera from which you want to delete clips.
All recorded clips for that camera, stored in Vivint’s secure cloud, will be displayed.
4. Review and Choose Clips
Scroll through the timeline or list to find the video clip(s) you want to remove.
Tap the desired clip to load a preview. If the recording is long, allow it a moment to load completely.
5. Delete the Video Clip
Look for the “Delete” icon (often a trash can) in the upper right corner of the clip window.
Tap the delete icon. A confirmation pop-up will appear. Confirm by tapping “Delete” again.
The clip will be permanently deleted from your Vivint cloud recordings.
6. Repeat as Needed
After deleting, you’ll return to the clip list.
Repeat the above steps to remove multiple clips from the same camera or switch cameras to manage clips from different areas.
How To Delete Vivint Video Clips Via Desktop?
Some users prefer managing their security system via a desktop for a larger workspace and easier navigation. Vivint’s online portal offers full access to your cameras and stored recordings.
1. Log In to Your Vivint Account
Using your browser, visit https://vivintsky.com or the dedicated Vivint web portal.
Sign in with your registered Vivint account email and password.
2. Access Camera Recordings
Navigate to the “Camera Systems” tab from the top or use the menu to find your camera list.
Click the camera corresponding to the clips you want to manage.
3. Browse and Select Clips
You’ll see a timeline or list of recorded events.
Use scroll tools to narrow by date, time, or event, and select clips for review.
4. Delete Selected Clips
Check the box next to any video you wish to delete.
Click the “Delete” button. A pop-up will ask you to confirm your choice; click “Yes” to proceed.
5. Repeat Across Cameras
To delete from another camera, return to the camera selection list and repeat the process for each device as needed.
Important Facts and Tips
Deleted clips cannot be recovered: Once you delete a clip, it is permanently removed from Vivint’s system. Make sure to download and save any footage you want to keep before deleting.
Bulk deletion: While individual deletion is standard, some web interfaces allow you to select and delete multiple clips at once for efficiency.
Cloud storage duration: Vivint typically keeps camera clips for up to 30 days before automatic removal. Clips stored on a Vivint Smart Drive or local device may vary.
Security: Only those with admin access can delete video clips, ensuring an extra layer of security for your files.
Quick Troubleshooting
If you experience slow loading times or missing delete icons, ensure your app or browser is up to date.
Only the account administrator can delete certain clips; other users might not have the required permissions.
For unresolved issues, Vivint support is readily available for assistance.
Why Choose Vivint for Your Home Security?
Vivint isn’t just about cutting-edge technology. It’s about providing homeowners with responsive, secure solutions for peace of mind.
Key Benefits of Using Vivint:
Seamless App Controls: Easily manage every aspect of your security from cameras to sensors wherever you are.
Professional Installation & Support: Get expert setup and prompt assistance whenever needed.
Advanced Security Features: From smart locks to AI-enabled cameras, Vivint systems adapt to your evolving needs.
Flexible Video Management: Delete, download, or archive footage with confidence.
Ready to upgrade your security experience? Choose Vivint and enjoy the benefits of a smarter, safer home and total control over your video history.
Final Thoughts
Deleting Vivint video clips is a straightforward process thanks to Vivint’s intuitive app and desktop portal. Whether you’re clearing out storage, maintaining privacy, or organizing your library, these steps provide everything you need.
Discover the ease of managing your smart home with Vivint today and gain security and convenience, all at your fingertips.
For more about smart home security and automation, explore our other guides, or contact Vivint for a personalized consultation.


