Installing a doorbell camera offers enhanced home security and convenience, allowing you to see and speak to visitors remotely. This comprehensive guide will walk you through the entire process, from choosing the right model to troubleshooting common issues, ensuring a smooth and successful DIY installation.
What is a Doorbell Camera?
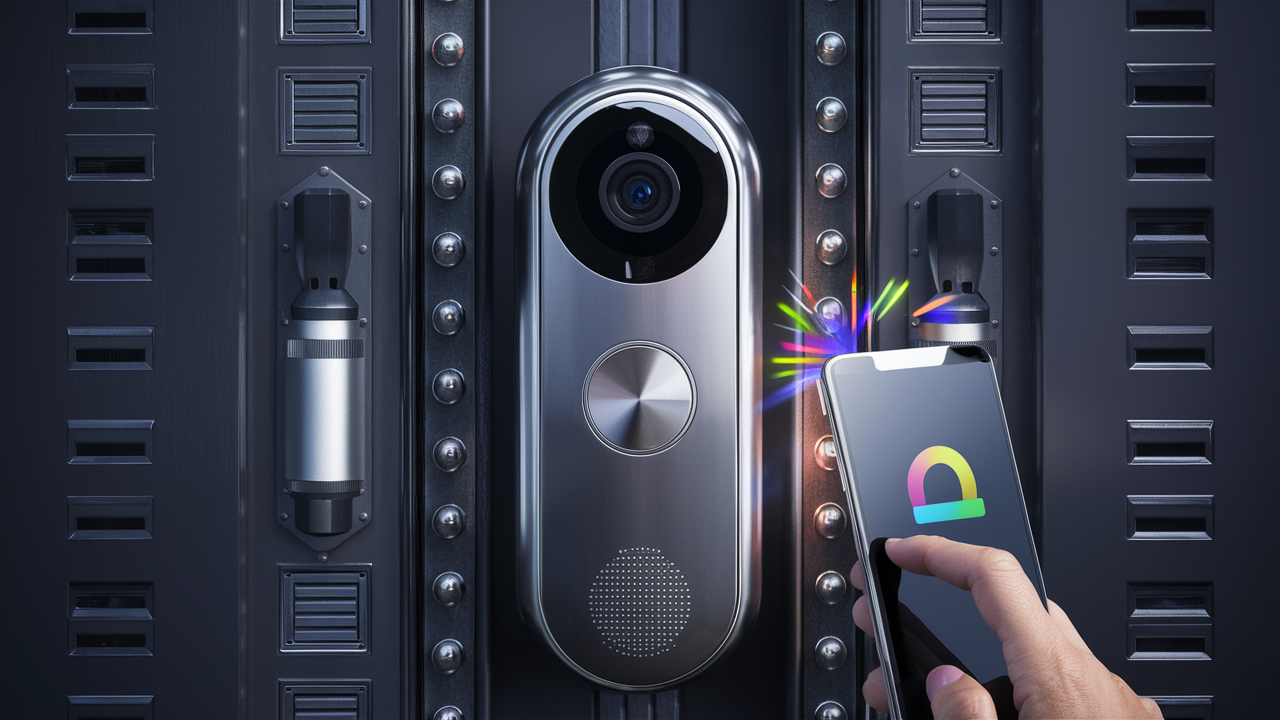
A doorbell camera, also known as a video doorbell, is a smart home device that combines a traditional doorbell with a built-in camera, microphone, and speaker. It connects to your home's Wi-Fi network, allowing you to receive notifications on your smartphone or tablet whenever someone rings the bell or approaches your door. Through a dedicated app, you can view a live video feed, communicate with visitors via two-way audio, and even record footage for later review. These devices significantly boost home security by deterring potential intruders, allowing you to screen visitors before opening the door, and providing evidence in case of incidents. In 2025, the smart home security market, which includes doorbell cameras, is projected to reach over $15 billion globally, highlighting their increasing popularity and importance in modern home protection.
Types of Doorbell Cameras
Understanding the different types of doorbell cameras available is crucial for selecting the best fit for your home and installation preferences. The primary distinction lies in their power source and connectivity.
Wired Doorbell Cameras
These cameras require a direct electrical connection to your home's existing doorbell wiring. This often means they tap into the low-voltage transformer that powers your current doorbell chime. Wired models offer a stable and continuous power supply, eliminating the need for battery changes. They also typically provide more robust video quality and features due to the consistent power.
- Pros: Reliable power, no battery changes, often better video/audio quality, can integrate with existing chime.
- Cons: Installation can be more complex, requires existing doorbell wiring, might need electrical knowledge.
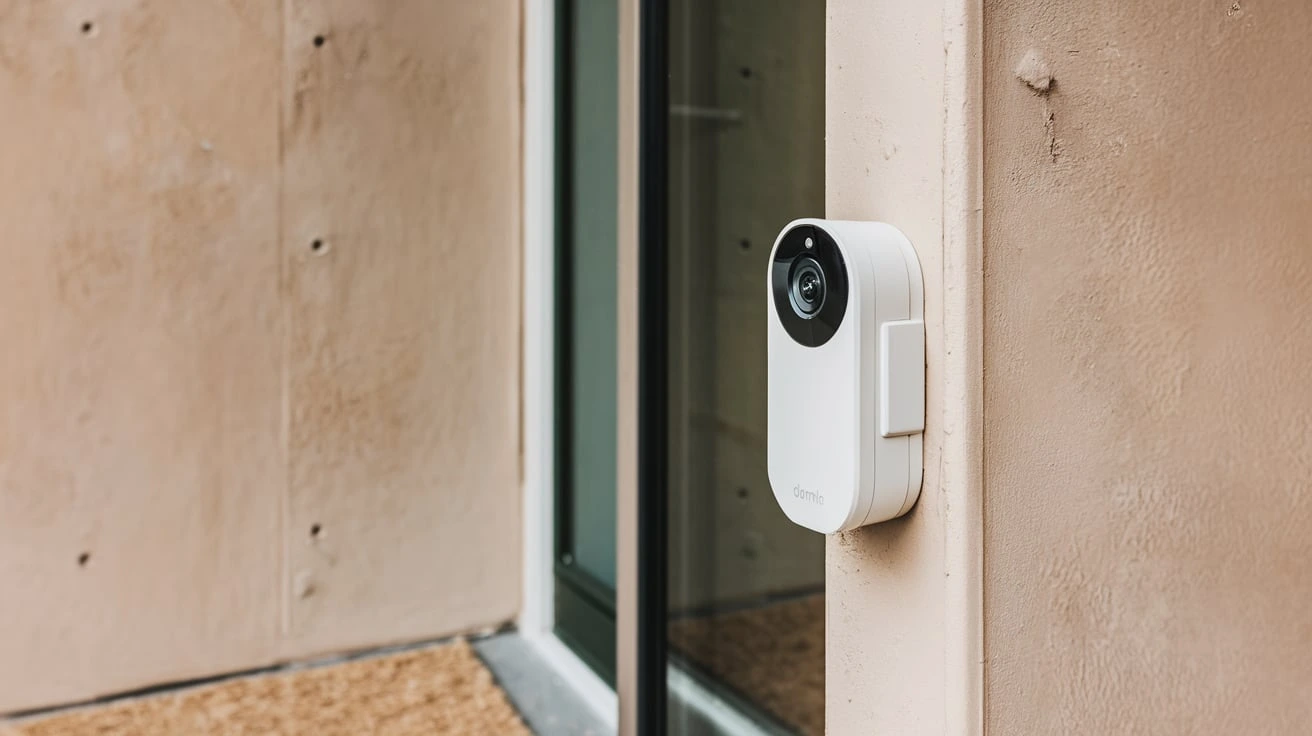
Wireless Doorbell Cameras (Battery-Powered)
Wireless doorbell cameras run on rechargeable or replaceable batteries. They are the easiest to install as they don't require any wiring. Setup usually involves mounting the camera and connecting it to your Wi-Fi network via a mobile app. The main drawback is the need to recharge or replace batteries periodically, which can range from a few weeks to several months depending on usage and battery life. Some models offer solar charging accessories for continuous power.
- Pros: Easy installation, no wiring required, flexible placement.
- Cons: Battery life limitations, requires regular charging/replacement, potential for signal interference.
Hybrid Doorbell Cameras
Some newer models blur the lines, offering the option to be powered by batteries or connected to existing doorbell wiring. This provides the flexibility of wireless installation with the option for a more permanent, powered solution if desired. These can be a great compromise for users who want ease of installation but also the reliability of wired power.
Connectivity Options
Beyond power, consider how the doorbell camera connects to your network:
- Wi-Fi Connected: The vast majority of smart doorbell cameras connect directly to your home's 2.4GHz Wi-Fi network. Ensure you have a strong Wi-Fi signal at your front door.
- Wired Ethernet (Less Common): A few high-end or professional-grade systems might offer an Ethernet connection for maximum stability, but this is rare for DIY residential installations.
Planning Your Doorbell Camera Installation
Before you pick up a screwdriver, careful planning is essential for a successful and effective doorbell camera installation. This phase involves assessing your current setup, choosing the right location, and understanding your home's network capabilities.
Assess Your Existing Doorbell System
If you're considering a wired doorbell camera, you'll need to check your current doorbell wiring. Most wired video doorbells are designed to work with the low-voltage transformer (typically 16-24V AC) that powers traditional doorbells. You can usually find this transformer in your electrical panel, near your furnace, or in a utility closet. If you have an older home or no existing doorbell wiring, a wireless battery-powered model will be your best bet.
Check your chime: For wired installations, ensure your existing mechanical or digital chime is compatible. Some video doorbells can ring your existing chime, while others require you to use their app notifications exclusively or have a separate digital chime included.
Choosing the Optimal Mounting Location
The placement of your doorbell camera is critical for its effectiveness and to avoid common installation pitfalls. Aim for a spot that:
- Provides a Clear View: The camera should have an unobstructed view of your doorstep, walkway, and any potential approaching visitors. Avoid mounting it behind bushes or directly facing a bright light source that could cause glare.
- Captures Faces: Ideally, the camera should be mounted at a height that captures visitors' faces clearly. The standard height for a doorbell is around 48 inches (1.2 meters) from the ground. Many video doorbells come with angled mounting plates to help you adjust the field of view.
- Is Within Wi-Fi Range: Crucially, the mounting location must have a strong and stable Wi-Fi signal. Test your Wi-Fi strength at the intended spot using your smartphone before drilling any holes.
- Is Secure: Mount the camera securely to prevent theft or tampering.
- Complies with Privacy Regulations: Be mindful of your neighbors' privacy. Ensure the camera primarily captures your property and doesn't excessively intrude on adjacent areas.
Consider Your Wi-Fi Network Strength
A robust Wi-Fi connection is non-negotiable for a video doorbell. Weak Wi-Fi signals lead to choppy video, delayed notifications, and unreliable performance.
- Test Signal Strength: Use your smartphone or a Wi-Fi analyzer app to check the signal strength at the planned mounting location. Look for at least 2-3 bars of signal strength.
- Boost Your Signal: If the signal is weak, consider:
- Moving your Wi-Fi router closer to the front door.
- Using a Wi-Fi extender or mesh network system to improve coverage.
- Upgrading your router to a newer model.
- Network Band: Most doorbell cameras operate on the 2.4GHz Wi-Fi band, which offers better range but slower speeds. Some newer models also support 5GHz for faster speeds but shorter range. Ensure your router broadcasts the appropriate band.
Check Local Regulations and HOA Rules
While less common for simple doorbell cameras, it's always wise to check if your local municipality or Homeowners Association (HOA) has any specific regulations regarding external surveillance devices or their placement. This is particularly important if your camera has a very wide field of view.
Wired vs. Wireless Doorbell Camera Installation
The installation process differs significantly between wired and wireless doorbell cameras. Understanding these differences will help you prepare and choose the method that best suits your skills and home setup.
Wired Doorbell Camera Installation
This method leverages your existing doorbell's electrical infrastructure. It generally involves more steps and potentially requires basic electrical familiarity.
Key Steps:
- Turn Off Power: **Crucially, shut off power to your doorbell circuit at the breaker box.** This is a safety imperative.
- Remove Old Doorbell: Unscrew and detach your existing doorbell button. Disconnect the wires from the back.
- Install Mounting Bracket: Secure the new doorbell camera's mounting bracket to the wall using the provided screws. Use a level to ensure it's straight.
- Connect Wires: Connect the existing doorbell wires to the terminals on the back of the new doorbell camera. Polarity usually doesn't matter for AC doorbell systems, but consult your device's manual.
- Mount Doorbell Camera: Slide or clip the doorbell camera onto the mounting bracket.
- Restore Power: Turn the power back on at the breaker box.
- Configure App: Download the manufacturer's app and follow the on-screen instructions to connect the doorbell camera to your Wi-Fi network and set up your account.
Transformer Check: Ensure your transformer provides sufficient voltage (typically 16-24V AC) and amperage. If not, you may need to upgrade your transformer, which is a more involved electrical task.
Wireless Doorbell Camera Installation
This is the simpler, more DIY-friendly option, requiring no electrical work.
Key Steps:
- Charge Battery: Fully charge the battery pack for the wireless doorbell camera before installation.
- Install Mounting Bracket: Attach the mounting bracket to the wall at your chosen location using the provided screws. Use a level.
- Mount Doorbell Camera: Secure the doorbell camera to the bracket. Ensure the battery is properly inserted.
- Configure App: Download the manufacturer's app and follow the instructions to connect the doorbell camera to your Wi-Fi network. This often involves scanning a QR code on the device or pressing a sync button.
- Test Functionality: Ring the doorbell and check for notifications on your app. Test motion detection and two-way audio.
Battery Management: Be prepared to monitor battery levels and recharge or replace batteries as needed. Some apps provide low-battery alerts.
Tools and Materials Needed
Having the right tools and materials on hand before you begin will make the installation process smoother and more efficient. The specific tools required will depend on whether you're installing a wired or wireless model, but here's a general list:
Essential Tools for Most Installations:
- Screwdriver Set: You'll likely need Phillips head and possibly flathead screwdrivers for mounting brackets and securing wires. Many doorbell kits come with specialized security screws.
- Drill and Drill Bits: For creating pilot holes in your wall material (wood, brick, stucco, etc.). Masonry bits will be necessary for brick or concrete.
- Level: To ensure your doorbell camera is mounted straight, which is important for both aesthetics and optimal camera angle.
- Pencil: For marking drilling locations.
- Wire Strippers/Cutters: Essential for wired installations to prepare the ends of your existing doorbell wires.
- Pliers: Can be useful for manipulating wires or holding small parts.
- Stud Finder (Optional but Recommended): If mounting on drywall, a stud finder helps ensure you're screwing into a solid stud for maximum stability.
Materials Often Included or Required:
- Doorbell Camera Unit: The main device itself.
- Mounting Bracket: The plate that attaches to the wall and holds the doorbell.
- Screws and Anchors: For securing the mounting bracket. Anchors are crucial for mounting into drywall or masonry where studs aren't available.
- Wire Nuts or Terminal Connectors: For connecting wires in wired installations.
- Chime Connector/Adapter (for wired): Some wired models come with a small module to connect between the transformer and the doorbell, or between the doorbell and the chime, to regulate power and prevent buzzing.
- Angled Mounting Wedge/Plate: Many kits include these to allow you to adjust the camera's viewing angle, especially if it's mounted on a wall perpendicular to the door.
- Security Screw Tool: Some manufacturers use proprietary screws that require a specific tool, often included in the box.
- Rechargeable Battery Pack (for wireless): Ensure it's fully charged before installation.
For Wired Installations Specifically:
- Voltage Tester: To confirm power is off at the breaker and to test voltage at the transformer and wires.
- Electrical Tape: For insulating wire connections if needed.
- Optional: New Doorbell Transformer: If your existing transformer is too weak (under 16V AC or insufficient amperage), you may need to replace it. This is a more advanced electrical task.
Step-by-Step Installation Guide
This guide provides a comprehensive walkthrough for installing a typical wired or wireless doorbell camera. Always refer to your specific model's manual for exact instructions.
Step 1: Preparation and Safety First
For Wired Installations:
- Locate your home's electrical panel.
- Identify the breaker switch that controls your existing doorbell circuit.
- Flip the breaker to the "OFF" position.
- Verify Power is Off: Use a non-contact voltage tester to confirm there is no power at your existing doorbell button. Touch the tester to the wires behind the button.
For Wireless Installations:
- Ensure the battery is fully charged.
- Download the manufacturer's app to your smartphone or tablet and create an account.
General Preparation:
- Unpack your new doorbell camera and all accessories.
- Read through the manufacturer's installation manual.
- Test your Wi-Fi signal strength at the desired mounting location.
Step 2: Removing Your Old Doorbell (Wired Only)
- Carefully unscrew your existing doorbell button from the wall.
- Gently pull it away from the wall to expose the wires connected to the back.
- Disconnect the wires from the terminals. Note which wire was connected to which terminal, although for most AC systems, it doesn't matter.
- Tuck the wires back into the wall temporarily.
Step 3: Mounting the Bracket
Positioning:
- Hold the new doorbell camera's mounting bracket (or the angled wedge, if using one) against the wall at your chosen height (typically 48 inches).
- Ensure it's level using your spirit level.
- Mark the screw hole locations on the wall with your pencil.
Drilling:
- For Wood/Drywall: Drill pilot holes at your marked locations. If drilling into drywall without hitting a stud, insert appropriate wall anchors.
- For Brick/Stucco/Concrete: Use a masonry drill bit to drill holes for the anchors. Insert the anchors securely.
Securing the Bracket:
- Align the mounting bracket with the holes/anchors.
- Screw the bracket firmly into the wall.
Step 4: Wiring and Connecting (Wired Installation)
This is the most critical step for wired systems. If you are uncomfortable with electrical wiring, consider hiring an electrician.
- Feed the existing doorbell wires through the opening in the mounting bracket.
- Connect one wire to each terminal screw on the back of the new doorbell camera. The order usually doesn't matter for AC doorbell systems, but check your manual.
- Ensure the wires are securely fastened to the terminals.
- If your kit includes a chime connector or power kit, follow the specific instructions for installing it between the transformer and the doorbell, or between the doorbell and your chime unit. This often involves connecting it to your existing chime box.
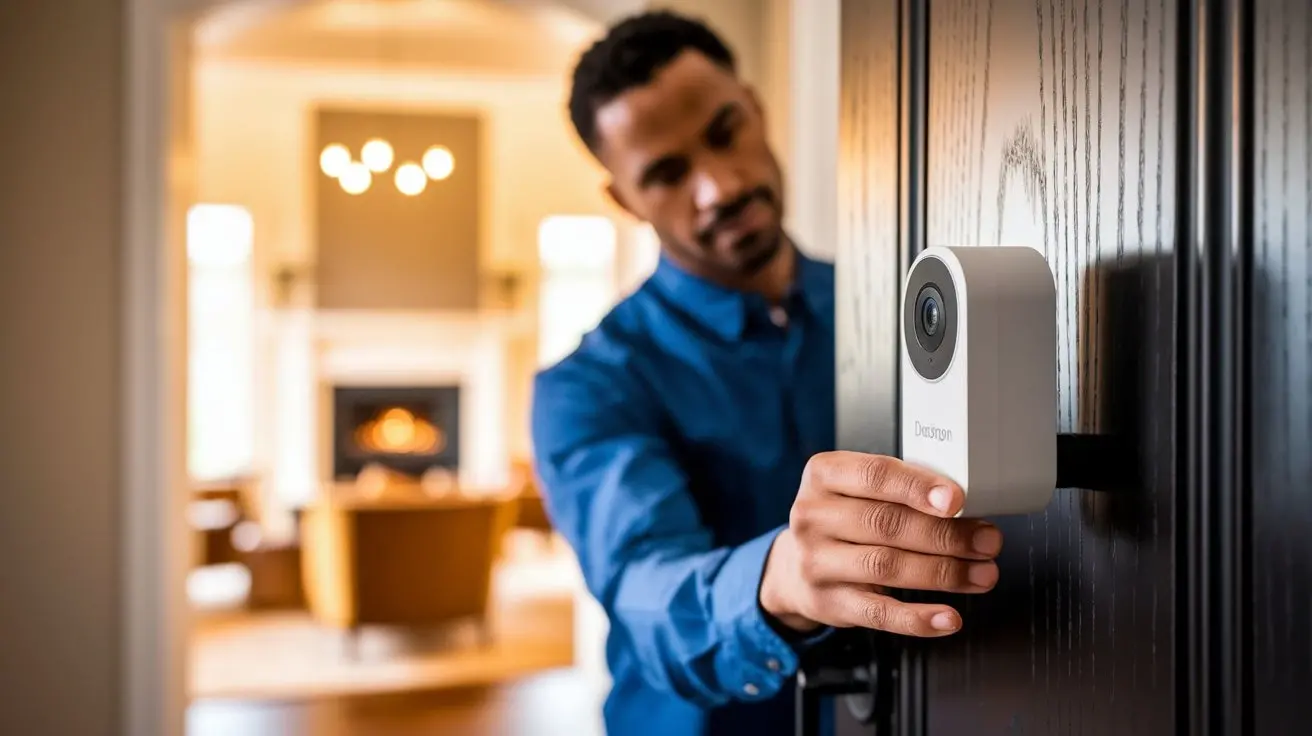
Step 5: Attaching the Doorbell Camera
For Wired Installations:
- Carefully push any excess wire back into the wall cavity.
- Align the doorbell camera with the mounting bracket and slide or snap it into place according to the manufacturer's design.
For Wireless Installations:
- Ensure the charged battery is correctly inserted into the doorbell camera.
- Align the doorbell camera with the mounting bracket and slide or snap it into place.
Step 6: Restoring Power and App Setup
For Wired Installations:
- Go back to your electrical panel and flip the breaker switch for the doorbell circuit back to the "ON" position.
- Your doorbell should illuminate or show an indicator light.
App Configuration (Both Wired and Wireless):
- Open the manufacturer's app on your smartphone or tablet.
- Follow the in-app instructions to add a new device.
- The app will guide you through connecting the doorbell camera to your home's Wi-Fi network. This often involves selecting your network name (SSID) and entering your Wi-Fi password.
- Some devices require you to scan a QR code displayed on your phone with the doorbell camera, or press a sync button on the camera.
- Once connected, you may be prompted to update firmware, name your device, and configure motion detection zones, notification settings, and recording preferences.
Step 7: Testing and Fine-Tuning
- Test the Doorbell: Have someone ring the doorbell from the outside. Check if you receive a notification on your app and if the doorbell chime (if applicable) sounds.
- Test Video Feed: Open the app and check the live video feed. Ensure the picture is clear and the angle is correct.
- Test Two-Way Audio: Speak through the app and ensure the visitor can hear you, and vice-versa.
- Test Motion Detection: Walk in front of the camera to trigger motion detection. Check if you receive alerts and if motion events are recorded.
- Adjust Angle: If the view isn't optimal, you may need to reposition the mounting bracket or use an included angled wedge. For wired cameras, you might need to turn off power, remove the camera, adjust the bracket, and reattach.
Troubleshooting Common Installation Issues
Even with careful planning, you might encounter a few hiccups during installation. Here are common issues and their solutions:
Issue: Doorbell Camera Not Powering On (Wired)
- Check Breaker: Ensure the circuit breaker is firmly in the "ON" position.
- Verify Wiring: Double-check that the wires are securely connected to the correct terminals on the doorbell and that they are not loose or touching each other incorrectly.
- Test Transformer: Use a multimeter to test the voltage output of your doorbell transformer. It should typically be between 16-24V AC. If it's too low, the transformer may need replacement.
- Check Chime Connector: If you installed a chime connector, ensure it's wired correctly according to the manual.
- Faulty Unit: In rare cases, the doorbell camera itself might be defective.
Issue: Doorbell Camera Not Connecting to Wi-Fi
- Check Wi-Fi Password: Ensure you've entered the correct Wi-Fi password. Passwords are case-sensitive.
- Signal Strength: The most common culprit. Move your router closer, use an extender, or try a different mounting location with better signal.
- Network Band: Most doorbell cameras use 2.4GHz. Ensure your router is broadcasting this band and that the camera is trying to connect to it. Some routers have separate SSIDs for 2.4GHz and 5GHz.
- Router Reboot: Try rebooting your router and modem.
- Device Reset: Reset the doorbell camera to its factory default settings and try the setup process again.
- Interference: Other electronic devices or thick walls can cause interference.
Issue: Poor Video Quality (Choppy, Pixelated, Freezing)
- Wi-Fi Signal: This is almost always a Wi-Fi issue. Improve your signal strength.
- Internet Speed: Ensure your internet upload speed is sufficient for streaming video. Most doorbell cameras recommend at least 2 Mbps upload speed per device.
- Router Load: Too many devices on your network can slow it down.
- Firmware Update: Ensure both your doorbell camera and router firmware are up to date.
Issue: No Notifications Received
- App Permissions: Ensure the doorbell camera app has permission to send notifications on your smartphone. Check your phone's notification settings for the app.
- Motion Settings: Verify that motion detection is enabled and that motion zones are configured correctly to capture activity.
- Power Save Mode: Some wireless cameras have power-saving modes that might delay notifications. Check the app settings.
- Do Not Disturb: Ensure your phone is not in "Do Not Disturb" mode or that the app is whitelisted.
Issue: Doorbell Chime Not Working (Wired)
- Wiring to Chime: Ensure the wires from the doorbell are correctly connected to your existing chime unit, if applicable.
- Chime Connector: If you installed a chime connector or power kit, double-check its wiring. Some require specific connections to the chime terminals.
- Chime Type: Some older mechanical chimes may not be compatible with all video doorbells. Consult your doorbell's manual.
- Volume Settings: Check if the chime volume is turned up in the app settings.
Issue: Battery Draining Too Quickly (Wireless)
- Motion Sensitivity: High motion sensitivity and frequent recordings will drain the battery faster. Adjust sensitivity and motion zones.
- Recording Length: Shorter recording durations will conserve battery.
- Wi-Fi Signal: A weak Wi-Fi signal forces the camera to work harder, consuming more power.
- Temperature: Extreme cold or heat can affect battery performance.
- Firmware: Ensure the camera's firmware is up to date.
- Battery Age: Older batteries naturally hold less charge.
Advanced Tips and Considerations
Once your doorbell camera is installed and functioning, you can explore advanced features and consider further enhancements for optimal security and convenience.
Optimizing Motion Detection
Motion detection is a key feature, but it can also be a source of false alerts. Most apps allow you to customize:
- Motion Zones: Define specific areas within the camera's view where you want motion to be detected. This helps ignore passing cars or swaying trees.
- Sensitivity Levels: Adjust how sensitive the camera is to movement. Lower sensitivity reduces false alerts but might miss subtle activity.
- Activity Zones/Person Detection: Many modern cameras offer AI-powered person detection, which only sends alerts when a human is detected, significantly reducing nuisance notifications.
- Scheduled Alerts: Set specific times when you want to receive motion alerts, perhaps only when you're away from home.
Integrating with Other Smart Home Devices
Doorbell cameras are often the gateway to a smarter, more connected home. Consider integrating your doorbell with:
- Smart Assistants (Alexa, Google Assistant): You can often ask your smart speaker to show you the live feed from your doorbell camera ("Alexa, show me the front door").
- Smart Locks: If someone rings your doorbell and you grant them access, you could potentially unlock your smart lock remotely via the app.
- Smart Lights: Some systems can trigger your outdoor lights to turn on when motion is detected by the doorbell camera.
- Security Systems: Integrate your doorbell camera with a larger smart home security system for a unified monitoring experience.
Check the compatibility of your doorbell camera with your existing smart home ecosystem. Look for integrations with platforms like IFTTT (If This Then That) for custom automation routines.
Cloud Storage vs. Local Storage
When it comes to storing recorded video footage, you have two main options:
- Cloud Storage: Most manufacturers offer subscription-based cloud storage. This means your recordings are uploaded to secure servers and accessible from anywhere. It's convenient but incurs a recurring fee. Many offer free trials or limited free tiers.
- Local Storage: Some cameras support microSD cards for local recording, or can record to a Network Attached Storage (NAS) device. This avoids subscription fees but requires managing the storage yourself and may limit remote access to footage.
Consider your budget, privacy concerns, and how much footage you need to store when making this decision. As of 2025, cloud storage plans typically range from $3 to $10 per month per device, offering various tiers of recording history (e.g., 7-day, 30-day).
Powering Wireless Cameras Continuously
To avoid the hassle of battery changes for wireless models, explore these options:
- Solar Panels: Many brands offer compatible solar charging panels that can be mounted near the doorbell camera. In sunny locations, these can provide enough power to keep the battery topped up.
- Wired Power Adapters: Some wireless cameras can also be plugged into a standard electrical outlet using an optional power adapter, effectively turning them into a wired system without modifying your existing doorbell wiring.
Enhancing Security Beyond the Doorbell
A doorbell camera is a fantastic first line of defense, but consider complementing it with other security measures:
- Outdoor Security Cameras: Place additional cameras to cover blind spots, backyards, or garages.
- Motion-Activated Lighting: Bright lights can deter intruders and provide better video quality at night.
- Smart Locks: For keyless entry and remote access control.
- Window and Door Sensors: To detect unauthorized entry.
The integration of these devices creates a comprehensive smart security network for your home, providing greater peace of mind. The adoption of integrated smart home security systems saw a 15% increase in 2024, a trend expected to continue into 2026 as consumers prioritize layered security solutions.
Conclusion
Installing a doorbell camera is a rewarding DIY project that significantly enhances your home's security and connectivity. Whether you opt for a wired or wireless model, careful planning, adherence to safety protocols, and following step-by-step instructions are key to a successful installation. By understanding the different types of cameras, preparing the necessary tools, and meticulously executing each step, you can confidently equip your home with this advanced security feature.
Remember to test thoroughly after installation, optimize motion detection settings for fewer false alerts, and explore smart home integrations to maximize your investment. For those with wireless units, consider solar panels or wired adapters to ensure continuous power. In the evolving landscape of home security, a doorbell camera stands as a powerful deterrent and a convenient communication tool, offering invaluable peace of mind in 2025 and beyond. Embrace the technology, secure your doorstep, and enjoy the benefits of a smarter, safer home.