This guide provides a comprehensive, step-by-step approach to safely and effectively removing your Nest Camera Doorbell. Whether you're upgrading, moving, or troubleshooting, learn the essential tools and techniques to ensure a smooth disconnection process without damaging your property or the device.
Understanding the Nest Doorbell Removal Process
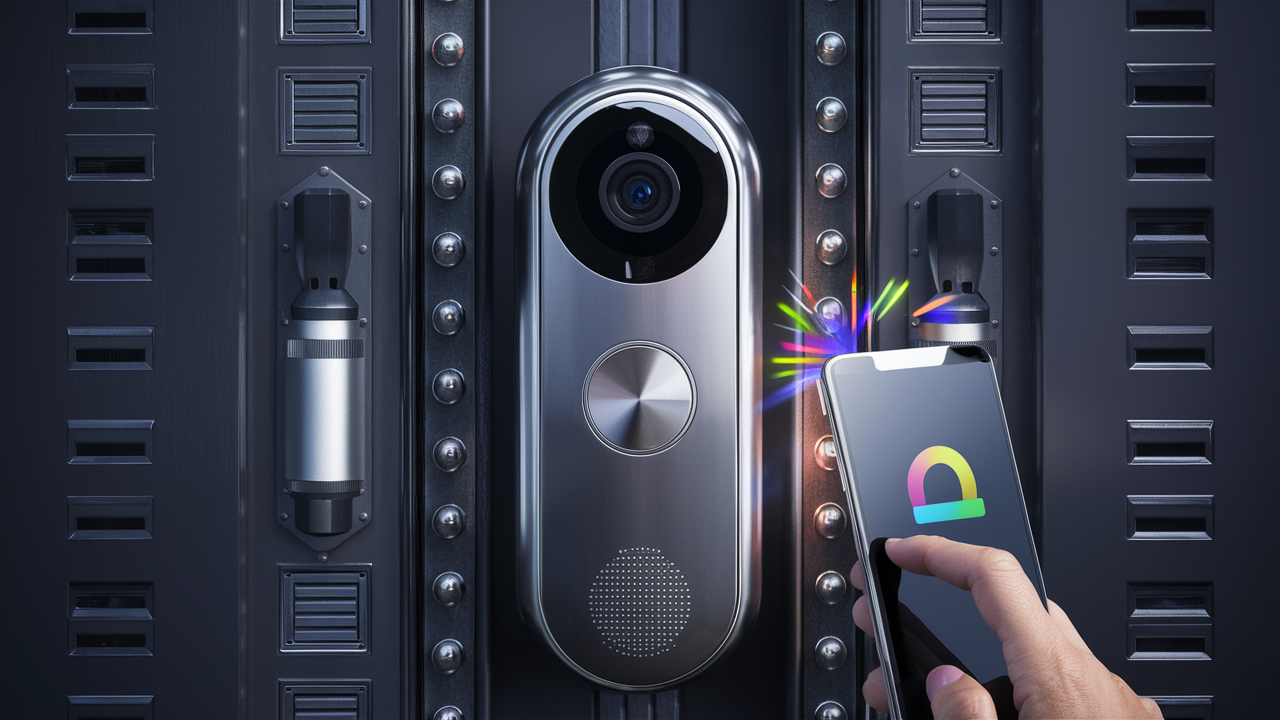
Removing a Nest Doorbell, like any smart home device, requires a methodical approach. The process generally involves disconnecting power, detaching the doorbell from its mounting bracket, and then safely storing or disposing of the unit. Understanding the specific model you have is crucial, as the mounting mechanisms and wiring configurations can vary. For instance, battery-powered models typically offer a simpler removal than wired versions that are integrated into your home's electrical system. As of 2025, the prevalence of smart home security continues to rise, with an estimated 45% of households in North America owning at least one smart security device, according to recent industry reports. This trend underscores the importance of knowing how to manage these devices, including their installation and removal. The primary goal during removal is to avoid damaging the doorbell itself, your home's wiring, or your property's exterior. This involves careful handling and a clear understanding of the steps involved.
Preparation is Key: What You Need Before You Start
Before you begin the physical removal of your Nest Doorbell, proper preparation is paramount. This ensures a safe, efficient, and frustration-free experience. Gathering the right tools and understanding potential electrical hazards are the cornerstones of a successful removal.
Essential Tools for Removal
The tools required will depend slightly on your specific Nest Doorbell model, but a general set will cover most scenarios. Having these readily available will prevent interruptions and the need to search for items mid-task.
- Screwdriver Set: A Phillips head screwdriver is almost always necessary. Some models might require smaller precision screwdrivers, often included in a kit.
- Pry Tool or Spudger: A plastic pry tool or a flathead screwdriver (used with extreme caution) can help gently dislodge the doorbell from its mounting bracket without scratching surfaces.
- Wire Strippers/Cutters: For wired doorbells, you'll need these to safely disconnect and cap off wires.
- Wire Nuts or Electrical Tape: Essential for safely capping off exposed wires from your home's electrical system.
- Safety Glasses: To protect your eyes from dust or debris.
- Gloves: For a better grip and to keep your hands clean.
- Flashlight or Headlamp: To illuminate your work area, especially if working in dim conditions.
- Small Container or Bag: To keep screws and small parts organized.
Safety First: Power Disconnection
This is the most critical step. Working with electrical wiring can be dangerous if not handled correctly. For wired Nest Doorbell models, you must turn off the power at the source before touching any wires.
Locating Your Circuit Breaker
Your home's circuit breaker panel controls the electricity flow to different parts of your house. You need to identify the breaker that controls your doorbell.
- Find Your Breaker Box: This is typically located in a basement, garage, utility closet, or hallway.
- Identify the Doorbell Circuit: Breaker panels are usually labeled. Look for labels like "Doorbell," "Chime," "Entry Lights," or a general "Lighting" circuit that might also power the doorbell. If labels are unclear or missing, you may need to systematically turn off breakers and test the doorbell until you find the correct one.
- Turn Off the Breaker: Once identified, flip the switch to the "OFF" position.
- Verify Power is Off: Before proceeding, try to ring the doorbell or check if any associated lights or sounds are active. If they are not, the power is successfully cut. For absolute certainty, a non-contact voltage tester is highly recommended for confirming the absence of electricity at the doorbell wires.
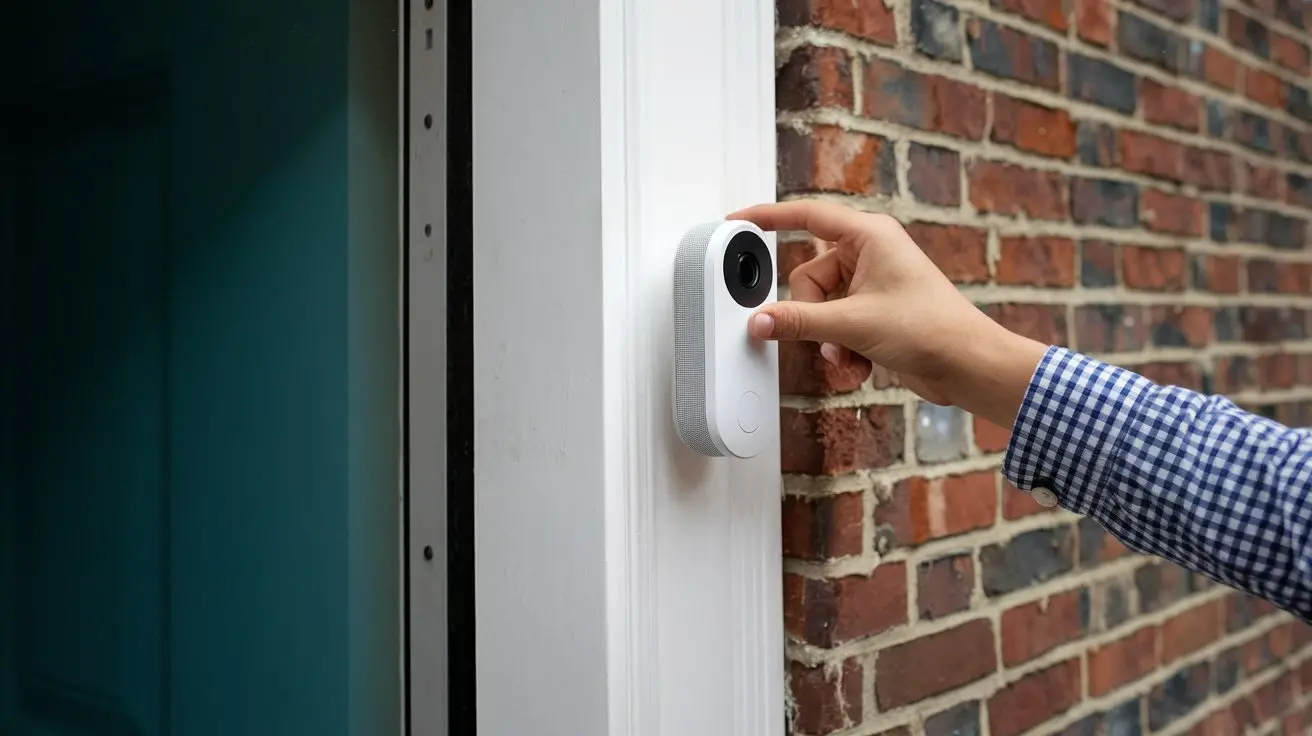
For battery-powered Nest Doorbell models (like the Nest Doorbell (battery)), the process is simpler as there's no direct connection to your home's mains power. You'll primarily focus on detaching the unit from its mount.
Understanding Your Nest Doorbell Model
Google offers several Nest Doorbell models, each with slightly different installation and removal procedures. Identifying your model is key to following the correct steps.
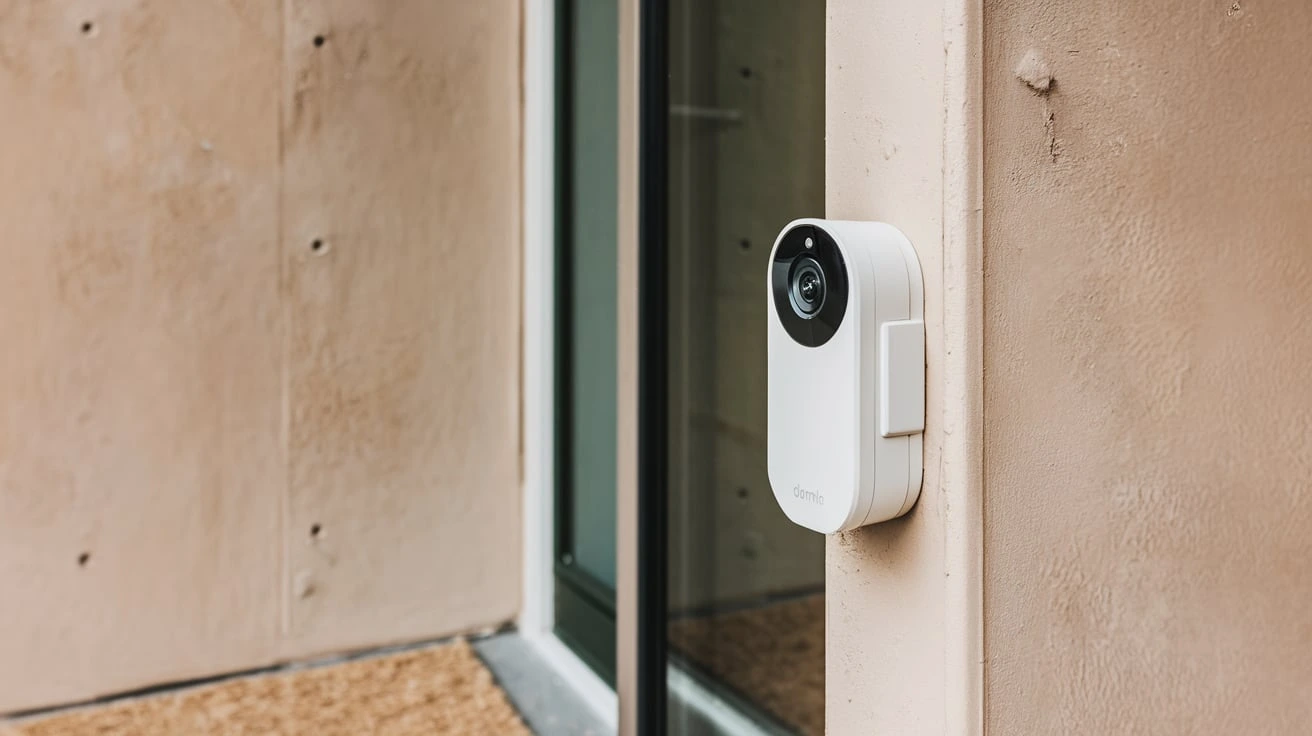
- Nest Doorbell (battery): This is the most recent battery-powered model. It typically attaches to a base plate with screws or clips.
- Nest Doorbell (wired, 2nd gen): This is a wired model that requires a connection to your home's existing doorbell wiring.
- Nest Doorbell (wired, 1st gen): An earlier wired model with a similar but potentially distinct mounting mechanism.
- Google Nest Hello: The original smart video doorbell from Nest, now superseded but still in use. It's a wired-only device.
You can usually find the model name in your Google Home app under device settings or on the original packaging if you still have it. Knowing your model will help you find specific online guides or videos if needed.
The Step-by-Step Guide to Removing Your Nest Doorbell
This section provides a detailed, sequential guide to removing your Nest Doorbell. We will cover both wired and battery-powered models, as the approaches differ significantly. Following these steps meticulously will ensure a safe and successful removal.
Removing a Wired Nest Doorbell (2nd Gen, Hello)
Wired Nest doorbells are connected to your home's electrical system, making power disconnection the absolute first step.
Step 1: Turn Off Power
As detailed in the preparation section, locate your circuit breaker and turn off the power to your doorbell. Verify the power is off.
Step 2: Remove the Front Cover/Faceplate
Most wired Nest doorbells have a front faceplate that can be removed to access the mounting screws.
- Nest Doorbell (wired, 2nd gen): Gently insert a flathead screwdriver or a specialized tool into the small slot at the bottom of the doorbell. Pry downwards gently to release the front cover.
- Google Nest Hello: The Hello has a circular faceplate. You'll typically need to use the included removal tool or a small flathead screwdriver to insert into a tiny hole on the side or bottom of the faceplate and twist or push to release it.
Once the faceplate is off, you will see the internal components and wiring.
Step 3: Unscrew the Doorbell from the Mounting Bracket
With the faceplate removed, you should see screws holding the main body of the doorbell to its mounting bracket.
- Look for two small screws, usually on the sides or bottom of the doorbell unit.
- Use a Phillips head screwdriver to carefully unscrew these. Keep these screws in a safe place.
Step 4: Gently Pull the Doorbell Away
Once the screws are removed, the doorbell unit should be loose. Gently pull it away from the wall. You will see wires connected to the back of the doorbell.
Step 5: Disconnect the Wires
This is where caution is crucial, even with the power off.
- You will see two wires (typically red and white, or similar colors) connected to terminals on the back of the doorbell.
- Loosen the terminal screws holding the wires.
- Carefully remove the wires from the terminals.
- Crucially: Immediately cap off each exposed wire from your home's wiring with a wire nut or by tightly wrapping them with electrical tape. This prevents accidental contact and short circuits.
Step 6: Remove the Mounting Bracket (Optional)
If you plan to install a new doorbell or simply want to tidy up, you can remove the mounting bracket.
- Look for screws holding the bracket to the wall.
- Unscrew these and remove the bracket.
- You may need to patch and paint the wall where the bracket and wires were.
Removing a Nest Doorbell (Battery)
Battery-powered models are generally simpler to remove as they don't involve direct electrical wiring from your home.
Step 1: Detach the Doorbell from its Mount
The method for detaching the doorbell unit from its mounting plate varies slightly by model.
- Nest Doorbell (battery): Most battery models have a release mechanism. For the latest battery model, you typically need to insert a specialized tool (often a small pin or a flathead screwdriver) into a small hole on the underside or side of the doorbell. Push the tool in to disengage a clip, and the doorbell should then slide or pull away from its mount.
- Older battery models: Some might have screws on the sides that need to be removed first, or a clip system. Consult your specific model's manual or Google's support pages if unsure.
Once detached, the doorbell unit itself can be set aside.
Step 2: Remove the Mounting Bracket
The mounting bracket is usually attached to the wall with screws.
- Locate the screws holding the mounting bracket to the wall. These are often visible on the sides or bottom of the bracket.
- Use a Phillips head screwdriver to remove these screws.
- Gently pull the mounting bracket away from the wall.
Step 3: Disconnect Any Existing Wiring (If applicable)
While the doorbell is battery-powered, it might have been wired to your existing chime to trigger it. If so, you'll need to disconnect these wires.
- Locate the wires that were connected to the mounting bracket or directly to the doorbell.
- If these wires are connected to terminals, unscrew them.
- Cap off these wires with wire nuts or electrical tape, even though they are likely low voltage.
Step 4: Secure Exposed Holes and Wires
Ensure any holes left by screws are properly addressed. If you disconnected wires, make sure they are safely capped.
General Tips for a Smooth Removal
- Take Photos: Before you start, take a few photos of the installed doorbell and its wiring. This can be helpful for reference if you ever need to reinstall it or troubleshoot.
- Work in Good Light: Ensure your work area is well-lit.
- Be Patient: Don't force anything. If a part seems stuck, re-examine it for hidden screws or clips.
- Organize Screws: Use a small container or magnetic tray to keep track of all screws and small parts.
Troubleshooting Common Nest Doorbell Removal Issues
Even with careful preparation, you might encounter a few common issues when removing your Nest Doorbell. Addressing these promptly will prevent damage and frustration.
Doorbell Won't Detach from Mount
Problem: The doorbell unit or its mounting bracket feels stuck and won't separate.
Solution:
- Check for Hidden Screws: Some models have small screws that aren't immediately obvious, often on the bottom or sides.
- Locate Release Clips: For battery models, ensure you've fully inserted the release tool into the designated slot and pushed firmly. There might be a specific angle required.
- Gentle Prying: If you suspect it's just stuck due to paint or sealant, use a plastic pry tool or a very thin, flat object (like a putty knife, used carefully) to gently work around the edges. Avoid excessive force, which can crack the plastic.
- Consult Manual: If you're unsure, refer to the specific user manual for your Nest Doorbell model. Google's support website is an excellent resource for downloadable manuals and troubleshooting guides.
Wires Are Stuck or Difficult to Disconnect
Problem: The wires are firmly attached to the terminals, or the terminal screws are stripped.
Solution:
- Ensure Power is Off: Double-check that the circuit breaker is indeed off.
- Use Appropriate Screwdriver: Ensure you're using the correct size Phillips head screwdriver for the terminal screws. A poorly fitting screwdriver can strip the screw head.
- Gentle Wiggling: Sometimes, gently wiggling the wire while turning the screw can help it release.
- Pliers (with caution): If the wire is completely stuck and the screw is stripped, you might need to use needle-nose pliers to grip the wire itself and pull it free while attempting to unscrew. Be extremely careful not to damage the wire insulation or the terminal.
- Cutting Wires (Last Resort): As a last resort, if the wires cannot be removed from the terminals, you can cut the wires as close to the doorbell as possible. Ensure you still cap off the remaining wires from your home's electrical system immediately and safely.
Mounting Bracket is Stuck to the Wall
Problem: The mounting bracket is difficult to remove, possibly due to strong adhesive or paint.
Solution:
- Check for Screws: Ensure all screws holding the bracket are removed.
- Scrape Away Paint: If paint has sealed the edges, use a utility knife to carefully score around the perimeter of the bracket.
- Gentle Prying: Use a putty knife or pry tool to gently work between the bracket and the wall. Apply steady, even pressure.
- Heat (Use with extreme caution): For stubborn adhesive, a hairdryer on a low setting can sometimes soften it, making removal easier. Be cautious not to overheat the wall material or any nearby components.
Stripped Screw Heads
Problem: The head of a screw is damaged, making it impossible to turn with a screwdriver.
Solution:
- Rubber Band Trick: Place a wide rubber band over the stripped screw head, then insert your screwdriver firmly into the rubber band and screw. The rubber can provide extra grip.
- Pliers: If the screw head is protruding enough, try gripping it firmly with pliers and turning.
- Screw Extractor Kit: These specialized tools are designed to remove stripped screws. They typically involve drilling a small pilot hole and then using an extractor bit to grip and remove the damaged screw.
Remember to always prioritize safety. If you are uncomfortable with any part of the removal process, especially when dealing with electrical wiring, it is best to consult a qualified electrician or a professional installer.
Post-Removal: Next Steps and Considerations
Once your Nest Doorbell is successfully removed, you'll have several decisions to make regarding the device itself and the space it occupied. Proper handling of the removed device and preparation of the mounting area are essential.
Storing or Disposing of Your Nest Doorbell
If you're replacing your Nest Doorbell with a new one or moving and taking it with you, proper storage is important.
- Cleaning: Gently wipe down the doorbell unit with a soft, dry cloth to remove dust and grime.
- Battery Management: If it's a battery-powered model, consider removing the battery if you plan to store it for an extended period. Ensure the battery is stored in a cool, dry place, away from extreme temperatures.
- Packaging: If you have the original box, use it for storage. Otherwise, wrap the doorbell in bubble wrap or a soft cloth to protect it from scratches and impacts.
- Disposal: If the doorbell is no longer functional or you don't wish to keep it, dispose of it responsibly. Check your local e-waste recycling programs. Many electronics retailers and municipal waste facilities offer specific drop-off points for electronic devices. Avoid simply throwing it in the regular trash, as electronic components can contain hazardous materials.
Preparing the Mounting Area
The area where your doorbell was mounted will likely have holes from screws and possibly paint damage.
- Patching Holes: Use a lightweight spackling compound to fill any screw holes. Allow it to dry completely, then sand it smooth. For larger holes, you might need a patching compound.
- Painting: Once the patched areas are smooth, you'll need to paint them to match the surrounding wall. If you don't have leftover paint, you may need to paint the entire wall for a seamless finish, especially if the paint has faded over time.
- Wire Management: If you disconnected wires, ensure they are safely capped with wire nuts or electrical tape and tucked back into the wall cavity as much as possible to prevent them from being a hazard or interfering with future installations.
Considering a New Doorbell or Security System
The removal of your Nest Doorbell might be part of an upgrade or a complete overhaul of your home security.
- New Doorbell Installation: If you're installing a new video doorbell, refer to its specific installation guide. Many modern doorbells offer wireless or simpler wired connections.
- Integrated Security Systems: If you're moving to a more comprehensive security system, consider how your new doorbell will integrate. Many systems offer unified apps for managing cameras, sensors, and other devices.
- Smart Home Ecosystems: Think about your existing smart home setup. If you use Google Assistant, sticking with Nest or Google products might offer better integration. If you're invested in Amazon Alexa or Apple HomeKit, you might explore compatible doorbells from those ecosystems.
Reconnecting Power (If Necessary)
If you've only removed the doorbell and are not immediately replacing it, ensure the power to that circuit is turned back on at the breaker box. If you disconnected wires, confirm they are safely capped before restoring power. If you are unsure about the safety of the wiring after disconnection, it is advisable to consult an electrician.
Comparing Nest Doorbell Models for Removal
While the general principles of removal remain similar, the specific steps and tools can vary slightly between Nest Doorbell models. Understanding these differences ensures you're prepared. As of 2025, Google continues to refine its smart home offerings, with a focus on user-friendly installation and maintenance.
| Feature | Nest Doorbell (battery) | Nest Doorbell (wired, 2nd gen) | Google Nest Hello (wired, 1st gen) |
|---|---|---|---|
| Power Source | Internal rechargeable battery | Wired (requires existing doorbell transformer and chime) | Wired (requires existing doorbell transformer and chime) |
| Primary Removal Step | Detaching unit from mount (often with a release tool) | Removing faceplate, then doorbell unit from bracket, then wires | Removing faceplate, then doorbell unit from bracket, then wires |
| Electrical Hazard Risk | Low (battery only) | High (mains voltage wiring) | High (mains voltage wiring) |
| Tools Commonly Needed | Small screwdriver/pin for release, Phillips screwdriver for bracket | Phillips screwdriver, small flathead/pry tool for faceplate | Phillips screwdriver, small flathead/pry tool for faceplate |
| Wiring Complexity | Minimal (if any, for chime connection) | Moderate (connecting to existing doorbell wires) | Moderate (connecting to existing doorbell wires) |
| Mounting Bracket Removal | Screws | Screws | Screws |
| Faceplate Removal | N/A (unit detaches directly) | Pry mechanism at bottom | Twist/push release mechanism |
| Post-Removal Wire Handling | Cap any chime wires if used | Cap both doorbell wires from house power | Cap both doorbell wires from house power |
Key Differences in Removal
- Battery Models: The primary advantage here is the absence of direct connection to your home's mains power. The main task is physically separating the doorbell unit from its mounting plate, which usually involves a release pin or clip. The mounting bracket is then removed with standard screws.
- Wired Models (2nd Gen & Hello): These require careful attention to electrical safety. The process involves removing an outer faceplate to access the screws holding the main unit to the bracket. Once the unit is detached, you'll disconnect the wires from terminals. The Nest Doorbell (wired, 2nd gen) often has a simpler pry-off faceplate compared to the Nest Hello's specific release tool mechanism.
Regardless of the model, always refer to the official Google Nest support documentation for the most precise instructions tailored to your specific device. This ensures you have the most up-to-date information, especially as firmware and hardware designs evolve.
In conclusion, removing a Nest Doorbell is a manageable task when approached systematically. By preparing the necessary tools, prioritizing safety through proper power disconnection for wired models, and following the step-by-step instructions tailored to your specific doorbell type, you can ensure a smooth and successful removal process. Whether you're upgrading your smart home security or simply moving your existing device, understanding the nuances of each model and taking precautions against common issues will save you time and prevent potential damage. Always remember to cap off exposed wires securely and consider responsible disposal or storage of the removed unit.